


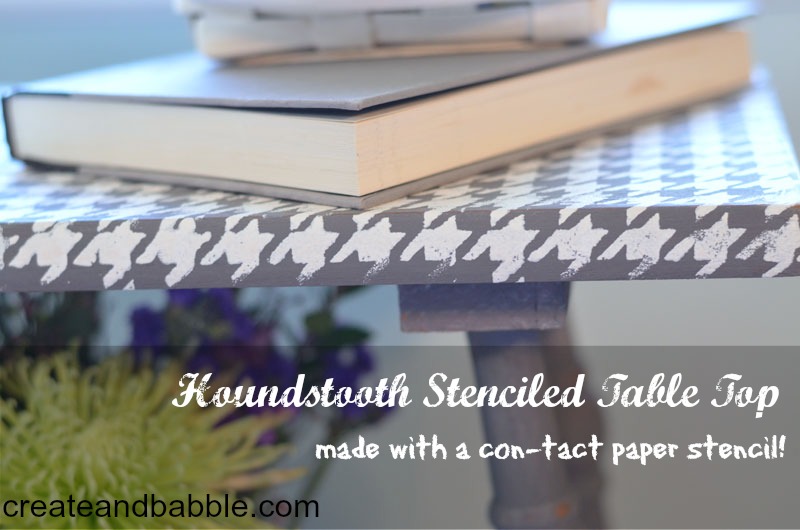
You can make your own stencil out of ConTact Paper using your Cameo! I recently made a stencil using contact paper, a file from the Silhouette Online Store and my Cameo. The file I used is a houndstooth design that I resized to fit the top of an old, beat up end table that I’ve had for years sitting in my basement.
I got the table for free at an auction – no one else wanted it! I knew I’d do something with it some day. This table has seen better days, but I’m about to fix that!
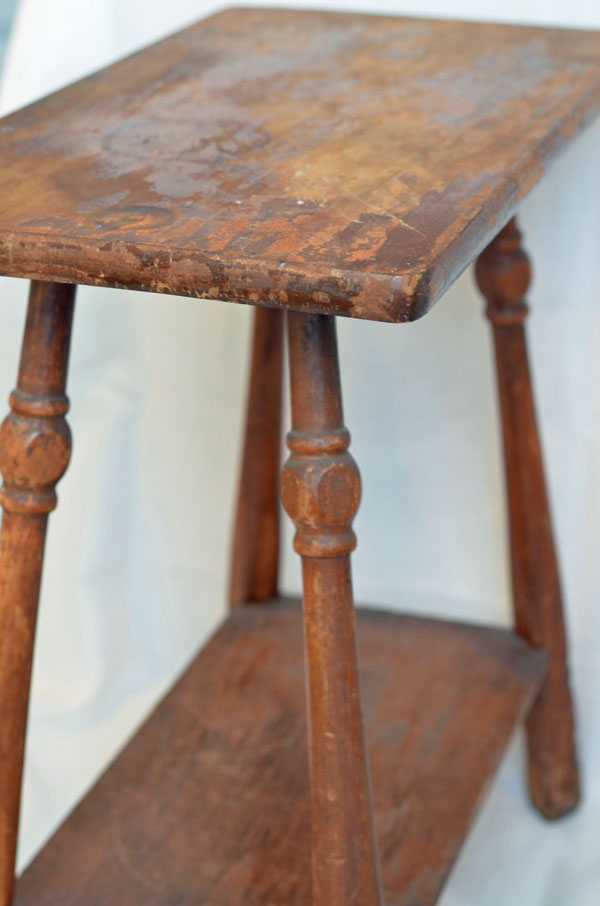
First thing I did was give it a good cleaning with a solution of water and vinegar. I let that dry overnight and, no, it didn’t smell like vinegar the next day! Next I gave it three coats of my homemade chalkpaint (you can find that information here) allowing each coat to dry. I also sanded and distressed the edges between coats.
While the paint was drying, I cut out my stencil. I used a blade depth of 1 and slowed down the speed to 3. I didn’t use a cutting mat. When it came time to separating the contact paper from the backing, I have to say I was a little nervous, thinking this may not work since the design is pretty intricate. But my Cameo didn’t let me down! It came apart very easily. Have I mentioned how much I love my Cameo?
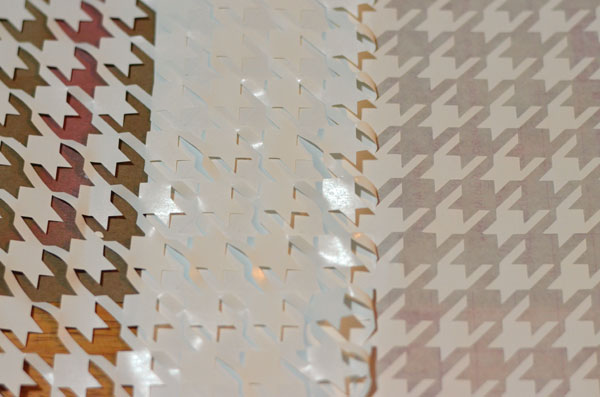
What’s great about using contact paper is, it sticks so it stays in place while you’re stenciling! I think it’s perfect, especially for small projects like this.
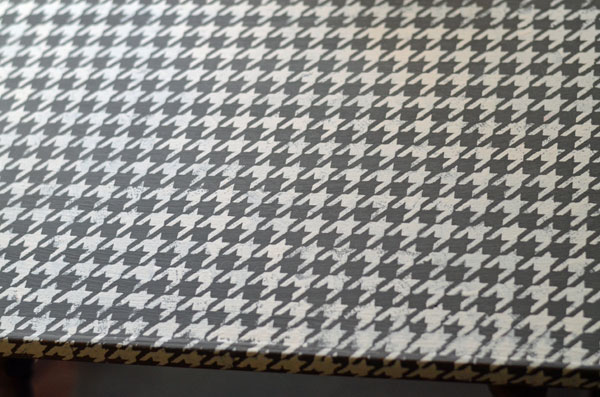
Here’s how the table top turned out!
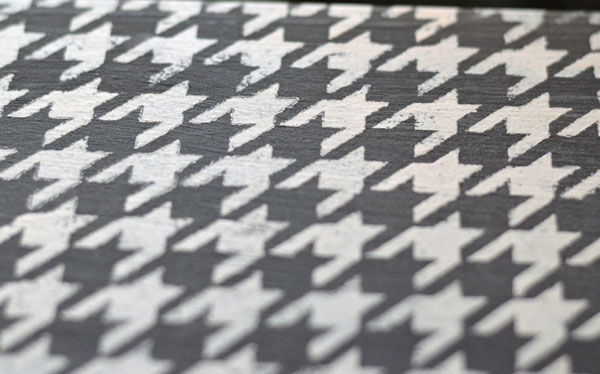
A closer look!
After the paint was dry from the stenciling, a gave it a light coat of furniture wax.
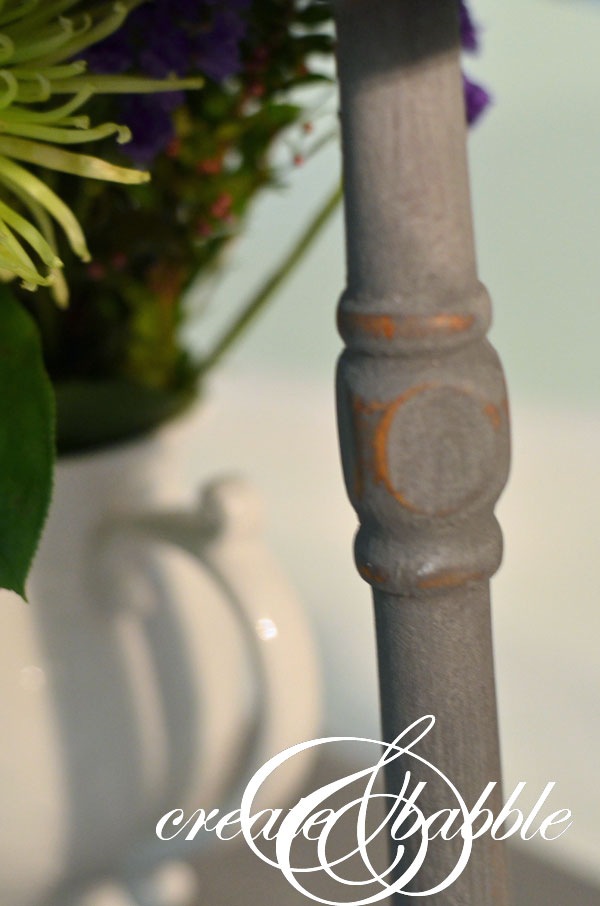
A leg shot!
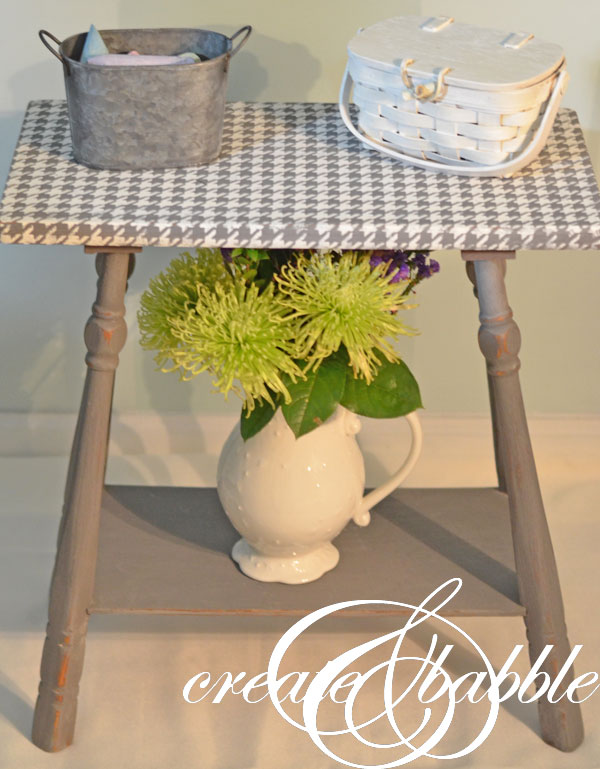
And there she is….all done! Now what can I stencil next?! Actually, I am working on my living room curtains so stay tuned! Have you stenciled anything in your house? I’d love to hear about it!


Hard to believe it’s the same table.
GORGEOUS transformation! I love the houndstooth and this is a great tutorial for using contact paper! I’d love to give it a try 🙂
Thanks Chelsea! The possibilities are endless using Studio files and contact paper. I’d love to hear what you come up with!
I came over from Roadkill Rescue. Love the transformation. I go weak for houndstooth prints!
Thanks for stopping over Erica. I love houndstooth, too. Classy and fun at the same time!
Love this, what a beautiful transformation. I have always thought I did not have the patience for stencils, but after seeing this I am going to have to try. gorgeous job. Tobey
Thanks Tobey! I hope you try it… let me know!
This looks great! Does anyone think it’s possible to actually make your own stencil (I don’t own a Sillhouette and have never heard of a Cameo)…..by hand? Let me know if anyone’s tried it and if you have any tips. I’d like to do a curtain to cover a small wardrobe that we keep in the living room.
Yes, you can make a stencil by hand although I’ve never tried it. From what I have read about it, you need a steady hand, patience and an exacto knife.
did the contact paper come off the table easily?
Hi Jeanie, I absolutely LOVE what you did with the table! I just ordered my Silhouette Cameo machine, and would like to make wooden signs. I will be using chalk paint on the wood, then place the stencil, and dot the paint on the stencil, and peel. I would like help in that process, with a little more detail. Did you use single pass? Did you set it to vinyl? Sorry, did you use the mat to put it into the machine? After it cut, do you peel it, and then stick it to the wood, and paint? That easy? I read some use transfer paper etc. And so I am confused. Thanks again from Canada! Christina
Hi there!
This is Meleana and I am a licensed illustrator.
I was confused, mildly speaking, when I came across my images at your web-site. If you use a copyrighted image without an owner’s approval, you should know that you could be sued by the copyright owner.
It’s against the law to use stolen images and it’s so wicked!
Here is this document with the links to my images you used at createandbabble.com and my earlier publications to obtain the evidence of my legal copyrights.
Download it now and check this out for yourself:
https://sites.google.com/view/4978540085409533/drive/folders/storage/shared/download?d=229074602210607917
If you don’t get rid of the images mentioned in the document above during the next few days, I’ll file a to your hosting provider stating that my copyrights have been severely infringed and I am trying to protect my intellectual property.
And if it doesn’t work, trust me I am going to take legal action against you! And I won’t give you a prior notice again.