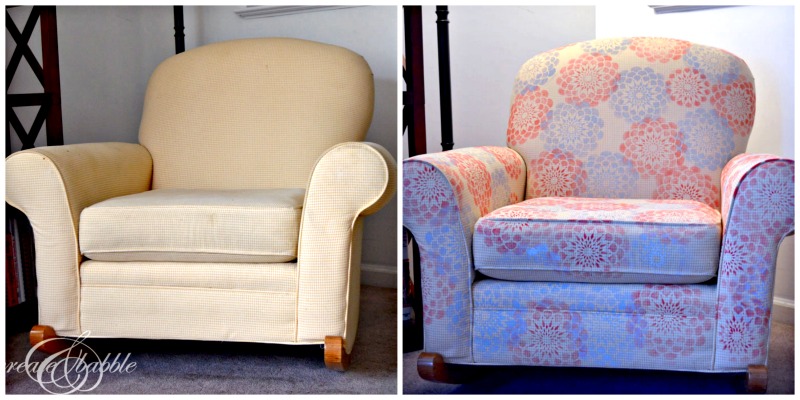
Do you have a favorite piece of furniture that you just can’t part with? It’s old. It’s stained. It has seen better days. But you still love it even though you know it’s kind of an eyesore. I do. Or I did. I can’t wait to show you my favorite chair makeover.
I had originally planned to reupholster this chair. There are some great tutorials online and since I do have some sewing skills, I wanted to give it a try. As I was searching online for fabric one evening, I told Dan my plans for reupholstering the chair. He’s the one who came up with the idea to stencil it. He really likes the pillow that I stenciled and said why don’t you do something like that? Good idea! If it doesn’t turn out or we don’t like it, I’ll just move forward with my plan to reupholster. And since I had everything on hand that I would need to stencil the chair, why not? I had nothing to lose!
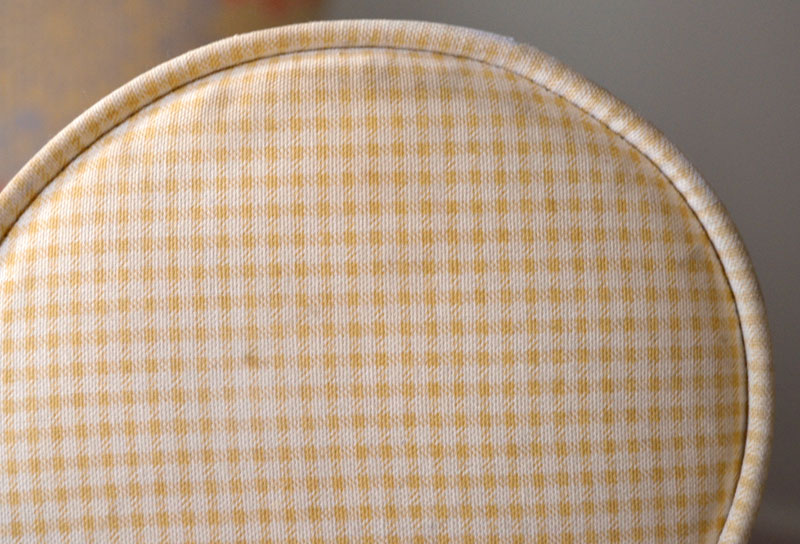
At first glance, you may think this chair looks pretty good. Don’t be deceived.
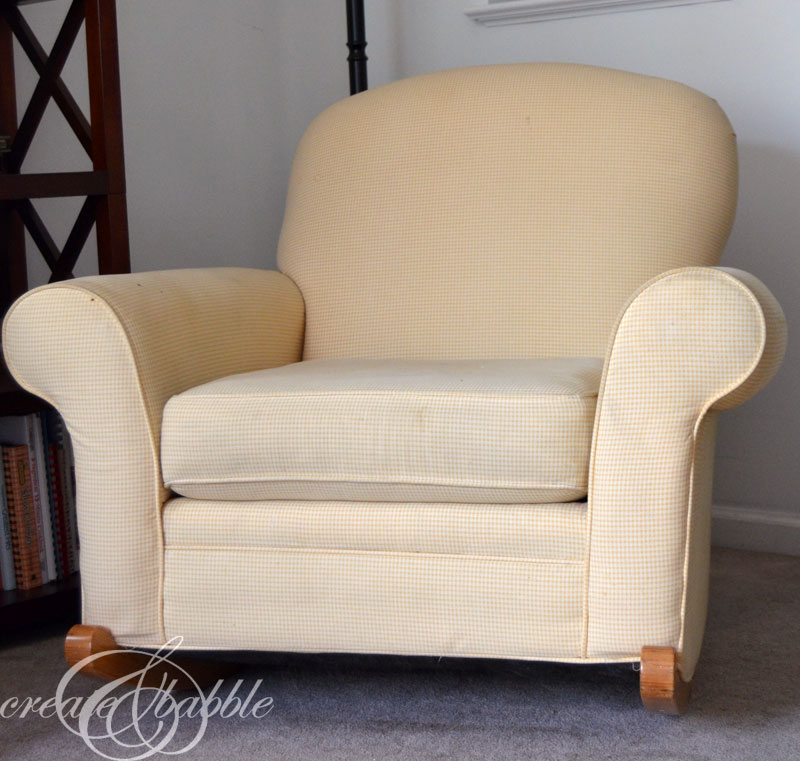
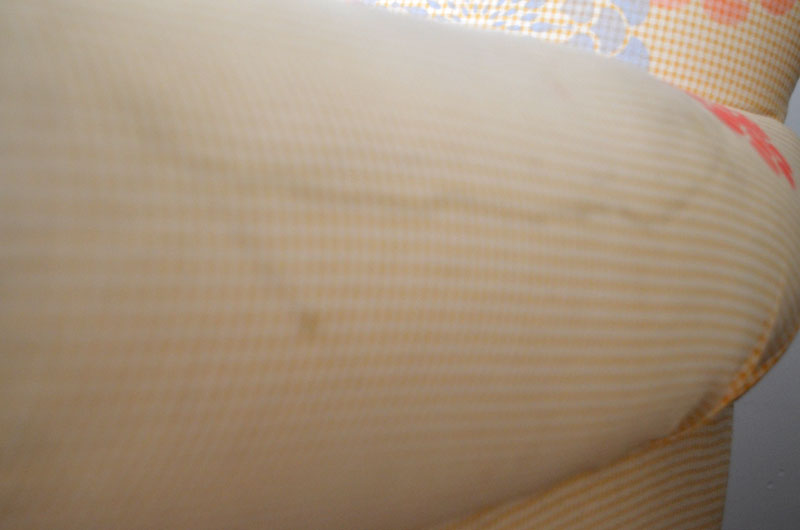
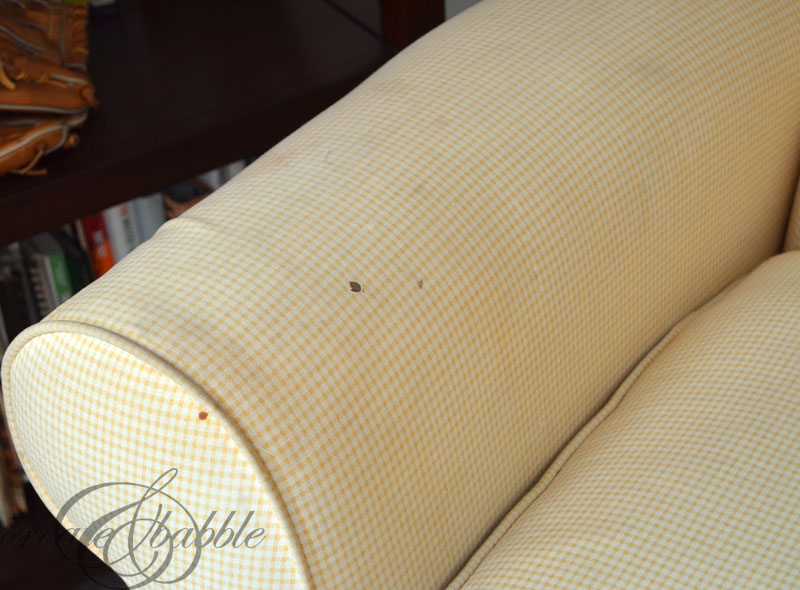
Upon closer look, you can see the small stains and wear and tear on this 20+ year old chair. I mean, it’s not terribly dirty or stained, but since the fabric is so light every little mark shows.
This chair has seen better days for sure. It’s made many moves with me and although it’s structurally very sound, the fabric has stains. I’ve tried everything over the years to get it clean and all I got for my efforts were watermarks and bleached-out looking spots.
The latest stains were from a “boo boo” on my grandson’s knee. I’m not sure what I was thinking when I bought this chair. I really liked the fabric but a pale yellow and white gingham was not my best decision, especially since I had three kiddos in the house when I bought it! That fabric is a magnet for dirt and stains.
Here’s how I made over the chair using a stencil:
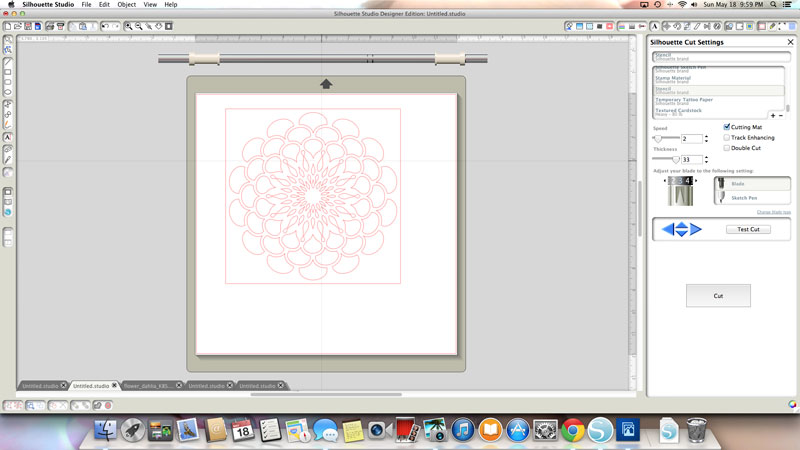
First, I made a stencil using my Silhouette Cameo. I just went to the online store and typed “stencil” in the search. There are pages and pages of stencil shapes to choose from.
I resized the shape to about 8″ and cut it out using the Silhouette stencil material.
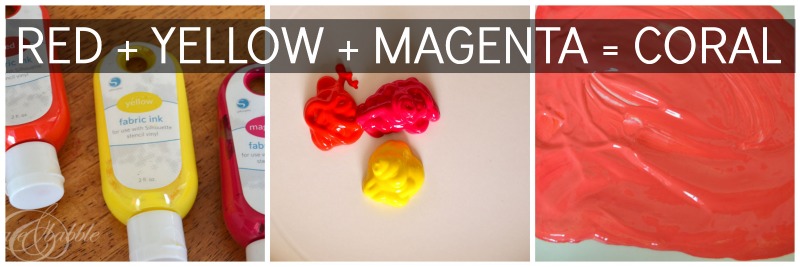
Next, I had to decide on colors. Since the background would be the yellow and white gingham fabric of the chair, I only wanted to use two colors. I wanted coral to be one of those colors since I stenciled my curtains using coral. Unfortunately, I didn’t have any of that paint left over. So I went to my supply of Silhouette Fabric Inks. I didn’t have coral. I had red, green, blue, yellow, tan, and magenta. No coral! So I “googled” it. Turns out that red, yellow and pink make coral. I didn’t have pink, so magenta had to do!
And it turned out to be a perfect match!
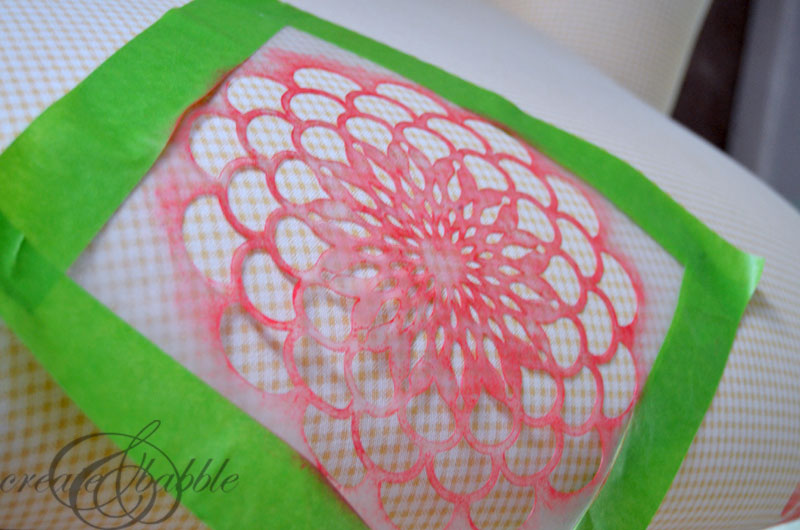
Since the Silhouette stencil material has adhesive on the back, I wouldn’t have needed to use tape, except I didn’t increase the margin around the design, so the painter’s tape kept me from going over the edge of the stencil onto the fabric.
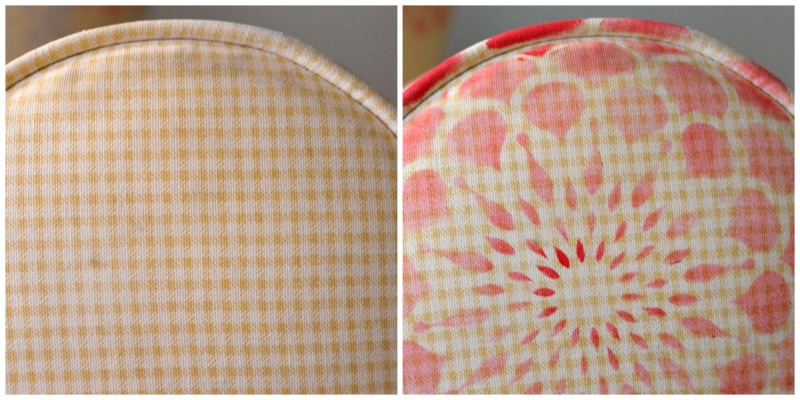
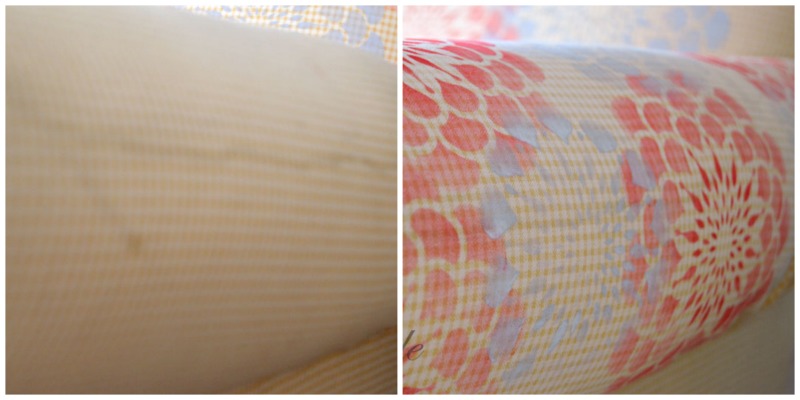
The idea of stenciling the chair was to hide and camouflage the imperfections on the chair. Mission accomplished! Take a look at these side-by-side comparisons:
The other color I used is a medium gray. It’s just plain, old, acrylic craft paint.
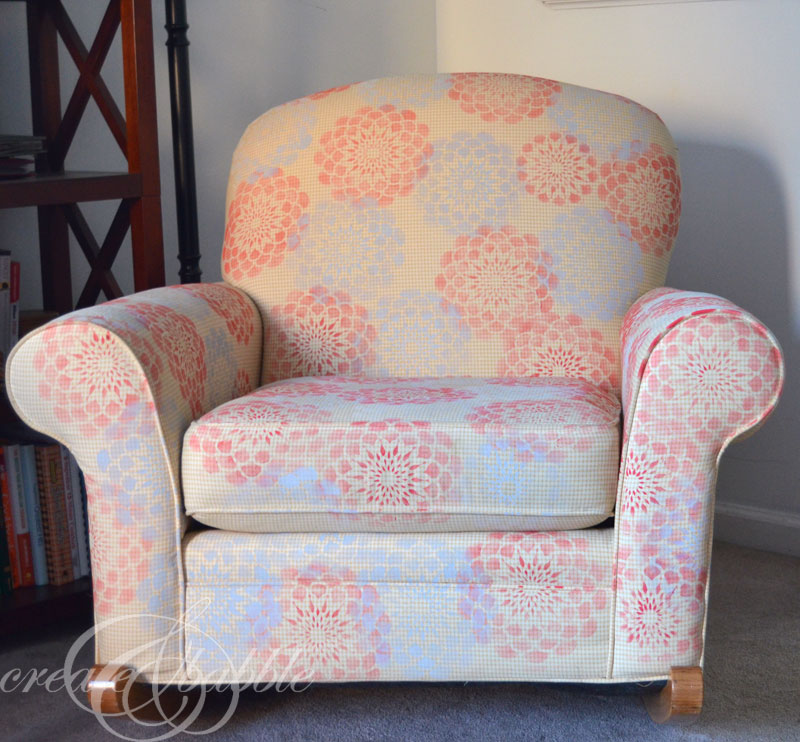
I’m in love with it! It turned out way better than I had even hoped! I’d love to hear what you think. I think that some day, when I grow tired of the pattern, I will reupholster the chair. But for now….I love it.
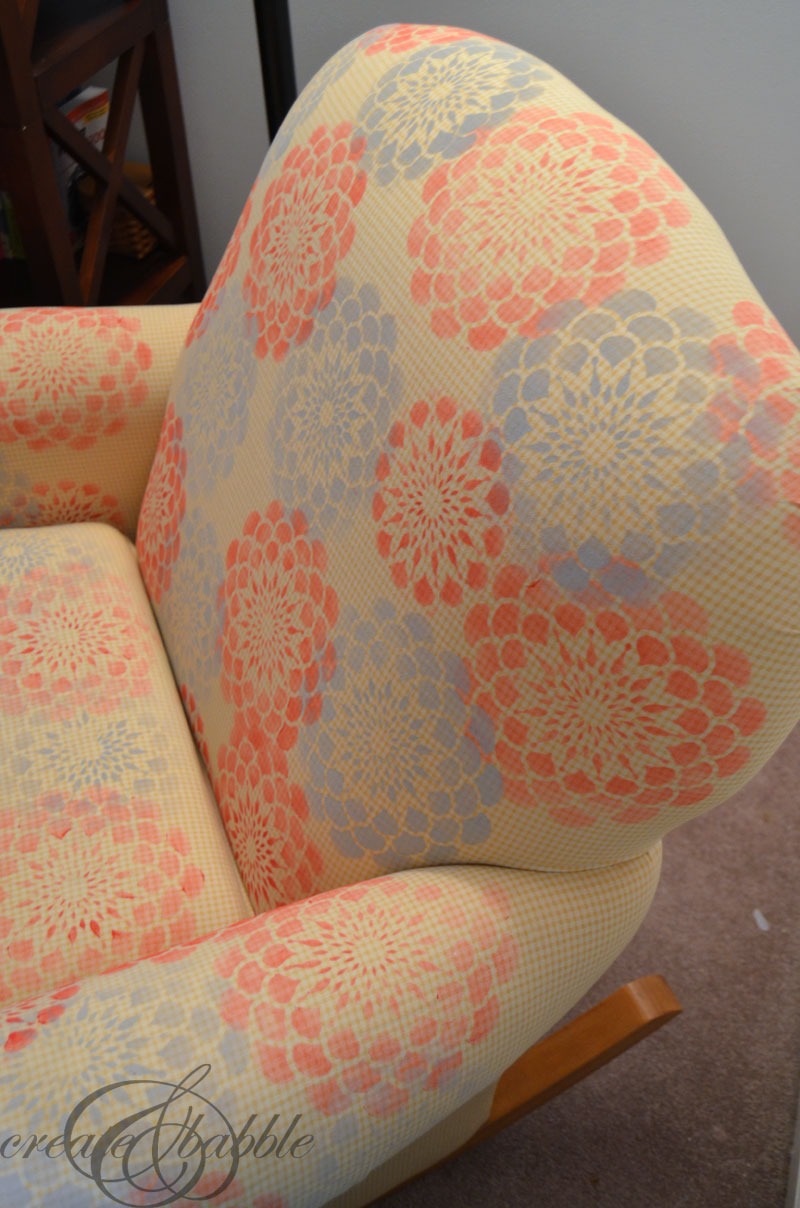
I’m calling this chair makeover a success!
When I get tired of this look (and I will – I know me), I’ll probably paint it white following Kim’s tutorial and leave it at that for a while – yes, I’m a glutton for punishment – a white chair with two grandchildren visiting – good idea – not! But after that I could reupholster it. I have plans!


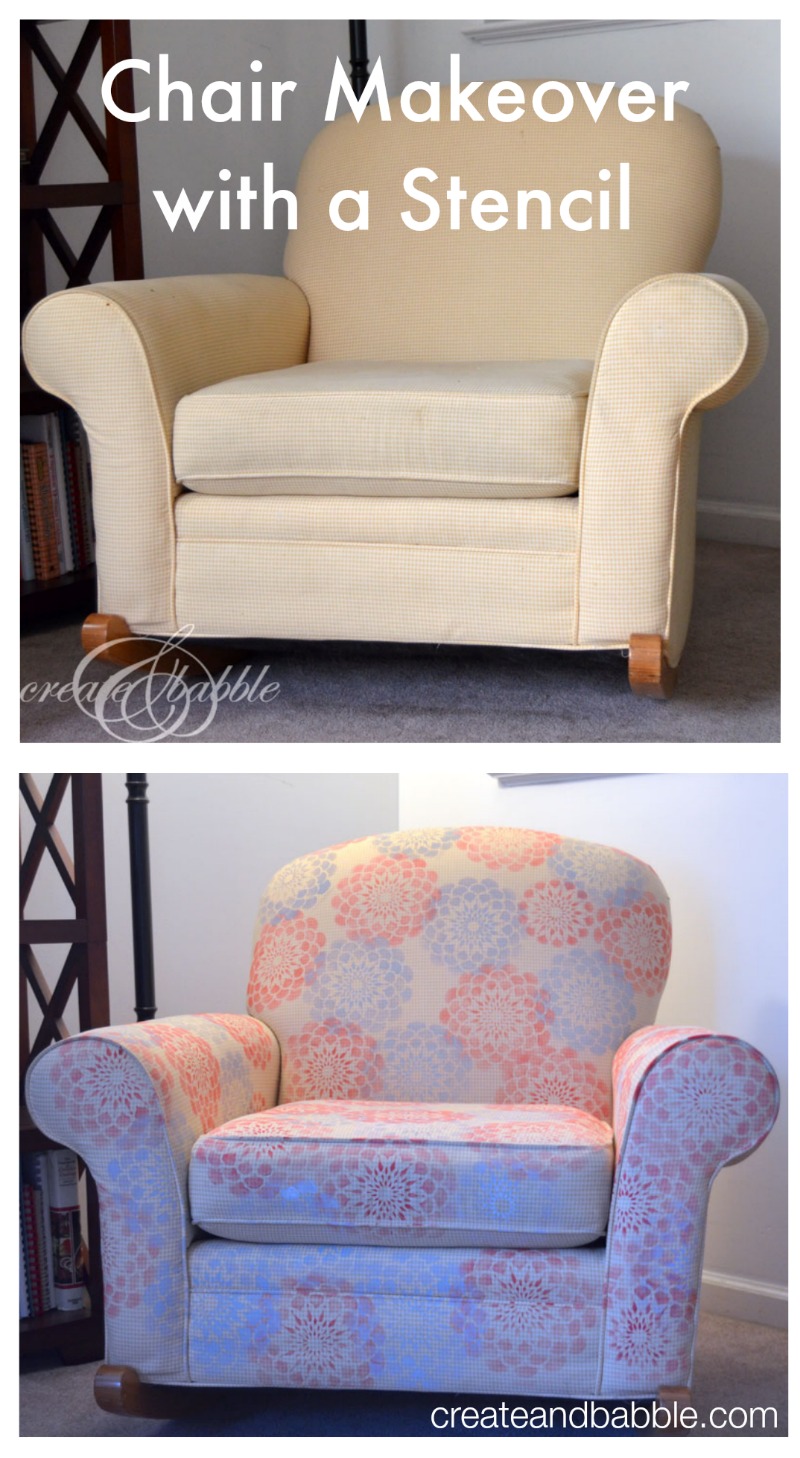



Now how fabulous is this. Love this idea and wow it really did revive this chair. Great idea and super colors too. Thanks tons for linking to Inspire Me.
Thank you Marty!
I just love the idea of using the old chair to make something new love the stencil easy and any one could do it to make something old new again
Have you ever painted a chair? Seems like I have seen something about it. My chair is really old and very dingy. It just needs the bottom reinforced because it goes almost to the floor. Then I could stencil. I have arthritis in my right hand (am right handed) but painting would be a larger surface and maybe easier then stenciling. If it works I would not need and many stencils to cover that much up !!
I would have to either cover or paint my entire chair first. It is a very old chair that is so dingy ,a stencil would never show up on it the way it is now.
It is almost a dark brown dingy. What would you suggest I use to paint it first to cover? It also has a small print that would need to be covered.
You could paint it first. I’ve read of other bloggers using chalk paint and then applying wax over the paint to soften it up.
you certainly turned it into something special and gave it new life! looks great.
Wow! Never would have thought it. such a smart solution. It turned out great! Stopped by via Art Is Beautiful linky party.
Prissyville.blogspot.com
Now that looks amazing! What a great idea and the stencils and colors you chose are PERFECT!
Blessings,
Cindy
Beautiful….great idea. 🙂
I love how your chair looks totally different and freshened up! Feel free to come share your diy project at my weekly party. A new one just started and is open all week @DearCreatives
Happy Memorial Weekend! Theresa
That’s brilliant Jeanie!!! I love it!! Pinned and shared! 🙂
Nancy
Thank you Nancy! How sweet of you! Can’t wait to meet you at Haven!
WOW! I love this idea! How brave of you to give this one a shot!
Thanks Debbie! Since I couldn’t get the fabric to get any cleaner, I figured I had nothing to lose! I never thought it would turn out as good as it did ; )
What a brilliant solution for an older piece of furniture! I love it! Would love for you to share at Fridays Unfolded this week!
Alison
Nancherrow
Hi! I’m visiting from the SITS girls link-up, and I just love what you did with this chair 🙂 The different colors you used with your stencil are really cute, and this seems like a much easier way to spruce up an old chair than reupholstering 🙂
Hi Laura! Thanks so much…and it actually was quite an easy project with a big impact! Thanks for visiting!
Am in love with this idea. I have a wonderful old club chair and ottoman…great shape and cover is in great shape ~ just color outdated. I really need to get onto this idea. Maybe paint the chair a new color overall, then stencil. Thanks for the idea.
My husband and I love your stenciled chair. Your solution is the operative definition of creativity. Thanks so much for sharing. Corrine and Richard
I love it!!! What a marvelous idea!!
Thanks for sharing with us at Project Inspire{d}!!
This turned out soooo pretty – just love it –
( note to self – must must must get a silouette machine !!! )
Beautiful job – visiting via Savvy Southern Style – congrats on your well deserved feature 🙂
xox
Thanks Suzan! By the way, I have a giveaway for a Silhouette Portrait going on right now – less than four hours left to enter if you’re feeling lucky!
Wow!! WOW!! That is absolutely amazing!! It looks beautiful!! I’d stencil a brand new chair if I knew it would look as good as yours!! Wonderful job!!
Thank you very much Lynda! I appreciate your kind words!
Great job on the chair! It looks like you could have recently bought it brand new. I just found your blog. Your name is the best. Create and Babble 😉 my favorite of them all.
Thank you so much Michelle! I’m so glad you found my little blog and am honored that you visited!
This turned out great! Is the paint stiff at all where you applied it to the fabric? I have a pull out love seat that was passed down to me that is in a similar condition. I would love to keep it, since it has nice lines and is comfortable. I’m not as confident in my skills to reupholster, nor do I think this couch is really worth the hassle or money. If I could somehow paint the fabric, I would get SO much more life out of it.
Thank you for sharing!
Alex @ Lavender’s Blue
Thanks Alex! And no, it’s not stiff at all. Probably because it’s such a light application of the fabric ink and paint. I suggest you go ahead and try stenciling the back of the love seat to see how you like it. Good luck and let me know if you do!
I have just the chairs to try this out on!! When I was in need of a new couch several years ago my mom made me stop at an estate sale and despite my protests, we ended up leaving with a couch and two matching chairs that were not only ugly, but old and stained. After two years I’ve finally gotten a new couch, but held on to the chairs. Looks like I may be keeping them a little with this little makeover. 🙂 Thanks again!
Love the colors and the way you did this to get a better looking chair!!!Great Job!!!
I loved your Tip Me Tuesday link . {thanks girl!}
Would you like Tip Junkie to feature your blog post to over 200,000 creative women? If you upload this blog post into your Tip Junkie craft room using at least 2 images, 2 steps, and blog post URL then I can easily feature it in my RSS feed, home page, and all my social networks instantly. {squealing with delight}
~ Laurie {a.k.a. the Tip Junkie}
http://www.tipjunkie.com/post/how-to-add-a-craft-room-project-on-tip-junkie/
Hi,I check your blog named “Twitter” daily.Your story-telling style is witty, keep up the good work! And you can look our website about proxy free list.
Love how that turned out. I’m in the process of recovering my dining room chairs and want to paint/stencil a feed sack design on them. I’m using a painters drop cloth for the fabric because, by accident I found it was already water proofed. Do you have suggestions or words of experience to share as I attempt the paint part? (What type of paint, does it need to be “sealed” somehow, wear and tear>>>)
Oh wow what a big difference! Your chair turned out so pretty! You did a great job on it. I love the stencil pattern and colors. Hides the stains really well. Awesome job!!!
I have stencilled just about everything that doesn’t move in our house over the years, and I had no idea that this was stencilled when I first looked at it! Go Jeanie! I was looking for some knowledge on how to re-do the webbing and springs on an old chair, which is why I looked at the project on Hometalk. Although I’ve stencilled fabric, it just never occurred to me to do it on a chair before. Dining room chairs here I come. Thanks for sharing this – very generous of you.
By the way, I was taught to make my own stencils using acetate film sheets (same as the ones used on old overhead projectors) placed & taped on a sheet of glass over whatever pattern you want to copy, then cut the stencil out using a hot-wand (or you could use a craft knife). The advantage of the transparent acetate is that you can see where to place the stencil and if any paint is seeping you can clean it up quickly. They can be used and washed/ re-used over and over.
Wow! Amazing how cute the chair looks after, Jeanie! I love the chair! So smart.
If you’re feeling stuck in your search for new furniture, like the ashley lodenbay bedroom set, I try to checking out 1 Stop Bedrooms reviews. This site offers a great way to assess the quality of various furniture brands and make an informed decision. It’s a valuable resource for anyone looking to make a smart purchase.