


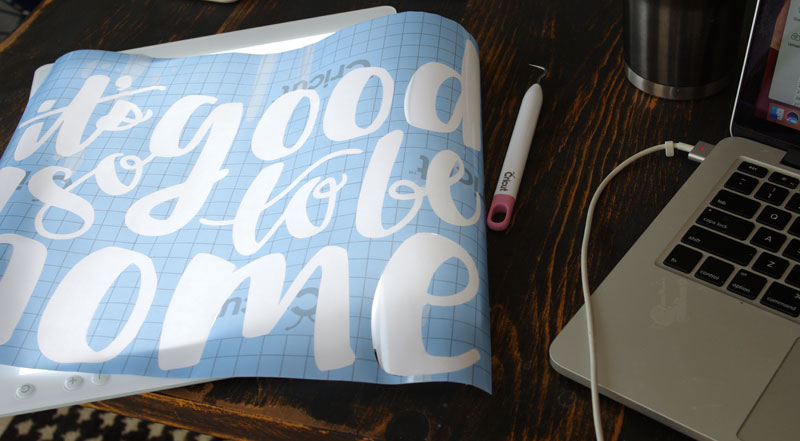
Cricut® Stencil Vinyl is my new favorite product to use to make a stencil. Here’s why:
- it’s affordable
- readily available
- clear
- self-adhesive
- grid lines
- durable
- repositionable
- adheres to wood, canvas, plastic, paper, and more
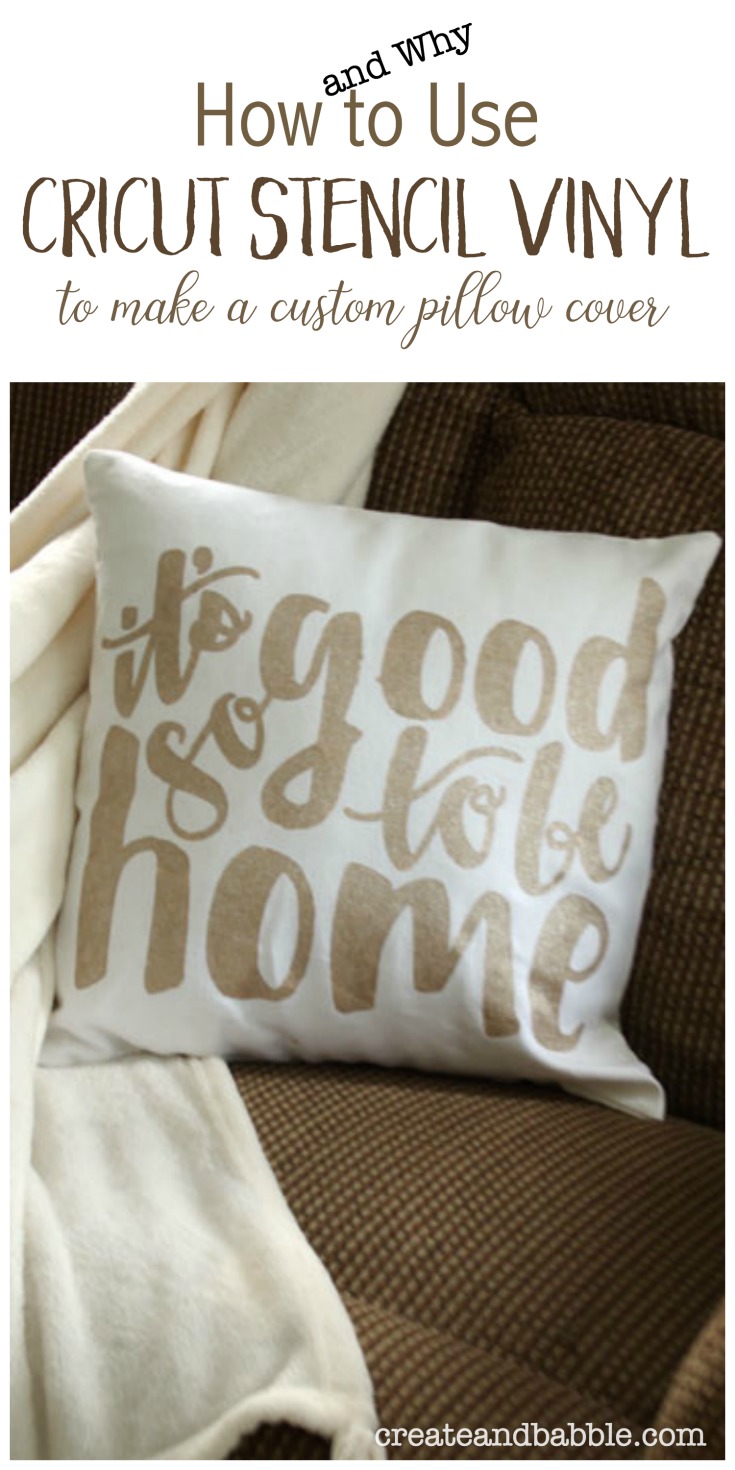
How and Why to Use Cricut® Stencil Vinyl
Cricut® Stencil Vinyl

In this tutorial, I’m going to show you How and Why to Use Cricut® Stencil Vinyl and how easy it is to make a custom pillow cover. Whether you have a Cricut® or a Silhouette® machine, you can use the Cricut® Stencil Vinyl in either machine. I used my Cricut Explore Air2 for this project.
Step One
Choose or make a design for your stencil. I chose to use a design that I found in the Cricut library. I clicked on the image to choose the file and clicked on “customize” so that I could enlarge it. Once it was the size I wanted, I clicked on “Make it”.

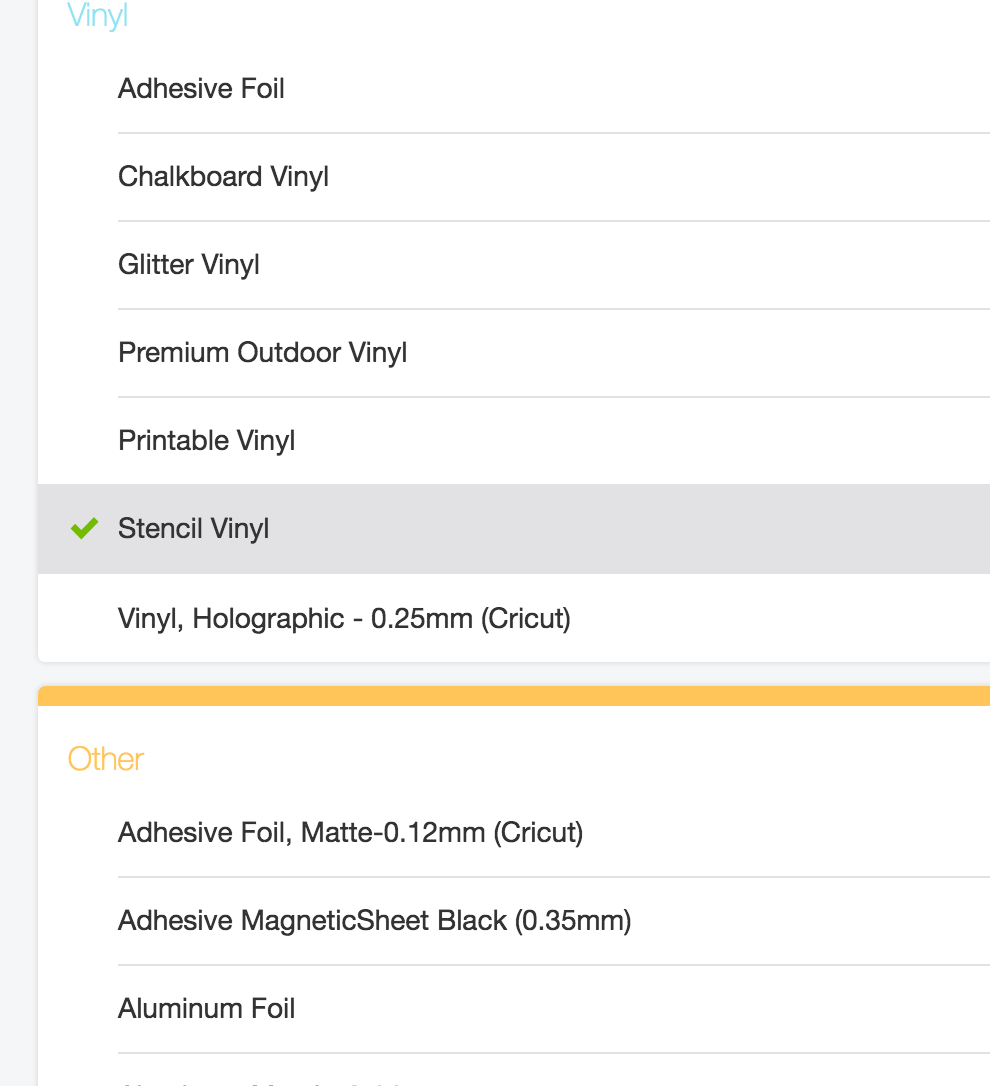
Step Two
Change the dial to “custom” and choose Stencil Vinyl under Vinyl
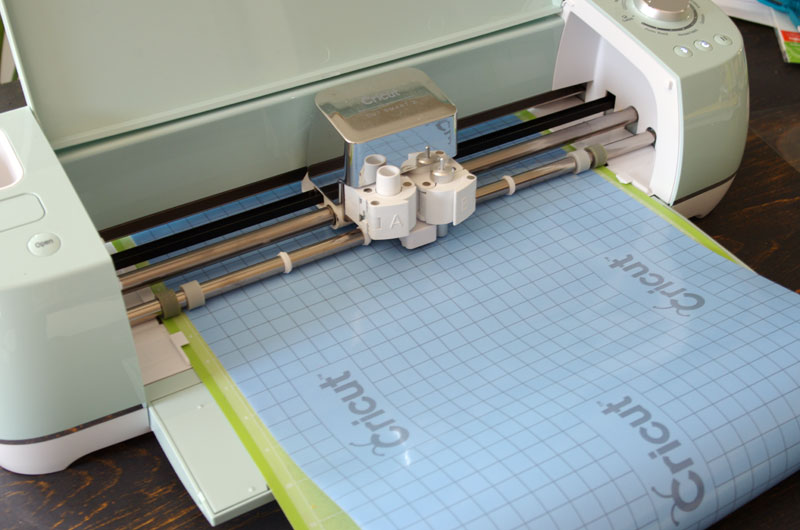
Step Three
Place the stencil vinyl on the cutting mat, grid side up. Insert mat and cut!
Step Four
After the Cricut® is finished cutting, remove the mat then remove the stencil vinyl from the mat. Now you are going to weed in reverse. Instead of removing the vinyl around the letters, you’ll be removing the vinyl letters themselves.
I used the Cricut® Bright Pad for the first time. It was so easy to see the cut lines using the Bright Pad!
Step 5
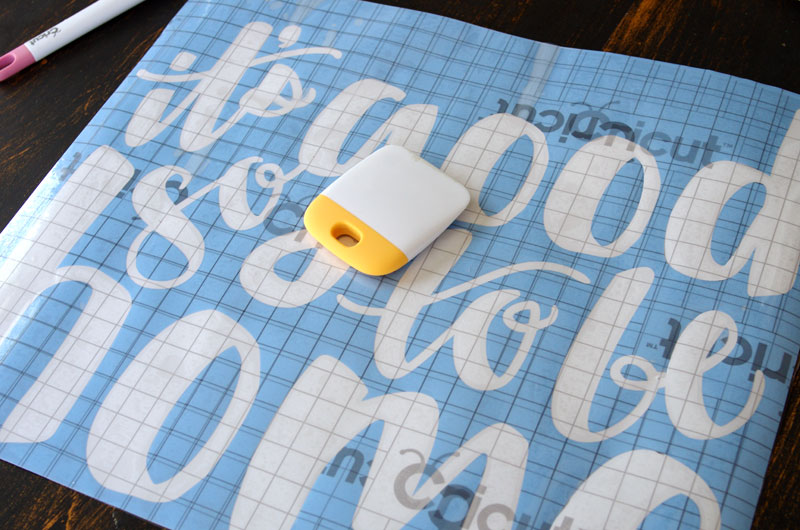
Carefully apply Cricut® Transfer Tape over the stencil using the grid lines to help you keep everything straight.
Step Six
Pull up transfer tape making sure that the “insides” of the letter loops transfer to the tape too. Take your time with this step.
Step Seven
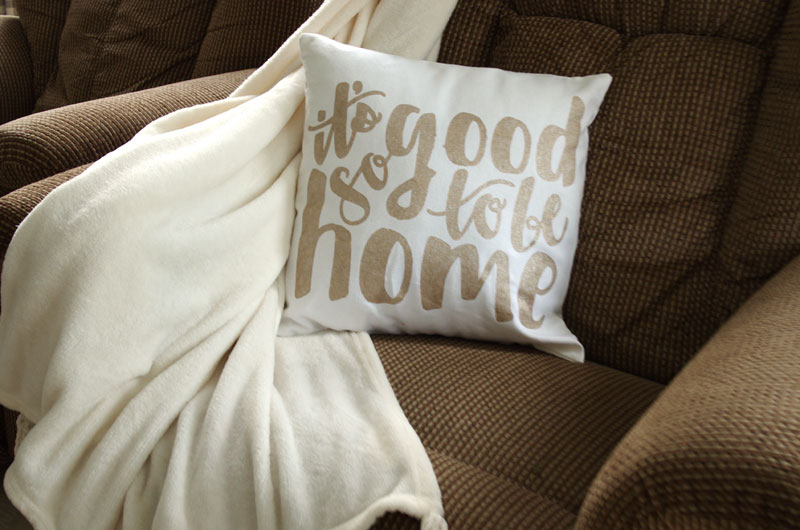
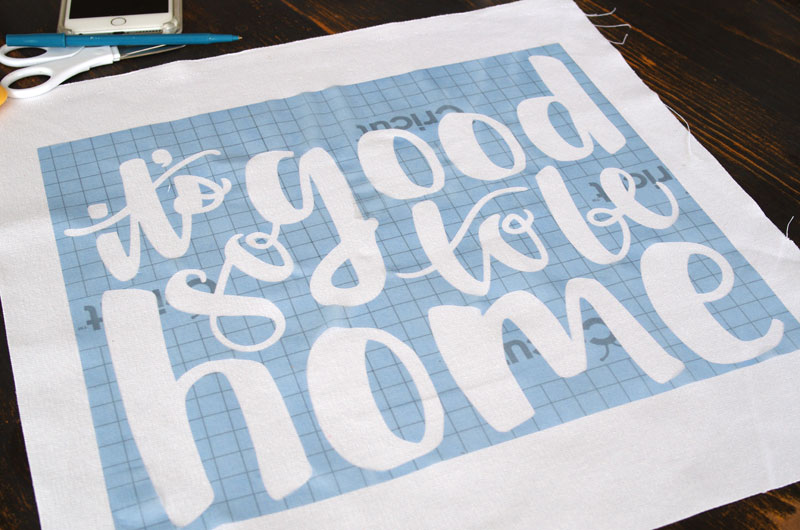
Place stencil on a plain pre-made pillow cover or fabric that you’re using to sew your own pillow cover. That’s what I did. I have so many pillow forms so I cut two squares of white duck cloth fabric slightly larger than my pillow form. I applied the stencil to one of those squares.
Step Eight
It’s time to paint!
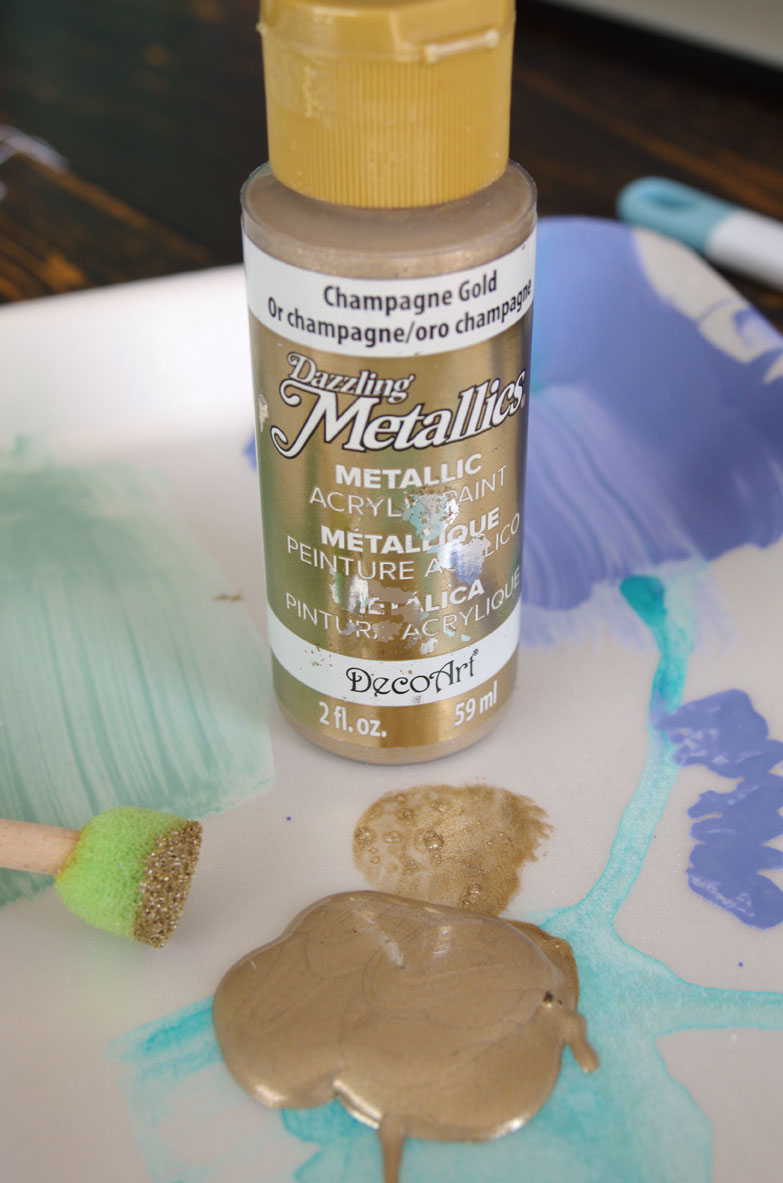
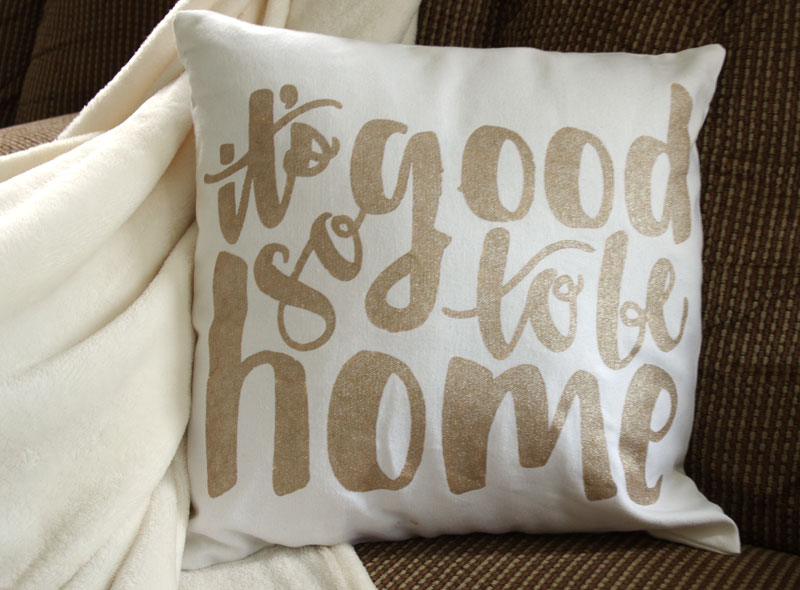
So grab your favorite paint and get stencilin’. I love the Dazzling Metallics paint by DecoArt. I love the gold shimmer of this Champagne Gold color.

Since the stencil vinyl is adhesive, there is less chance of the paint seeping under the stencil but it’s still a good idea to apply a few light coats of paint in a straight up and down daubing motion.
Carefully remove the stencil while the paint is still wet.
Step Nine
Once the paint is dry, go over lightly with an iron to set the paint and then insert pillow form into pre-made pillow cover OR sew your pillow cover together and then insert your pillow form.
Step Ten
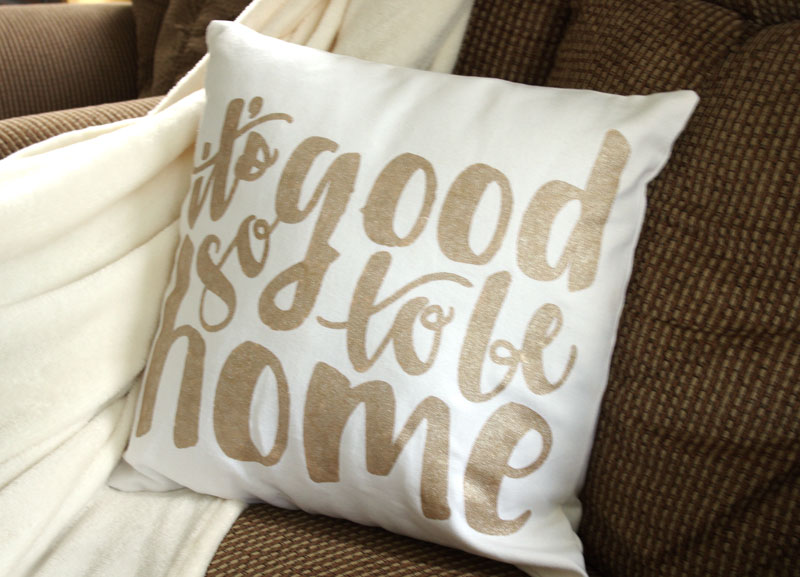
Stand back and admire your new pillow!
Click here for more Cricut tutorials.
Click here for more Silhouette tutorials.


Awesome idea! I’m getting into the crafty world and was looking for some type of stencil material to use. Is this one reusable? I’d like to try doing personalized bags for my students for field trips.
Thanks!
Help! I am doing something wrong. I use all the same steps except when I am weeding out my letters, as careful as I am, the vinyl will tear or rip and I can’t use it. Thoughts or suggestions?
Your blade isn’t cutting deep enough, or you need to change to a new blade, or you need to slow down the cutting speed. Lastly and more complicated in my opinion, if you made your own design and if you have done or checked all the first three, there are too many nodes especially if your design has lots of curves or delicate areas, ( nodes are places the cutter has to change direction – kinda ) I use a large format cutter with SCAL5 and it allows me to how to simplify or clean up the nodes….I’m sure most or all cutting programs have a way to do this as well. Stencil vinyl is tougher / slightly thicker so the blade setting is usually just slightly deeper than sign vinyl. Remember to test cut a small pattern every time you change brands or types of vinyl to help avoid this frustration. You should find plenty of videos online explaining each of the steps I mentioned for every brand of cutter imaginable. Vinyl cutting is fun until things go wrong then it’s just Ugh! Until you figure out why it happened and how to prevent it.
I love this design, project and your detailed instructions with step by step photos! I’m curious about the paint you used… I noticed it doesn’t specifically say fabric paint, maybe the bottle says it can be used on fabric, but can you wash this without damaging the paint? Obviously I would line dry rather than put in dryer but is the paint ok to put in the machine wash? Btw, last night I used the same vinyl stencil material for painting a stencil on a wood block for a wedding present and I have to say that stencil material is awesome and fool proof! I love that I can make my own stencils and it seals the edges preventing any bleeding. I have the ScanNcut 2 by Brother but I love using Cricut vinyl!
It seems there’s a step missing and it’s where my project was an epic fail. I got to step 7 where you apply the transfer tape then put the stencil in the fabric. I assume at this point you remove the transfer tape. I used cricket brand but wow that stuff sticks. It sticks so bad I could t pull it off the stencil vinyl. I read and reread instructions. It’s how I do it for walls. But this would not work. Thoughts?
there are different grades of transfer tape….maybe the one you used was to sticky…they make it with less tackiness….maybe that will help
I have had better luck with laying the transfer tape on the FABRIC first (BEFORE putting it on the stencil). Doing so picks up the loose fibers on the fabric and makes the tape a little less sticky. Then peel off the transfer tape and apply it to the stencil. Proceed as directed.
Great project! Thanks for sharing at To Grandma’s House We Go DIY, Crafts, Recipes and More Wednesday Link party! Pinned! Hope to see you next time!
What a nice message to put on a pillow. Wouldn’t that be soothing to see after a bad day!
Okay, now I really really really want a cricut! this pillow idea is adorable! thanks so much for sharing on craft schooling sunday back in July, the party is now back on and hope to see you there!
Do I remove backing from stencil vinyl before cutting?
Wow! Such a nice and informative blog!
Absolutely!
Since the stencil vinyl is adhesive, there is less chance of the paint seeping under the stencil but it’s still a good idea to apply a few light coats of paint in a straight up and down daubing motion.
https://www.maxicabserviceperth.com.au/