• Home
  • About
  • Contact
  • Partner
  • Privacy Policy
    • Facebook
    • Instagram
    • Pinterest
    • Twitter
    • YouTube

Create and Babble

  • DIY
    • Home Improvement
    • Upcycle
    • Furniture Makeovers
    • Build It
  • Craft
    • Silhouette
    • Sewing
    • Wedding DIYs
    • Seasonal
    • Gifts
  • Lifestyle
    • Bicyling
    • Travel
    • shopping

STAY UP TO DATE

Get the latest crafting and DIY tips, tricks and tutorials delivered straight to your inbox!

Beginner Silhouette® Project | Vinyl Door Decal

April 3, 2016

If you like it, please share it!Share on pinterest
Pinterest
Share on facebook
Facebook
Share on twitter
Twitter
Share on stumbleupon
Stumbleupon
Share on google
Google
Share on linkedin
Linkedin
Share on reddit
Reddit

affiliate lnk disclosure

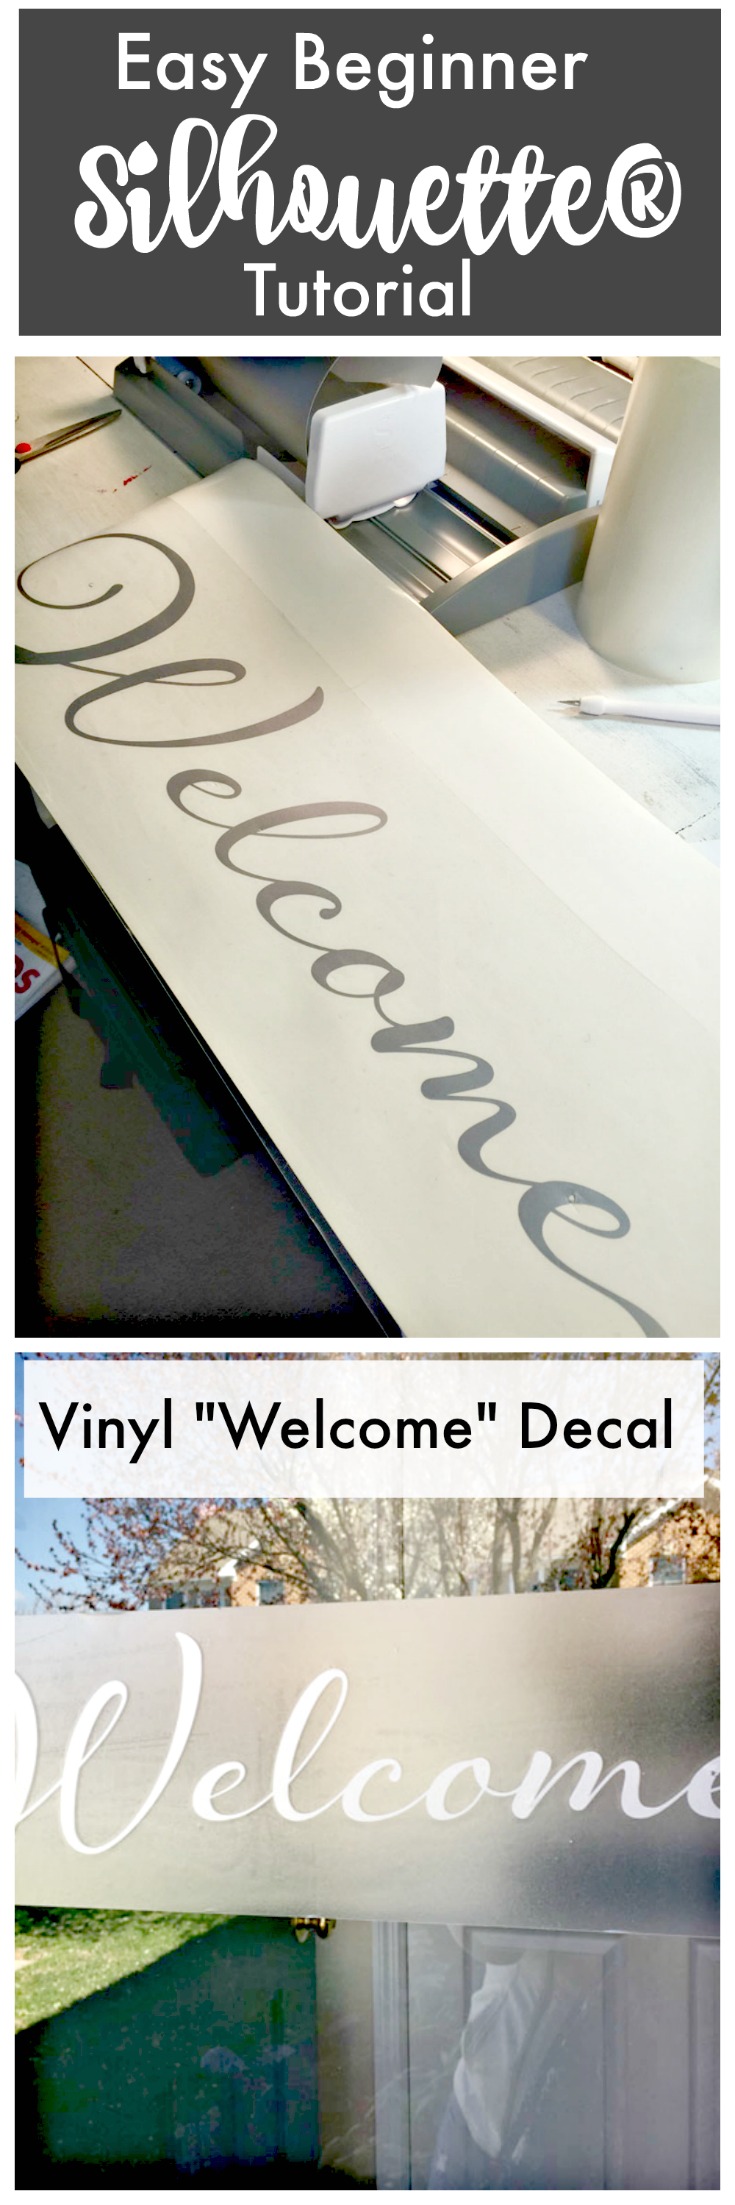
Hi friends and welcome back to another Silhouette Sunday! I hope you all enjoyed your Easter with family and friends. Today’s edition of Silhouette® Sunday is about my new welcome decal that I just made for my front door. This makes a good beginner Silhouette® project.

Easy Beginner Silhouette Tutorial - Vinyl Welcome Decal

I haven’t gotten around to decorating the front entry for Spring/Summer yet so I thought a new vinyl door decal would be a good starting point.

Use workmark.it to select a font

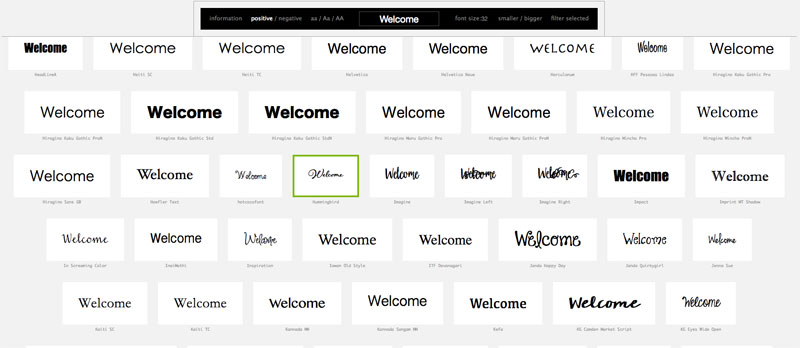
I started out by choosing a font using wordmark.it. If you haven’t tried workmark.it yet, you’re missing out! Go ahead try it! Just type a word in and it will will show you that word in every font that you have on your computer. I love it!

I chose the Hummingbird font for my vinyl decal

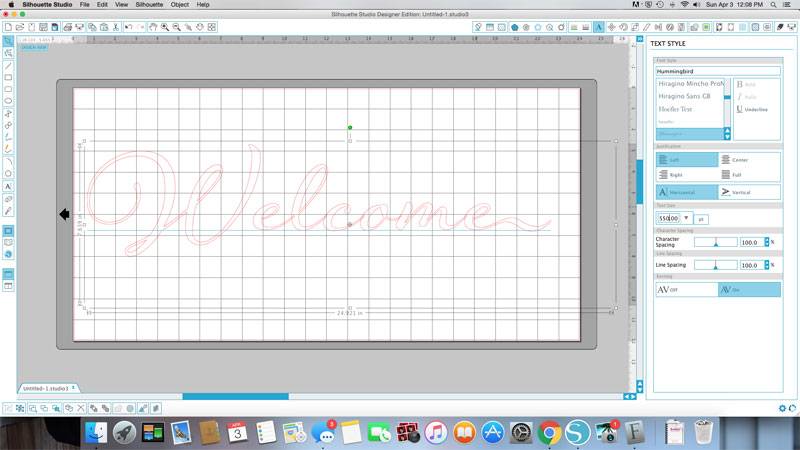
I decided to go with the Hummingbird font. I wanted my decal to be about 23″ long so a I used a point size of 550.

Screen Shot 2016-04-03 at 6.35.41 PM

Beginner tip: For a long shape such as this one, make the width the longest dimension and make the height the width of your material. In other words: my vinyl is 9″ wide, but I made the height 9″ and the width 24″. Does that make sense? Let me know if you need more clarification on that. It just makes it easier to see the word shape.

Beginner tip: Always draw a rectangle around the vinyl shapes. It makes weeding the vinyl so much easier!

My thoughts about the Silhouette® Roll Feeder

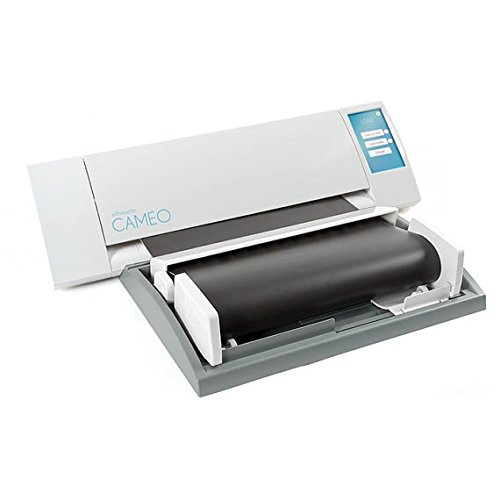
I bought a Silhouette® Roll Feeder several months ago and finally remembered to get it out of the box and use it today! (See, you’re not the only one!)

My opinion of the Silhouette® roll feeder

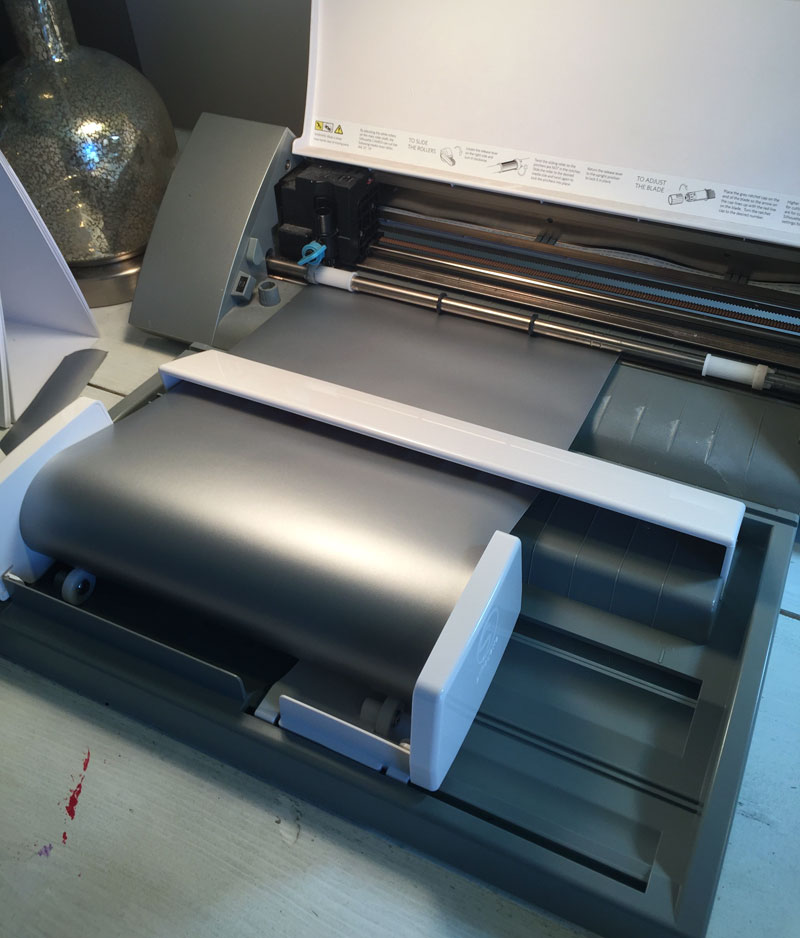
My opinion: BUY ONE! Seriously, if you use rolls of vinyl this is a must have! I have wasted so much vinyl over the years from it going askew for long designs. It was a cinch to attach to my Cameo. I didn’t even have to look at the directions. I love it!

Vinyl Welcome Decal cut with Silhouette® Cameo and the Silhouette® Roll Feeder

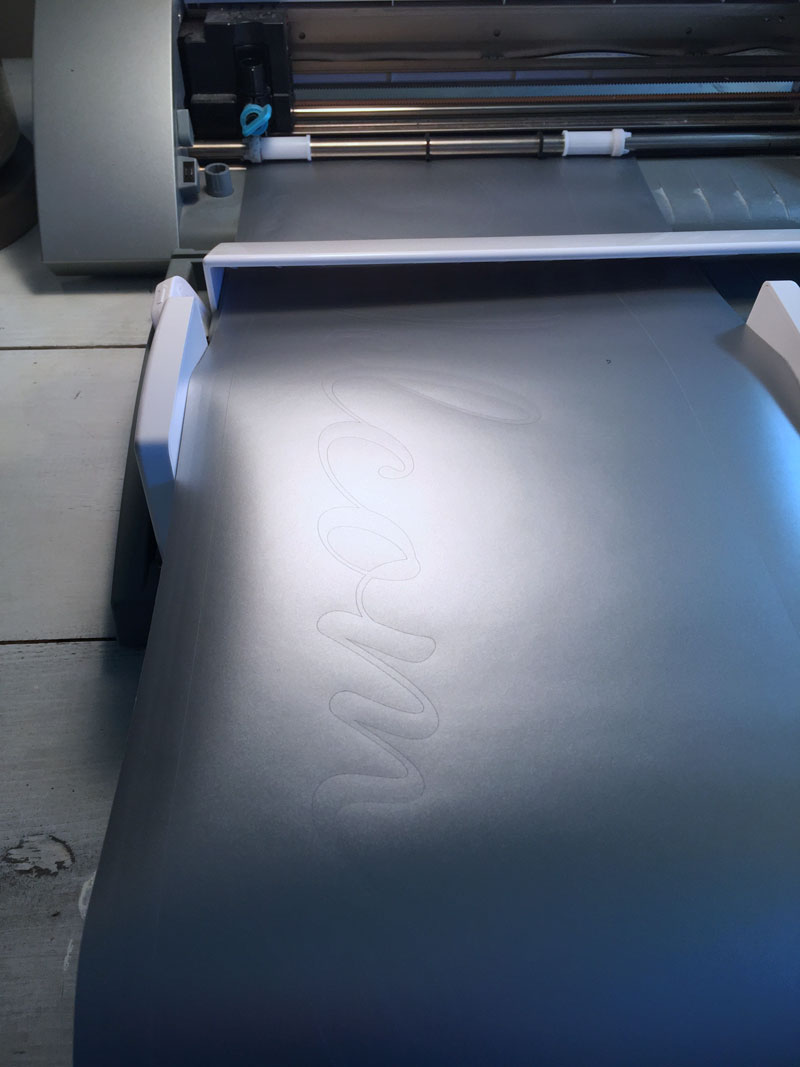
Look at that! No wasted vinyl!

Vinyl Welcome Decal cut with Silhouette Cameo

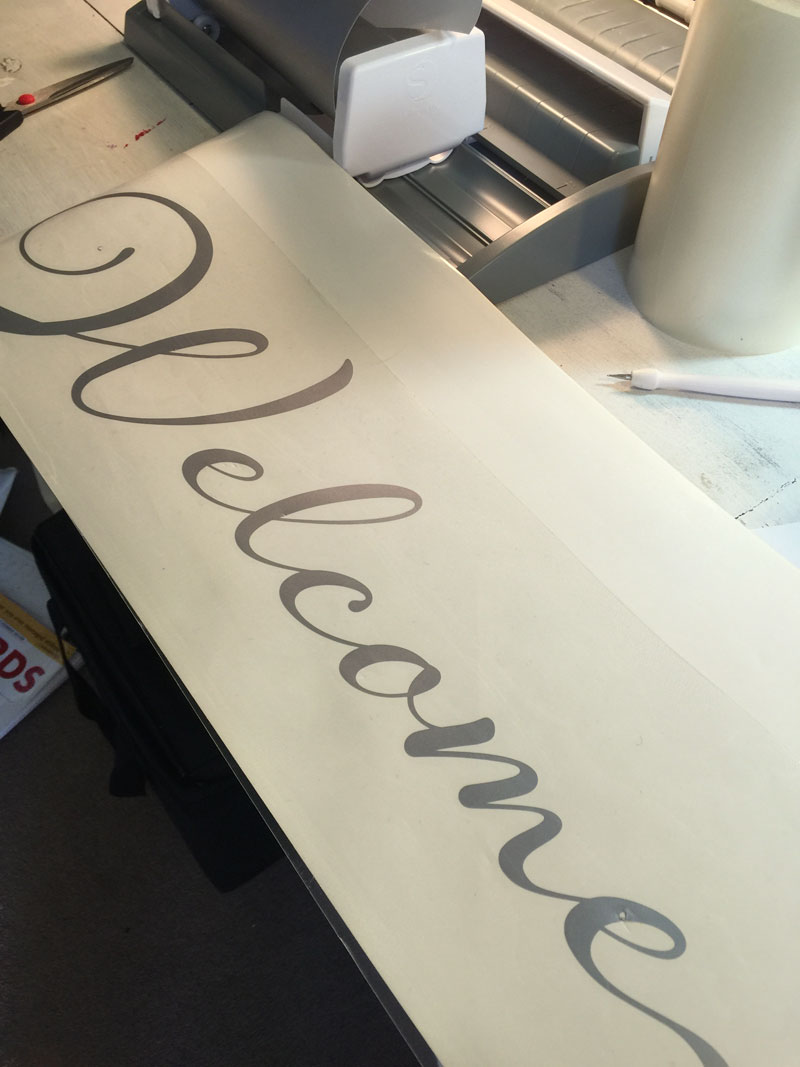
These big designs are so easy to weed which makes them a good project for a beginner. Once the shape was weeded (which just means removing the excess vinyl around the letters), I laid a piece of transfer tape over top of the word.

Welcome vinyl decal made with Silhouette® Cameo and Roll Feeder

Next I lifted the word shape off of the backing by pulling up with transfer tape with the word shape attached to the tape. Then I placed the design on my storm door. Once I was satisfied with the placement, I carefully peeled off the transfer tape, leaving the vinyl decal on the window of the storm door.

Vinyl Welcome Decal for the front door. an easy beginner Silhouette machine project

This makes a great beginner Silhouette® vinyl project. It’s just one word, a large design that’s easy to weed, and all you need is a piece of vinyl and some transfer tape or transfer paper.

If you’re one of my readers who hasn’t yet taken their Silhouette® machine out of the box I’d love to hear from you! I hope this project inspires you to take that step and make your first project. Please let me know if you have any questions. I’d love to help!

pin-this-post

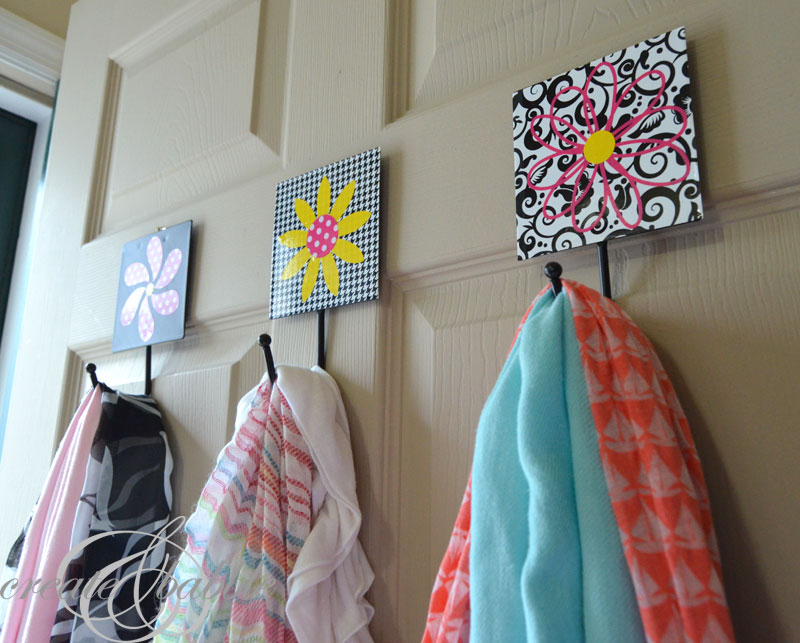
If you like this vinyl project, you may also like these vinyl ideas:

though-she-be-but-little

Nursery Wall Art

scarf storage solution vinyl decorated hooks_createandbabble

Scarf Storage Hooks

mixer-after-with-dots_createandbabble

Polka Dot KitchenAid Mixer

vinyl-dotted-vase_createandbabble

Polka Dot Vase

Silhouette Sunday on Create & Babble

Thanks for coming to another Silhouette Sunday. Have a wonderful week!

If you like it, please share it!Share on pinterest
Pinterest
Share on facebook
Facebook
Share on twitter
Twitter
Share on stumbleupon
Stumbleupon
Share on google
Google
Share on linkedin
Linkedin
Share on reddit
Reddit

Filed Under: Crafts, Silhouette, Tutorials

« Rocking Chair Makeover
Swap It | Two-Tiered Stand »

Comments

  1. John says

    April 29, 2016 at 2:23 pm

    Thanks for sharing this. I really like the script you used for the Welcome decal. Anything that makes managing long rolls easier is more than welcome, and it looks like the Silhouette helps out quite a bit.

    Reply
  2. Dina says

    May 7, 2016 at 11:36 pm

    Just got my Silhouette up and running and I am excited to get started..but quite overwhelmed! Thanks for the easy project idea!

    Reply
    • Jeanie says

      May 8, 2016 at 7:43 am

      Congratulations! You are going to have so much fun making pretty stuff! This is an easy project and a great way to get started using your machine. Let me know if you have any question.

      Reply
  3. Leanna says

    September 3, 2016 at 11:42 am

    Hi Jeanie: Thank you for showing me a vinyl roller, I didn’t know they existed. I must have one. I have never used wordmarkit, I cannot wait to try it. Your post was very helpful to me. Thanks for the learning.

    Reply
  4. Abby says

    October 26, 2016 at 11:59 pm

    What do you mean by “draw a rectangle around the vinyl shapes”?

    Reply
  5. Samantha says

    December 27, 2016 at 12:05 am

    Thank you for this post I need hat roller. Lol
    Question though do you now need to use a cutting mat?

    Reply
    • Samantha says

      December 27, 2016 at 12:06 am

      Wow I should of proof read lol
      that*
      Not*

      Reply
  6. Yuronda March says

    February 1, 2017 at 4:03 pm

    I got mine for Christmas, I was used to the old Cricut and didn’t realize I had to have a computer. So now I have a new laptop and don’t really know where to start.

    Reply
    • Rene Pullin says

      February 3, 2017 at 12:17 am

      I just got mine also and am overwhelmed. I had to buy a laptop. I didn’t have a Cricut so this is very new to me. I hope I don’t mess up my new machine.

      Reply
  7. Paula says

    May 24, 2017 at 3:53 pm

    I am trying to make a wedding gift- a floating frame with their last name on the back glass and their first names on the middle glass. My problems are how big should the font be for the last name and when I am trying to make sample cuts for sizing, I cannot get the entire name to cut- you got “welcome” to print but I cannot figure how to get a 7 letter last name to cut. I am using a 12×24 mat- tried just to use my vinyl without a mat and I had to stop the machine and play tug a war because the vinyl shifted. I would love some help- I have had my silhouette since they came out- I have been afraid to use it- this is my first project.

    Reply
  8. Barbara says

    June 7, 2017 at 8:48 pm

    Is the vinyl removable?

    Reply
  9. d'Andrea Chatman says

    August 18, 2017 at 2:29 pm

    Hi…In the “Welcome” tutorial for beginners….would you explain what you were talking about when you said..” I used point size 550″….. what is point size? Also how do you cut with a mat?

    Reply
  10. Melissa f says

    October 10, 2017 at 2:44 pm

    What vinyl do you use?

    Reply
  11. Amy T says

    January 27, 2018 at 2:29 pm

    I found this tutorial helpful however I feel like I need even more ‘idiot proof’ instructions! When you use workmarkit, how exactly do you get the font to the Silhouette Studio and work from there? Can you expand your instructions even further? Please & thank you!!

    Reply
    • Jeanie Emmert says

      January 29, 2018 at 5:17 pm

      workmark.it and Studio work the same in that the fonts that you own are there!

      Reply
  12. Brenda says

    June 22, 2018 at 3:23 pm

    My silhouette in a box is three years old. Don’t know why I find it so frightening but I just can’t get it out. Any help would be most appreciated! At the moment it is hidden behind a chair because it makes me feel so guilty. It’s not like it was cheap – lot of money to be hiding behind a chair!

    Reply
  13. Doris Meneses says

    December 28, 2018 at 12:58 pm

    Just received my Silhouette Cameo 3 for Cristmas and don’t know where to start. May start by trying this project for our new home.

    Reply
  14. okbet 2022 says

    December 5, 2022 at 10:37 pm

    Hi just want say that this article is very nice and very informative article.I will make sure to be reading your blog more.
    okbet login

    Reply

Trackbacks

  1. A easy vinyl Welcome entrance door decal is a superb newbie Silhouette® challenge – Clara Jone Blog says:
    November 29, 2016 at 3:36 am

    […] Previous Previous post: A Therapist’s Prescription for Higher Psychological Well being –… Search for: […]

    Reply
  2. A simple vinyl Welcome front door decal is a great beginner Silhouette® project – I Am Learner says:
    January 6, 2017 at 7:05 am

    […] Previous Previous post: galaxy acoustic guitars – Google Search… Search for: […]

    Reply
  3. A easy vinyl Welcome entrance door decal is a superb newbie Silhouette® venture – Clara Jone Blog says:
    January 10, 2017 at 1:45 am

    […] Previous Previous post: Important oils for sagging skins – it occurs after weight reduction an… Search for: […]

    Reply
  4. How to Make Front Door Decals - Create and Babble says:
    April 2, 2018 at 12:31 pm

    […] The vinyl “Welcome” sign that is on my storm door has been there for years. This vinyl decal project is a great beginner project if you’re new to using the Silhouette Cameo. A full tutorial on how to use your Silhouette Cameo to make a “welcome” decal can be found here. […]

    Reply
  5. 3diurnal says:
    January 12, 2022 at 4:27 pm

    1columns

    Reply

Leave a Reply Cancel reply

Your email address will not be published. Required fields are marked *

About Jeanie

About Jeanie

Welcome to Create & Babble. This is where I share my loves: crafting, hiking and camping

Read more about me here

Categories

Archives

AntiqueFarmHouse
Zots Craft Adhesive Dots

Amazon Associates Disclosure

Jeanie Hevener Emmert is a participant in the Amazon Services LLC Associates Program, an affiliate advertising program designed to provide a means for sites to earn advertising fees by advertising and linking to amazon.com.


hobby lobby

Copyright © 2025 · Site by Pretty Pink Studio

Copyright © 2025 · Glam Theme on Genesis Framework · WordPress · Log in

This website uses cookies to improve your experience. We'll assume you're ok with this, but you can opt-out if you wish.Accept Reject Read More
Privacy & Cookies Policy

Privacy Overview

This website uses cookies to improve your experience while you navigate through the website. Out of these, the cookies that are categorized as necessary are stored on your browser as they are essential for the working of basic functionalities of the website. We also use third-party cookies that help us analyze and understand how you use this website. These cookies will be stored in your browser only with your consent. You also have the option to opt-out of these cookies. But opting out of some of these cookies may affect your browsing experience.
Necessary
Always Enabled
Necessary cookies are absolutely essential for the website to function properly. This category only includes cookies that ensures basic functionalities and security features of the website. These cookies do not store any personal information.
Non-necessary
Any cookies that may not be particularly necessary for the website to function and is used specifically to collect user personal data via analytics, ads, other embedded contents are termed as non-necessary cookies. It is mandatory to procure user consent prior to running these cookies on your website.
SAVE & ACCEPT