Thank you to Coupon Dash for sponsoring today’s post.
Anyone that knows me knows that I don’t like to see Summer end. I am definitely a warm weather girl. And since I live in the northeast I go through this every year: a sadness and reluctance to put away the fun summer stuff.
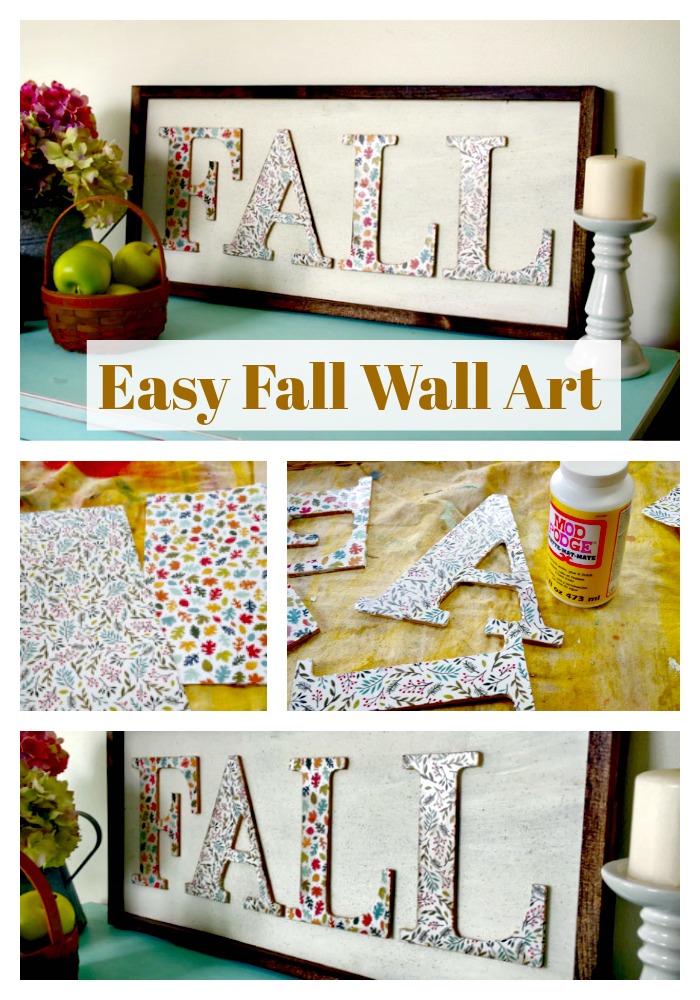
One thing I’ve learned is that I can “ease the pain” of transitioning from Summer to Fall by decorating the house with pretty fall decor. And if I can make some of the decor myself, all the better! Like this easy DIY Fall Wall Art.
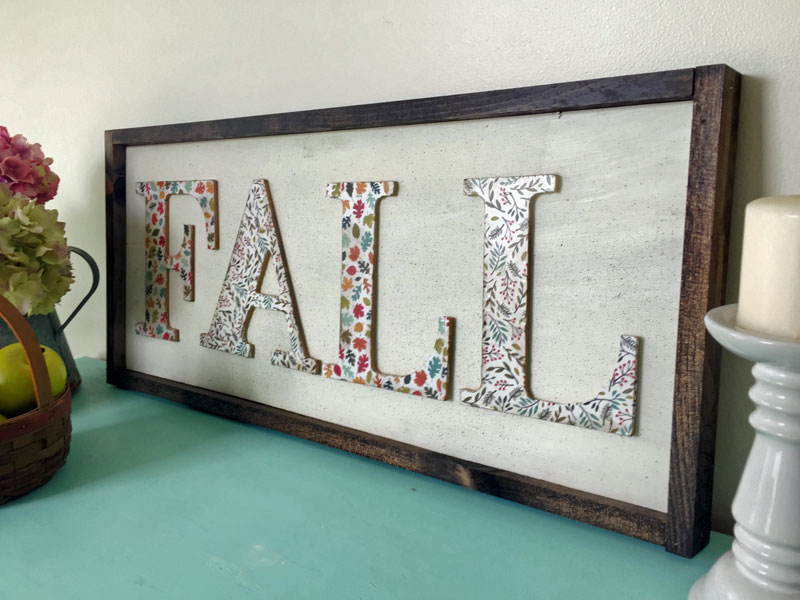
And today I want to show you how you too can make this pretty Fall Wall Art easily for not a lot of money. Especially if you remember to take your coupons to Michaels for the supplies. And if you’re like me and forget to take your coupons, sign up for Coupon Dash and receive the coupons via email and not worry about clipping coupons. Also through Coupon Dash, you can see all of the specials and deals that are going on at your favorite retailers in a glance.
How to make Easy DIY Wall Art
Step One
Gather supplies
- 8″ wooden letters from Michaels (or any size you want!)
- 2 sheets of 12″ x 12″ scrapbook paper
- piece of 1/2″ plywood (mine is 29″ x 12″)
- 1 x 2’s for frame pieces
- Mod Podge
- craft knife
- scissors or paper trimmer
- paint
- stain
- brushes
- sanding sponge
- rags
- wood glue, hot glue, or staple gun
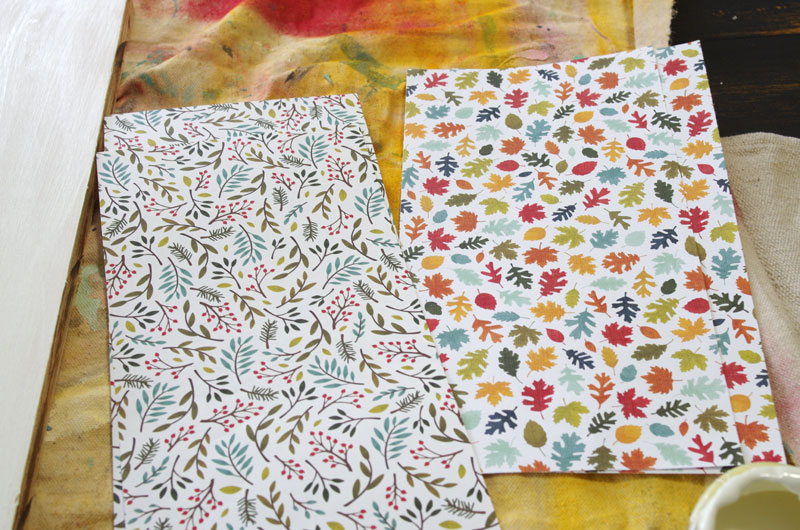
I used two different patterns of scrapbook paper.
Step Two
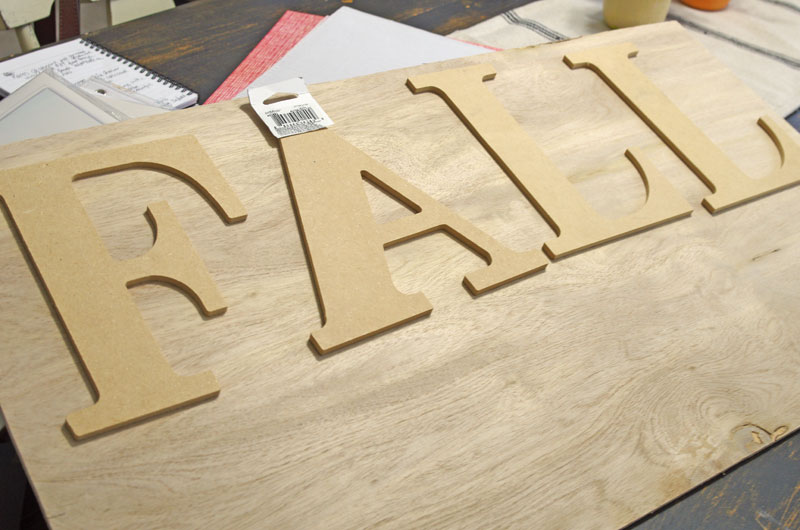
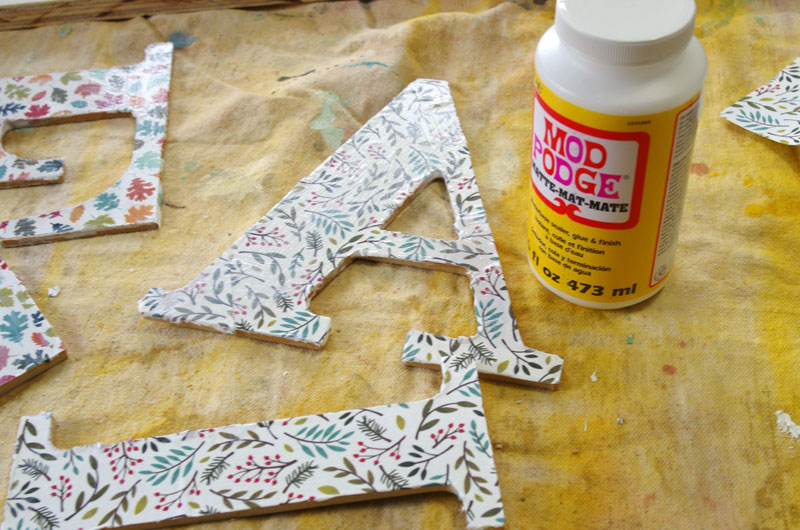
Cut the sheets of 12 x 12 scrapbook paper in half then decoupage the scrapbook paper onto the letters. You do this by brushing on a coat of Mod Podge onto the letters with a bristle brush. Then place the scrapbook paper over the Mod Podge and lightly brush more Mod Podge over top. Don’t worry. It dries clear. ?
Step Three
While the letters are drying, now is a good time to get the frame background of the wall art ready. Start by painting the plywood and staining the frame pieces. I used leftover wall paint and stain that I already had.
Step Four
Once the letters are dry, go over the edges with the sanding sponge, wipe away dust, then go over edges again with the rag that you used for the stain.
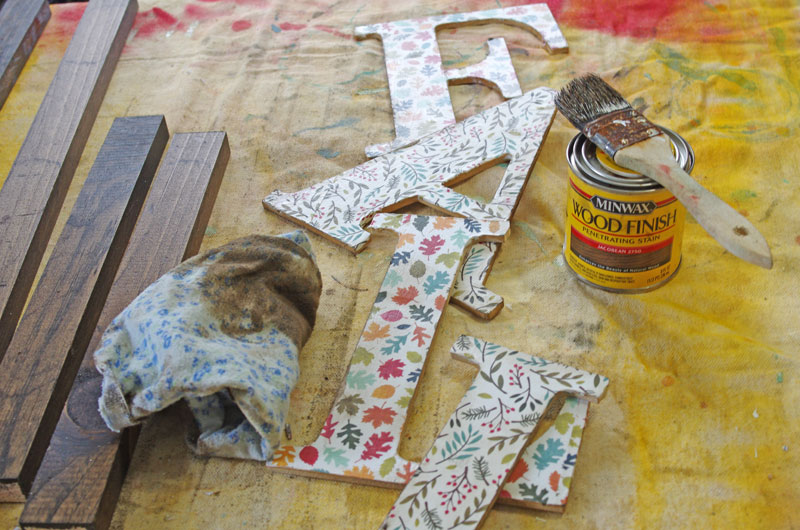
Sanding and staining the edges of the letters gives them a distressed and worn look which I think adds character to the finished piece.
Step 5
Assemble the frame by attaching the 1 x 2 frame pieces to the plywood piece. I used my Ryobi Airstrike stapler but wood glue or hot glue could work also.
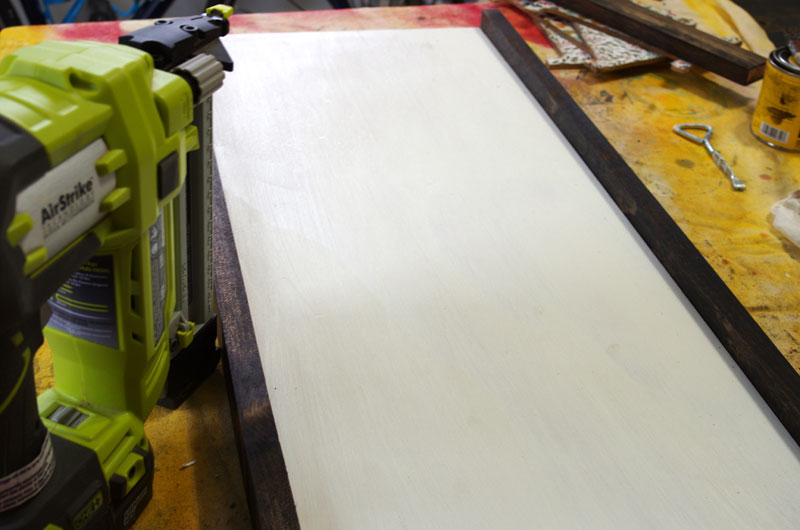
Once the frame is assembled, you can flick the bristles of the stain brush over the white plywood if you’d like to add interest.
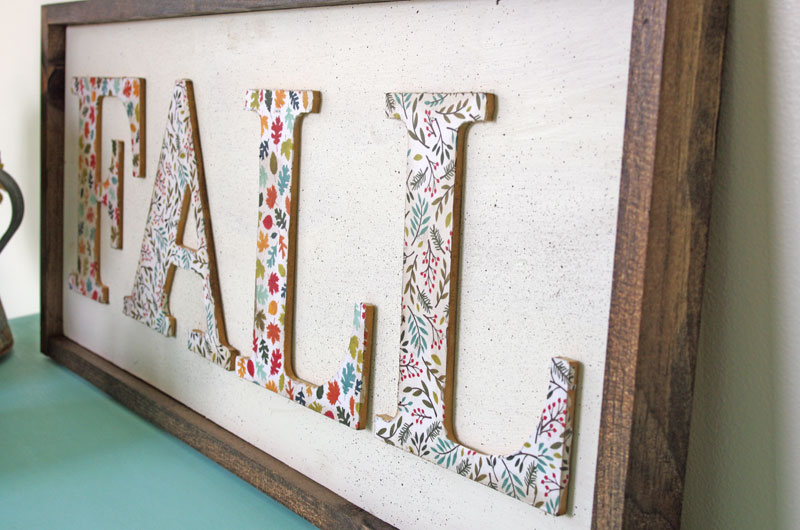
This step is optional but I like how it makes the white background a little less stark.
Step Six
Attach the letters with wood glue and then allow to dry.
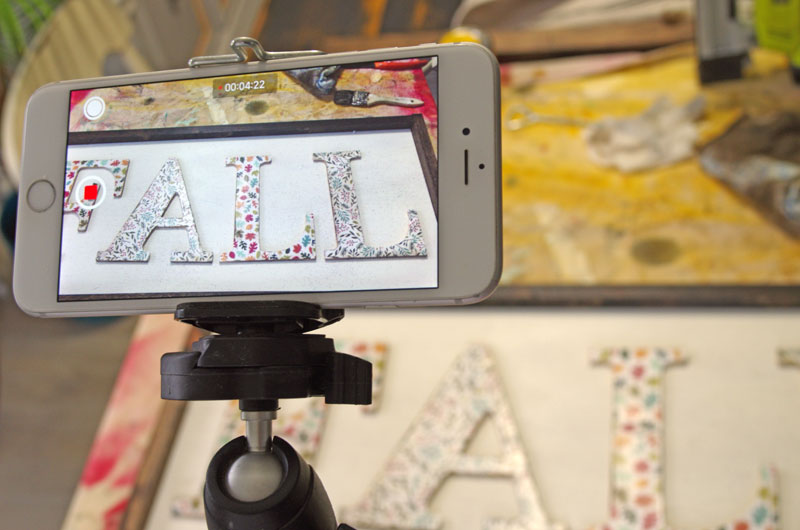
Then stand back and admire your easy DIY Fall Wall Art!
I made this quick, short video that shows the whole process:
If you like this Fall project, please check out these other ideas:




This Fall wall art looks awesome! I’m definitely going to make one for my mantel too. Thank you for the details! =)
Jeanie
I love the quick and easy fall wall art you made. The scrap book paper is perfect for the letters.
super tute!
pininng!
Thanks Gail! It was a fun little project. Thanks for pinning!
Thanks a lot JEANIE for writing on an interesting topic like this with so detail step by process. Great tutorial. Now I can make one for myself.
This is awesome, my wife was looking for DIY instructions like this for our baby room! Thanks for much for the info!
This is a cute idea for any time of year.
Do you think I could do a project similar this using a purchased frame and attaching the letters to the glass insert? If so, what type of adhesive would you recommend to attach wood to glass?
I’m a DIY Wall Art lover! Already I have made a huge wall art for my loving house. Your ideas have added something new to it. I will try and must apply your suggestions in my next projects!
This is AMAZING! Thank you so much for sharing and thanks for the inspiration.
I loved your idea This is a great idea Thank you for sharing your article.
This is so creative. Thanks for the wonderful ideas!
Just wow. This is clean and a very good idea. My daughter liked it so much. we’re going to try this weekend. Thanks for sharing.
Wow, this is so pleasing and adorable. I am certainly going to make one for myself.
very informative and interesting post is this, really i will appreciate for this kind of content. you have been described the wall art very well. keep up the good work. Thanks
I had almost finished making one of these yesterday before I came upon this… I used about one and a half cups of fresh cherries (I am obsessed with my cherry popper), one banana that was on the smaller side, one cup of yogurt, and one teaspoon of organic moringa powder (leaves) penalty kick online.
It looks great in any room. Easy steps and suitable for anyone. Thanks for sharing from El Millón
DIY Fall Wall Art I find very interesting and creative. Fall is beautiful when you know how to decorate artistically.