Plain, frameless mirrors. How boring! I have been wanting to frame my bathroom mirrors since, well, forever. Since even before the powder room remodel. It seems like such an easy DIY that practically anyone could do and makes such a dramatic difference.
However, there was one problem. My mirrors are attached with those pesky, little metal clips.
How to Frame a Mirror with Clips in 5 Easy Steps
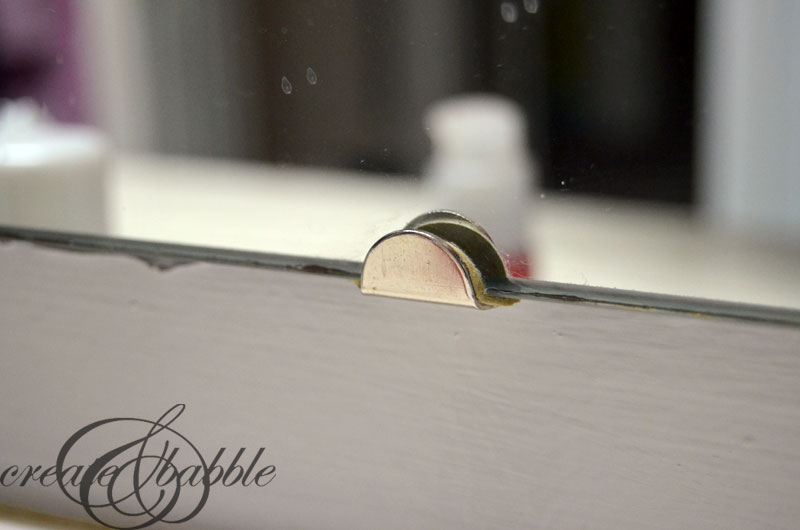
Since I was unable to find a tutorial that dealt with those pesky little buggers, I was left to my own devices (which isn’t always a good thing – but this time it worked out) and came up with a way. So if you’ve been yearning to frame your clipped on mirrors, read on!
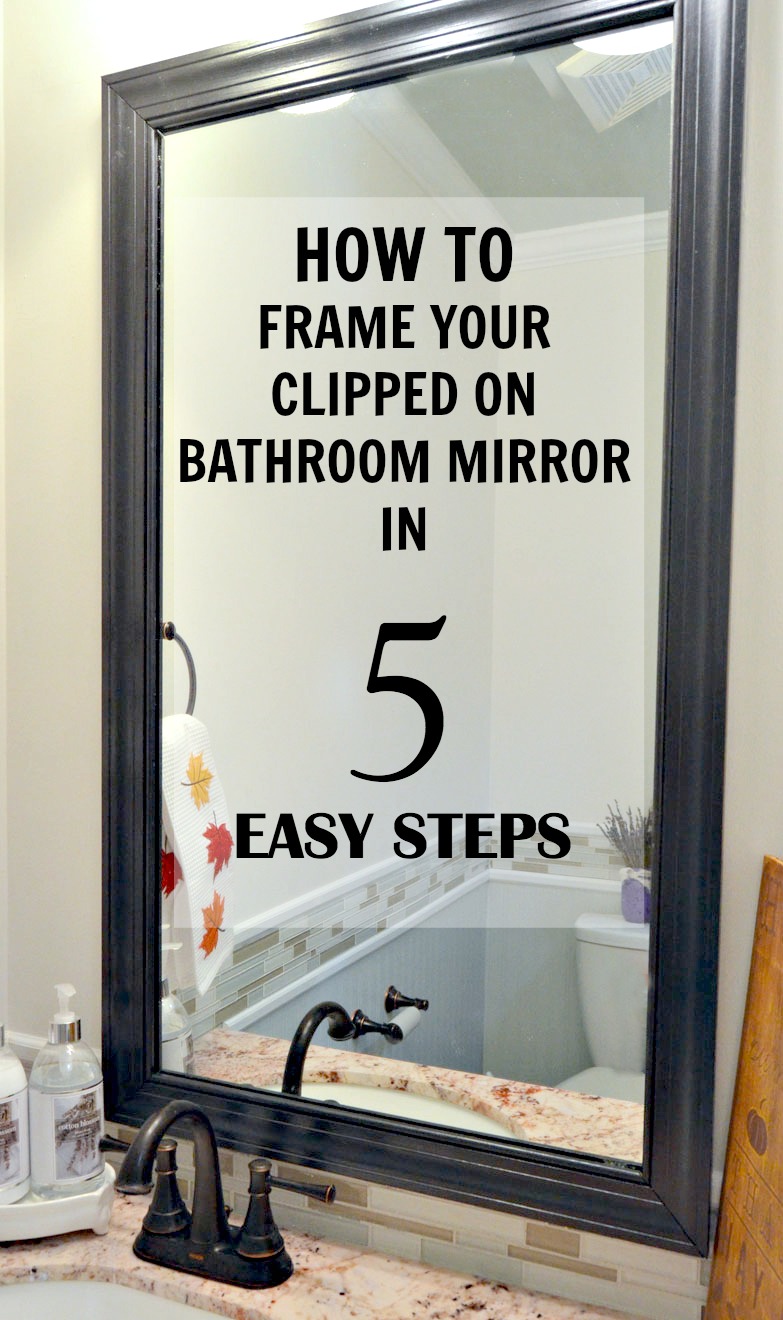
When there’s a will, there’s a way. And this way is five easy steps.
Here’s how to frame a clipped-on mirror in 5 easy steps:
Materials (includes affiliate links):
- wood trim (I used baseboard trim)
- miter saw
- utility knife (affiliate link)
- small chisel (affiliate link)
- paint or stain
- Liquid Nails adhesive (affiliate link)
- measuring tape (affiliate link)
- painter’s tape
STEP ONE
Measure the outside dimensions of the mirror.
STEP TWO
Cut the wood to the dimensions measured at a 45 degree angle
STEP THREE
Place the piece of wood against the mirror and mark the location of the clips with a pen or pencil. Using a utility knife, carefully make slices into the wood between the marks.
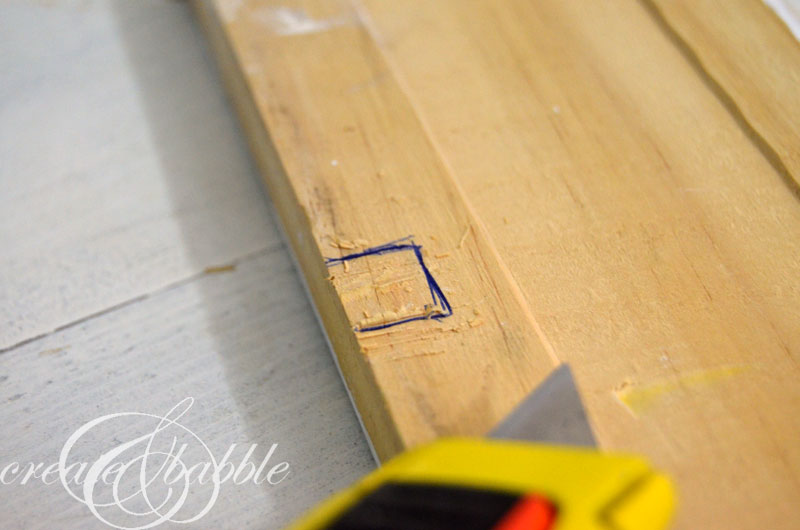
At this point, you can use a small chisel to make a small recess into the wood.
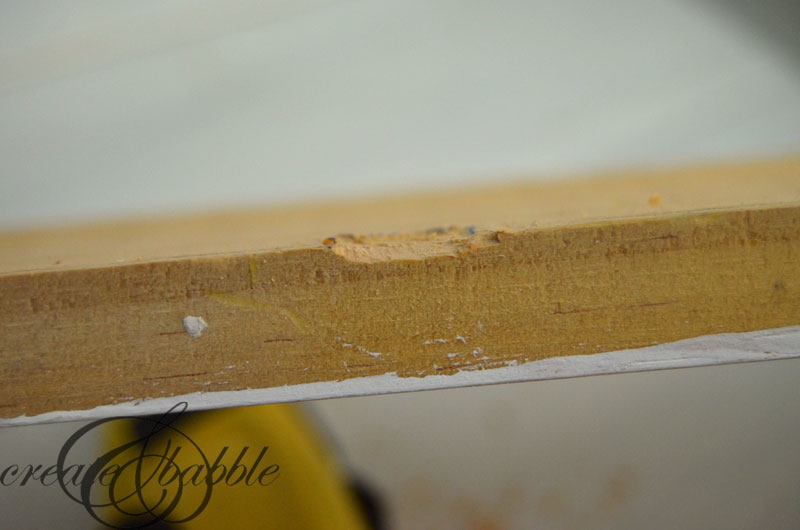
STEP FOUR
Paint or stain the frame pieces, being sure to paint or stain the back of the wood, too. (You’ll be able to see the reflection of the back of the frame so it needs to look good too ; )
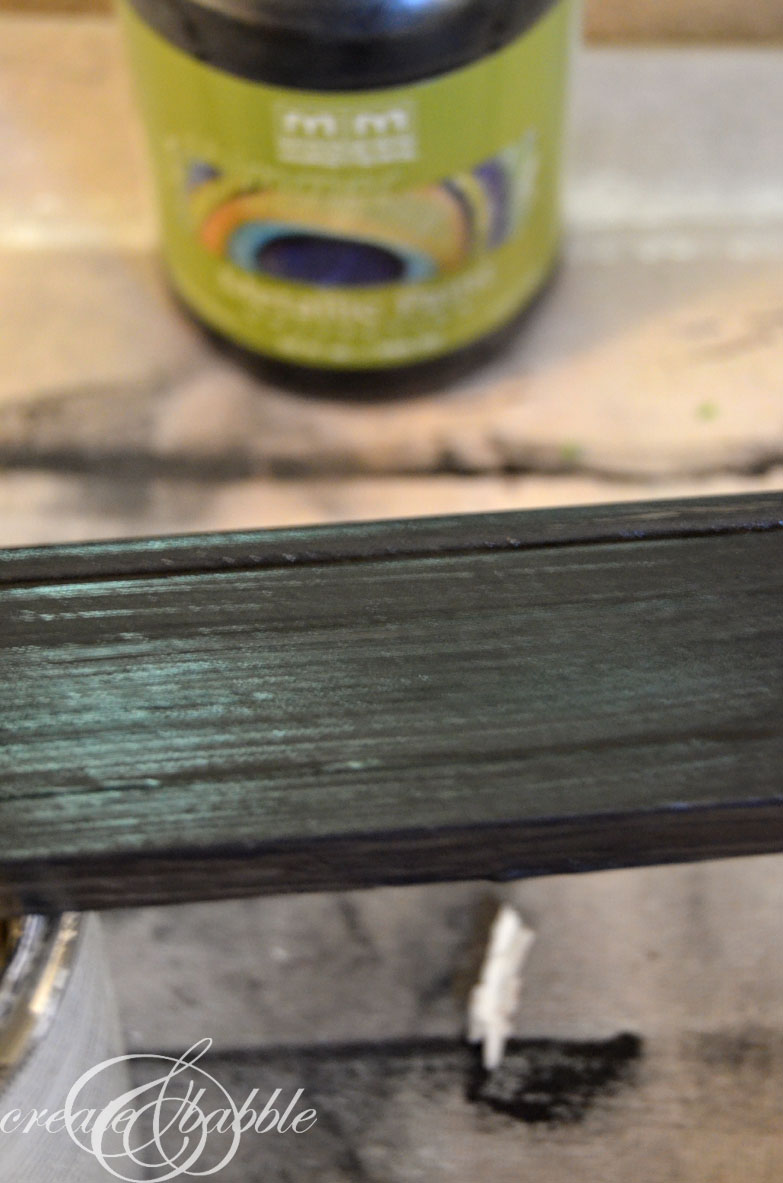
I used the same Modern Masters metallic paint that I used on my interior doors.
STEP FIVE
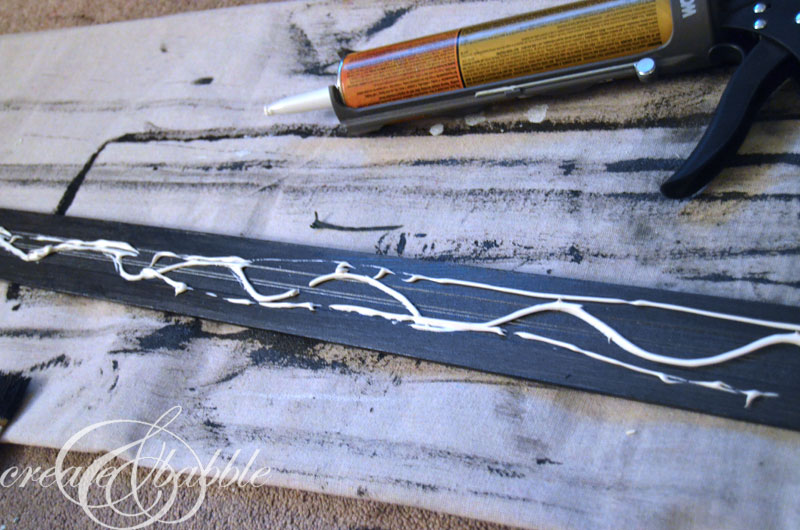
Apply Liquid Nails adhesive to the back of the frame pieces, then place the frame pieces in place on the mirror.
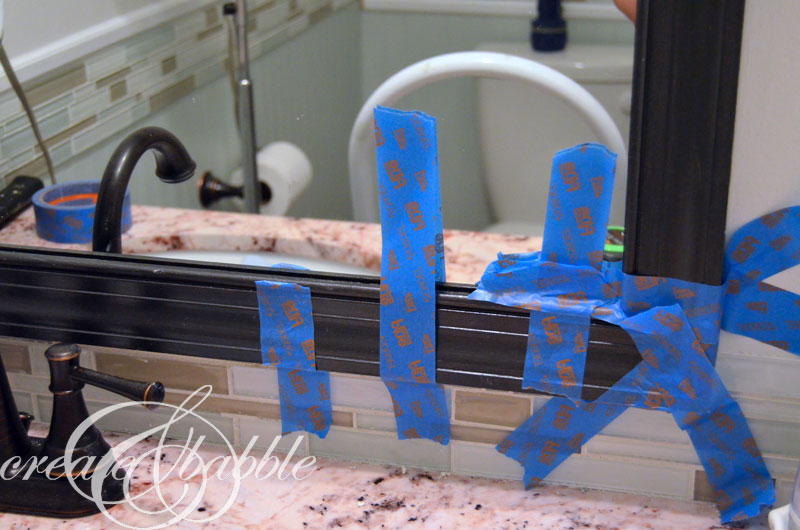
To keep the frame in place while the adhesive is drying, use strips of painter’s tape.
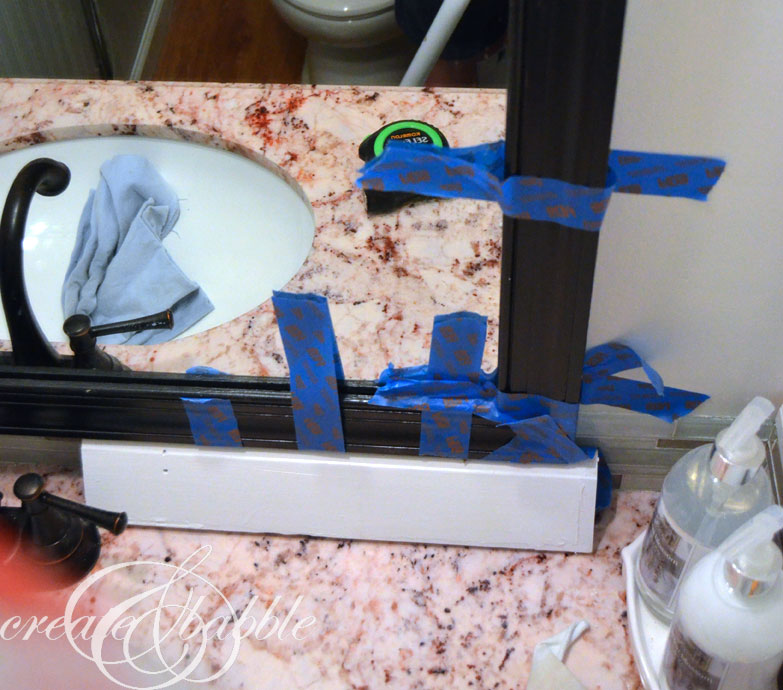
Since there is space between my mirror and sink, I wedged some scrap pieces of wood in that space to keep the frame from slipping while the adhesive dried.
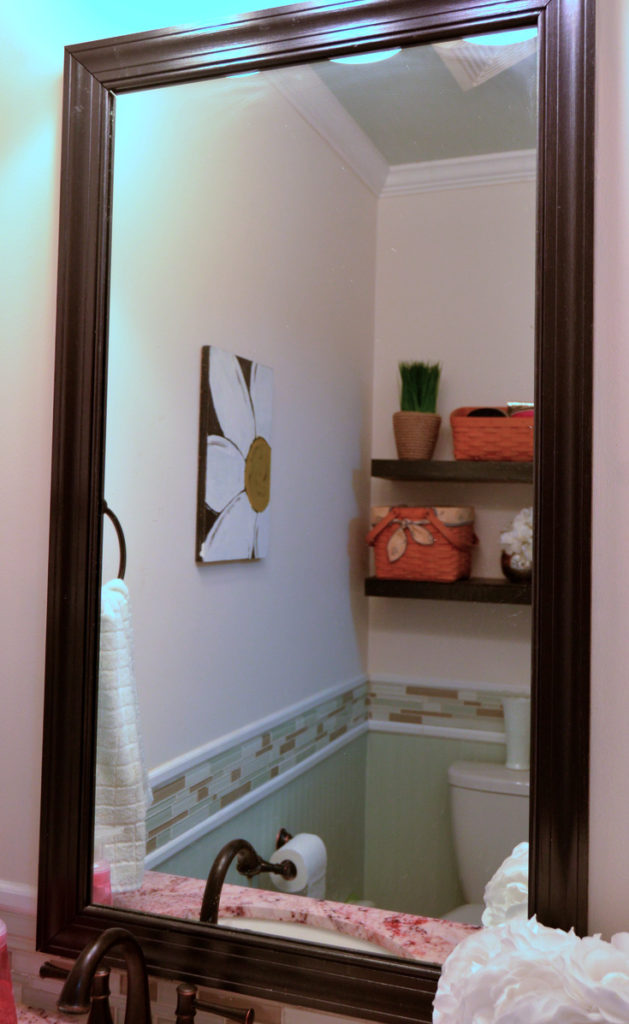
There you have it! An easy way to frame your bathroom mirrors, even if they have clips. A framed mirror looks so much better, don’t you think? And it’s such an easy DIY.
Click here to receive a free printable instruction guide to frame your clipped-in mirror!
If you liked this easy DIY, here’s a few more DIY ideas that I’m sure you may find useful, too:
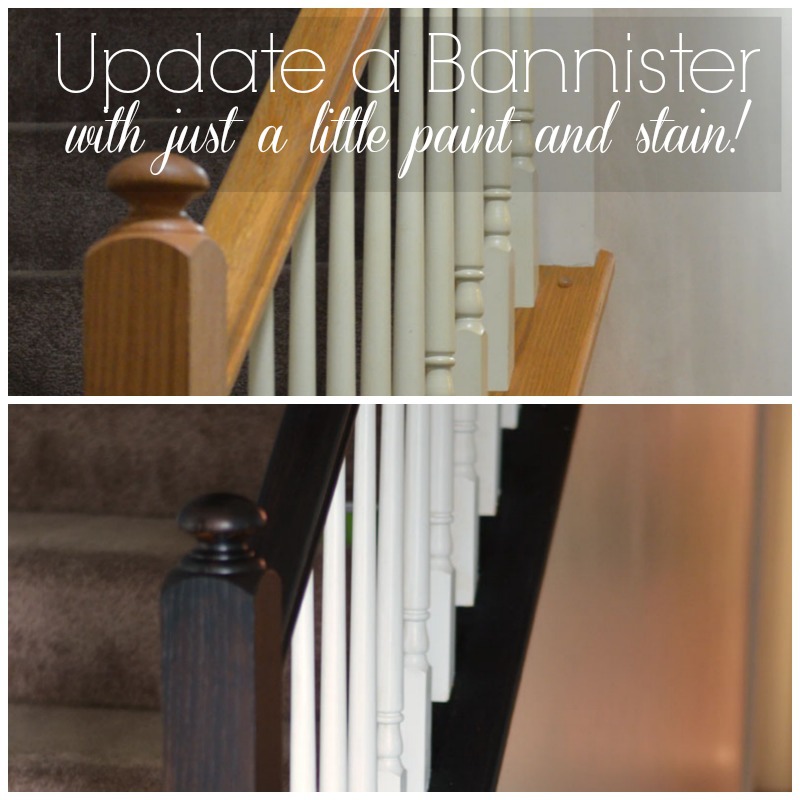
How to Update a Bannister with Paint & Stain.
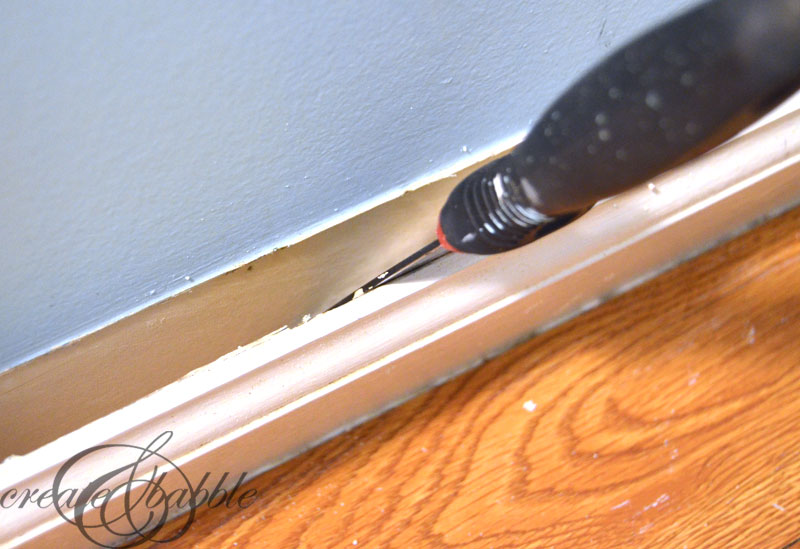
How to easily remove baseboard trim.
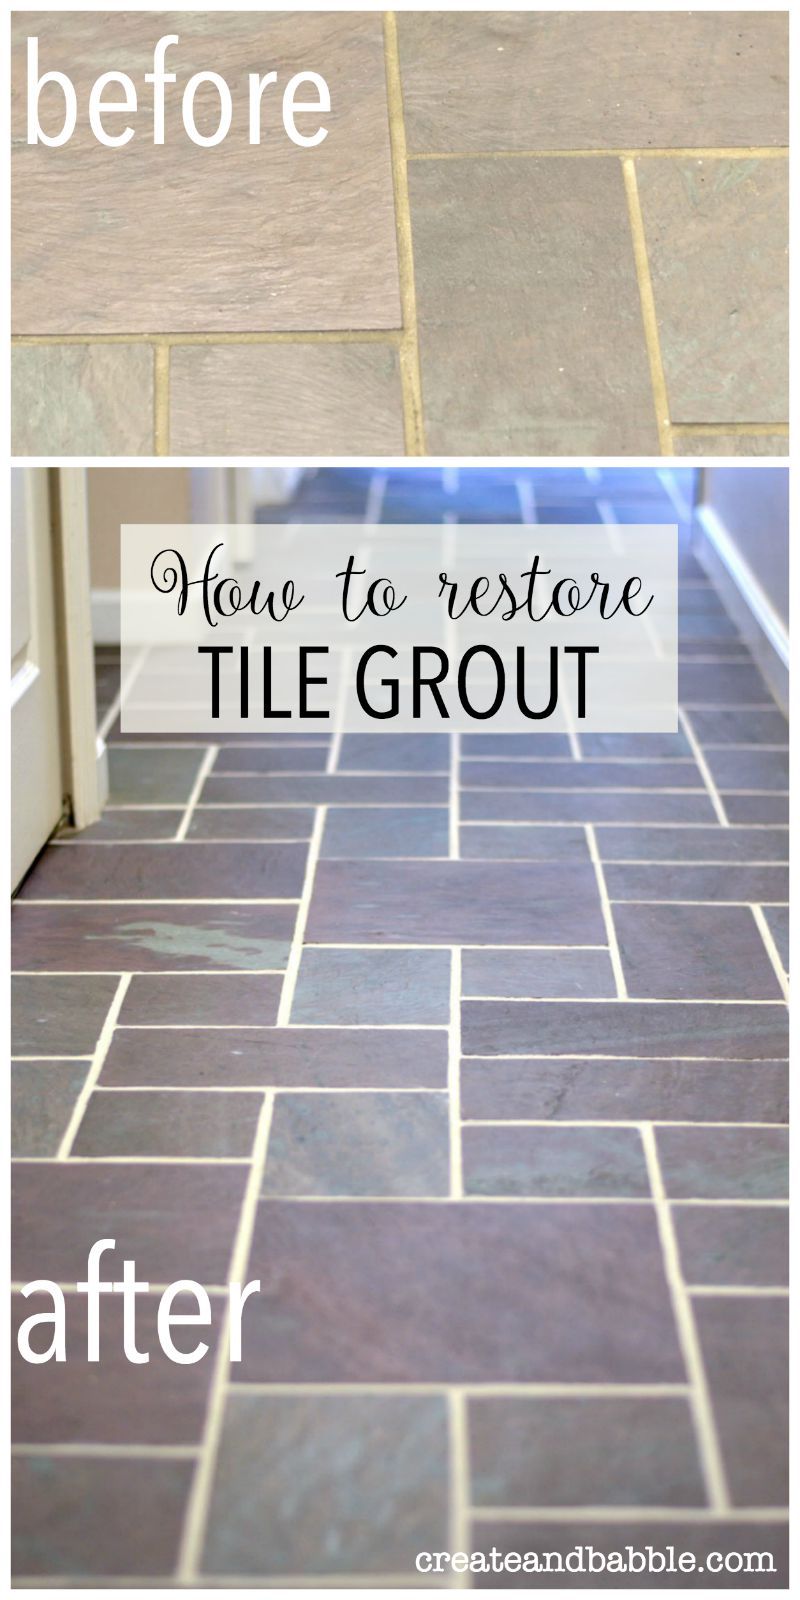
How I got my grout to look like new!
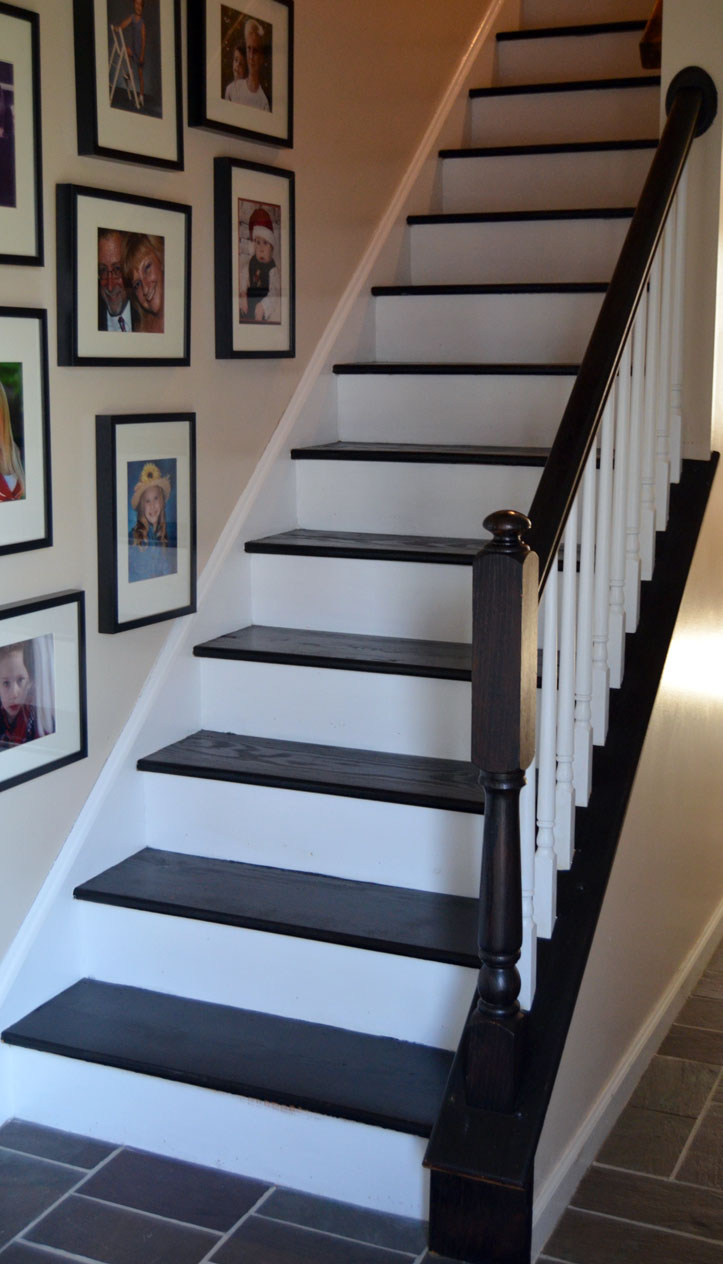
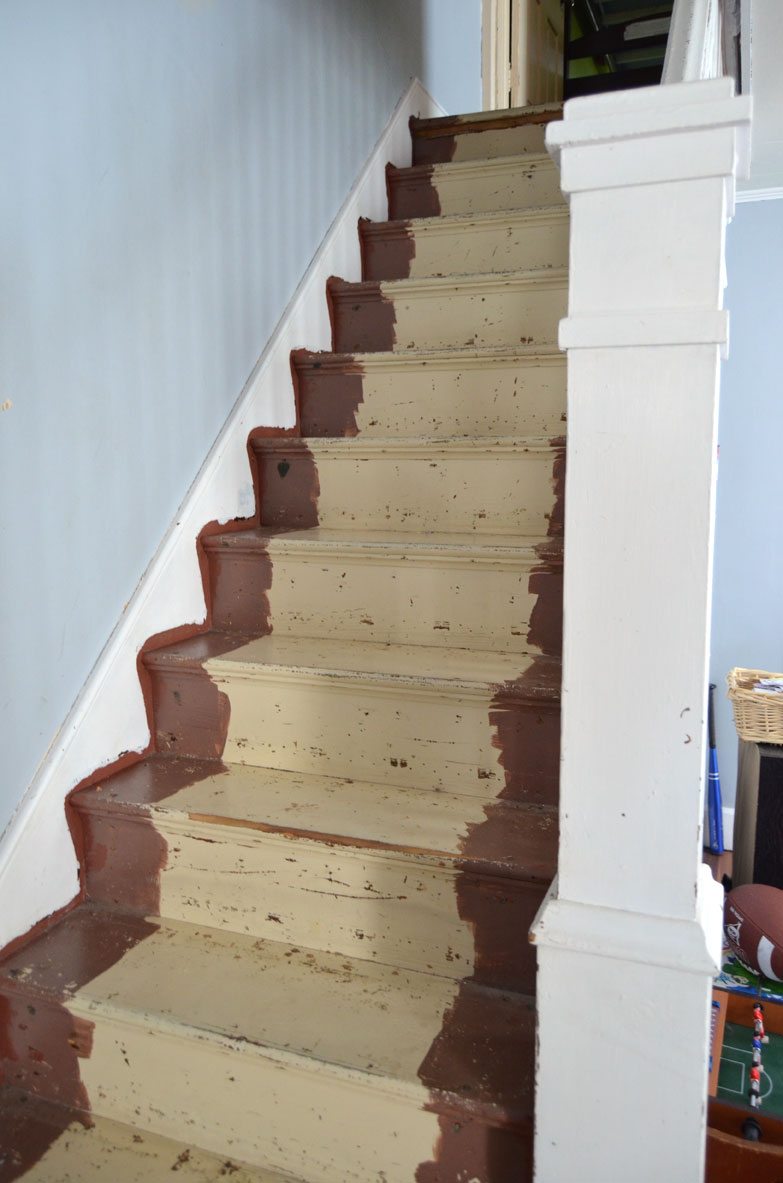
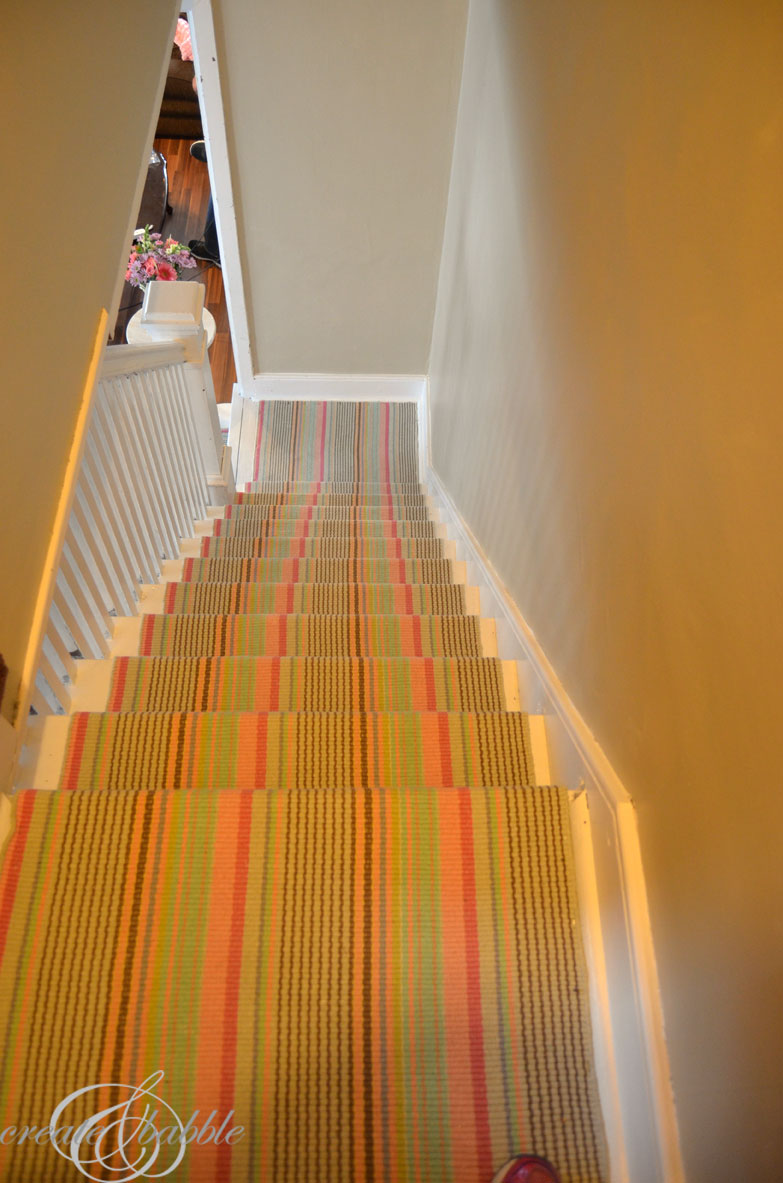
Did you see these two staircase makeovers: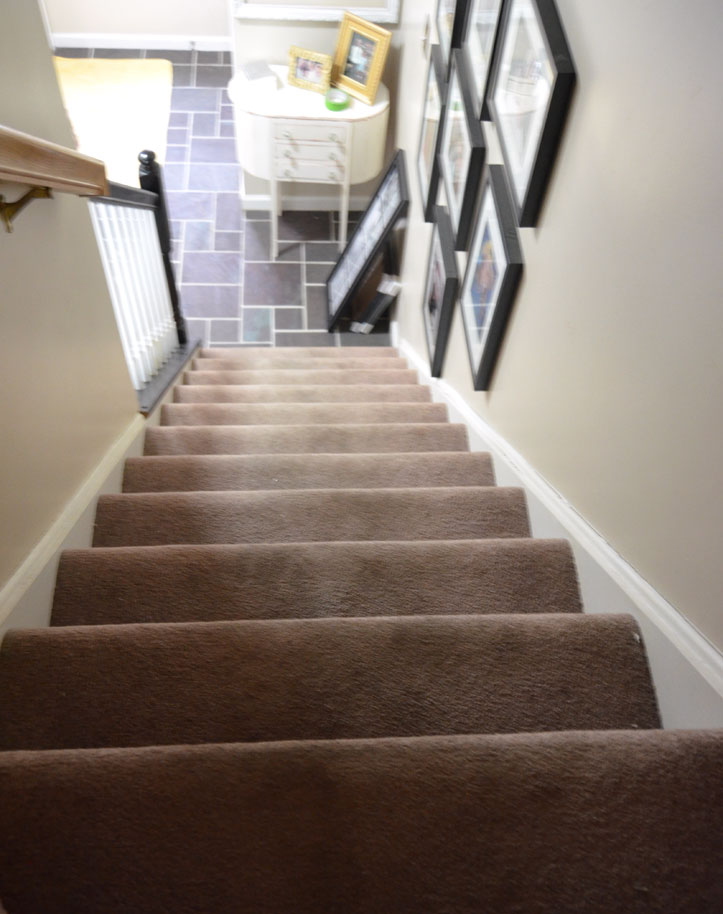
BEFORE
AFTER
BEFORE
AFTER




We did this to our builder-grade mirror in the master bath- what a simple and elegant update! Great tutorial, we kind of winged it, this would have been an awesome resource. Thanks!
We will be remodeling our bathroom and keeping the mirrors this is a great tutorial for how to change the look. Pinning for later. Love it!!
What a great solution. I have an old mirror that used to be attached to a dresser, that has similar clips. I will have to give this a try when I decide where to hang it!
Thanks for sharing, this is a great post! I need a mirror for my vanity area for filming.
great job mirror looks much more prominent now love it
I have a question – Do I place the bottom molding on top of the mirror, essentially gluing it to the mirror? Our master bath has one large mirror and in the center bottom, there is only an 1.5″ between the mirror and the GFI outlet. Suggestions?
Hi
Love your tutorial. Question though do you have space between the frame and wall on the sides ordoes the edgeof your mirror show.
Would love your feedback
The edge of the mirror does not show.
I want to do this to a living room mirror. I’d like a little more info on exactly how to measure the pieces of wood so the corners match up. You said “Cut the wood to the dimensions measured at a 45 degree angle”. Sorry, but what exactly does that mean?
You have to cut the trim pieces with a 45 degree angle so they fit together to make the corner of the mirror. A right triangle is 90°, so you have to cut the pieces at half of that so they’ll create the frame.
This is great! What are your suggestions for an oval mirror?? Really want to do this in our new house but the mirror in the bathroom that I want to frame is an oval. Hope to hear back!
Thanks!!
Looks great! Thanks for sharing!
Great tutorial, but even better was the tile around your bathroom! I have never seen anything like that! I think I am going to do that in my bathroom. Thanks for sharing!
Thank you Rebecca! I love the tile, too. And installing the tile was so much easier to do than I thought it would be.
Great Tutorial! I did mine with strips of Velcro. All I had to do was roll it on…it has adhesive on the back. I didn’t have to notch it out either because it is raised enough with the Velcro. I wasn’t wanting anything permanent. I can easily take down to repaint or remove the sticky from the Velcro if I no longer want a frame. Hangs great and looks like it was made that way…a friend thought I had actually taken down my mirror, bought a new one and hung it up!
You just saved my life! 🙂 thank you so much for this tutorial. The whole time I was reading I’m thinking, “Why didn’t I think of that!” Glad I found you (through pinterest) Keep up the great work! Thanks again.
Hannah
Can you do this with PVC moulding?
how do you get the mirror off the wall in the future if you glued over the clips?
Sledgehammer?
Love the look! What if you want to remove the mirror/frame later? I’m afraid the mirror will break when trying to detach the frame.
This is my first time visit at here and i am in fact impressed to read all at
one place.
I love these, Jeanie! I don’t know how I missed this post. This project is great, and the finished piece looks like an expensive interior design product.
What’s truly amazing is your creativity! Thanks so much for sharing your projects.
Right, this is definitely a tutorial that I need to follow. I am trying to give a new life to an old mirror that was in our family for generations. Thank you for letting us know how it’s done… the proper way.
Hi jeanie,
Good job! like to know the cost involved in this project because I am planning to follow your steps to remodeling my bathroom mirror. This is my first visit to your blog and no doubt I will come back every now and then to get the update posts.
This is so helpful. This is just what I needed. Well-informative post. Anyways, thank you for sharing this.
This kind of frames are really nice and adds some really cool effect on the thing you’re gonna frame.
That is a giant mirror. I really enjoyed your way of framing the mirror. Moreover the black color frame fits perfectly with the wall.
Amazing work. Love it 🙂
I have noticed you don’t monetize your website, don’t waste your traffic, you can earn extra cash every month because you’ve got hi quality
content. If you want to know how to make extra bucks, search for:
Mertiso’s tips best adsense alternative
Really it such an informative post. I’ve read so many amazing things about your article! I enjoyed reading it. The mirror is an essential part of the modern bathroom. I like really big mirrors in a bathroom. By the way, we recently bought a new house, and the whole shower HAS to go – but as soon as we remodel our bathroom.
What ‘s fantastic work!! Great step by step guidance! I have a large mirror in the main bath that I’ve wanted to frame for a while, though I would use trim molding, and you just proved to me it’s what I will do! By the way, thanks for sharing this amazing post. Keep it up.
Today is our next installment in our Room by Room Summer Showcase and we are sharing our bedroom spaces. Since it may be a lot to cover all in one post, we are breaking it into two posts. This week we’ll do children’s and guest bedrooms and next week it’ll be all about the Master Bedroom.
My middle daughter, Olivia, is 12. She has told me that she desires to have a calm and soothing space. We just recently began to make some changes in her room to make it more in tune with her stage of life. I can smell a good room makeover coming here with this one soon!
My youngest is Grant. He is 6 years old. His room was redone for my very first One Room Challenge in Spring of 2016. With his space, we went with a vintage preppy theme full of plaid and sports.
These tips are great, thank you! I am glad I stumbled upon your Instagram. We recently gave our entire bathroom a well deserved make-over. This new mirror is now the centerpiece
Awesome Post! I really appreciate the step by step process. This is exactly what I was looking for. Thanks for sharing and keep up the good job.
Unbelievably. Reading this, I think it’s the best useful website that I never read. Thank you, thank you (more than I can say, really) for sharing such a deeply personal piece.
About me, I have one website to share with you. I think It’s also related to your topic.
It’s so relaxing when you are in the ground for warm up. thanks for the post
Wow amazing, I love your post, Jeanie! I don’t know how this post is useful for me. This challenge is excellent, and the completed piece looks as if an expensive interior design product. This is one of my favourite article and by using these steps I will try my best to frame a mirror. What’s truly super is your creativity!
Thanks so much for sharing your ideas and tips..
Wow, it’s amazing, I loved your great post, Jeanie! I am very happy that this post is extremely useful for me. This given challenge is really excellent. This is becoming one of my favorite articles and by following these simple steps I will try my best to exactly frame a mirror like this.
At the same time, I have a question for you. I have an oval-shaped mirror in my dressing room. Do you have any suggestions for that?
Again, Thank you so much for writing and sharing your great ideas and tips.
Very good idea thank you for sharing.
It’s really cool DIY. You made it easier by explaining such things step-wise. Thanks for sharing
Thanks a million sharing this awesome project. We just updated our bathroom a bit and even completed a hardwood floor refinishing in the hallway just outside of the bathroom. But when all was said and done, some things was clearly still missing. Framing the mirror seems to be the answer. We are stoked to give it a go.
By the way, I used Fabulous Floors Alabama for the hardwood floor refinishing and I would highly recommend them. Check them out here: https://www.fabulousfloorsalabama.com/hardwood-floor-refinishing-in-athens-al/
You have described the steps in a great way but I have a question about the glazed mirror. I want to frame it. Can you suggest some possible and durable ways for it?