Part 1 – Stencil the Fabric
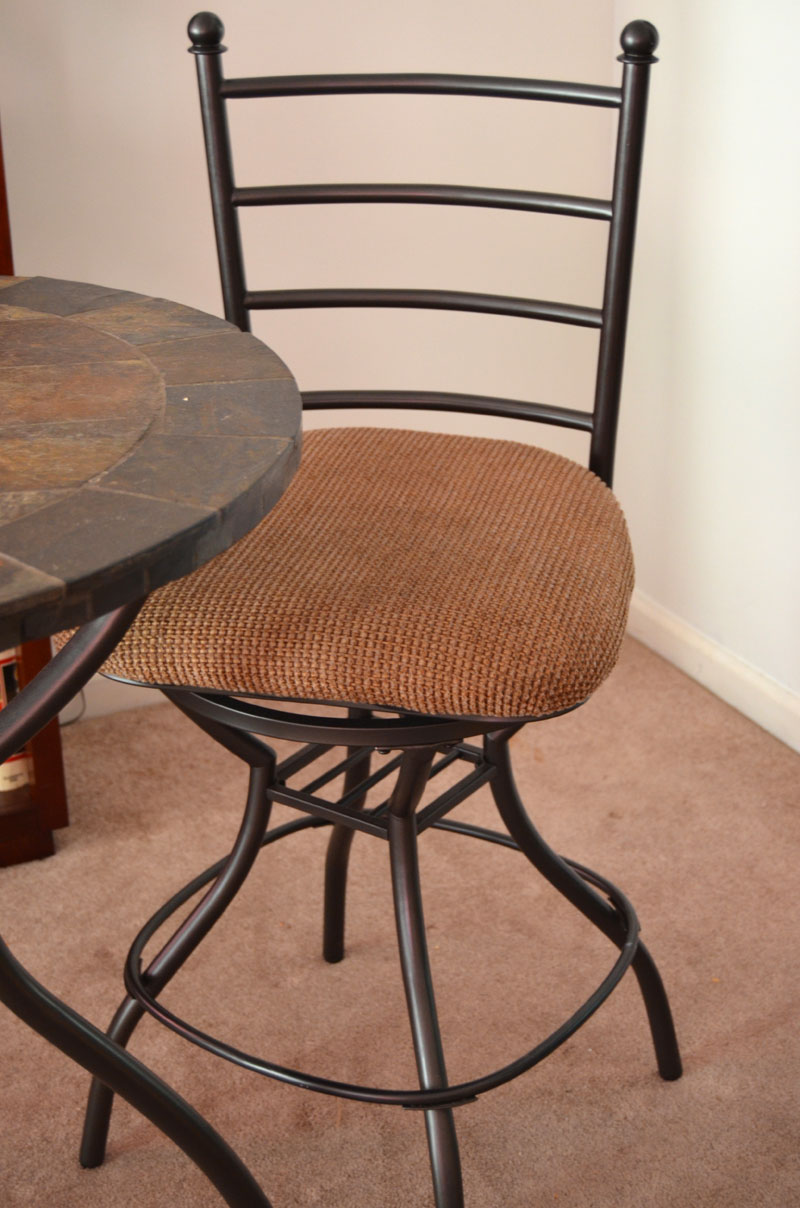
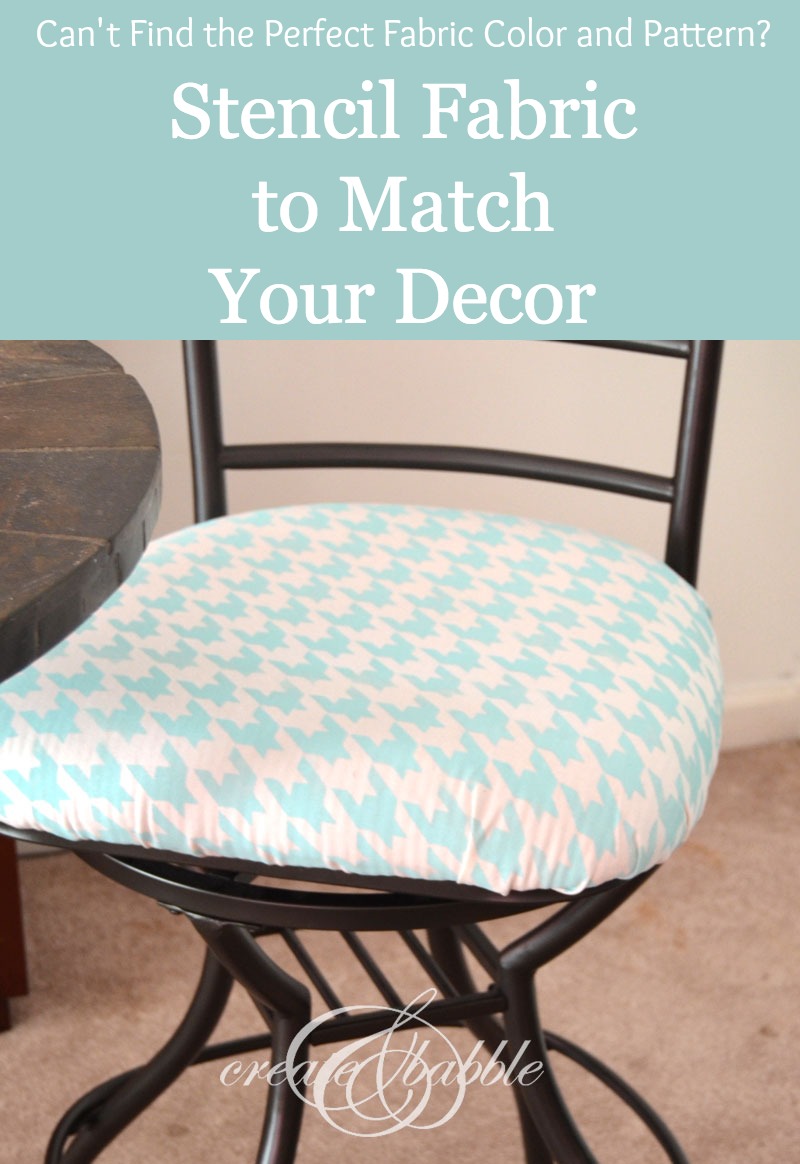
Have you ever been on a search for just the right fabric in just the right color? You know in your mind what you want, but you just can’t find it? That was me. My solution: paint it! Yes, paint the fabric! Well, actually stencil paint the fabric. I’ll explain, but first take a look at the chair cushion that I want to cover with new fabric.
As part of my kitchen makeover, I wanted to cover the cushions of these chairs to match my half-way done kitchen. I know I haven’t talked about the progress of the kitchen for a while and there’s a really good reason for that. There’s hasn’t been much progress! However, the walls and ceiling are painted and I’m anxious to get the too-big table out of there and replace it with this counter-height table and two chairs that are currently in the living room.
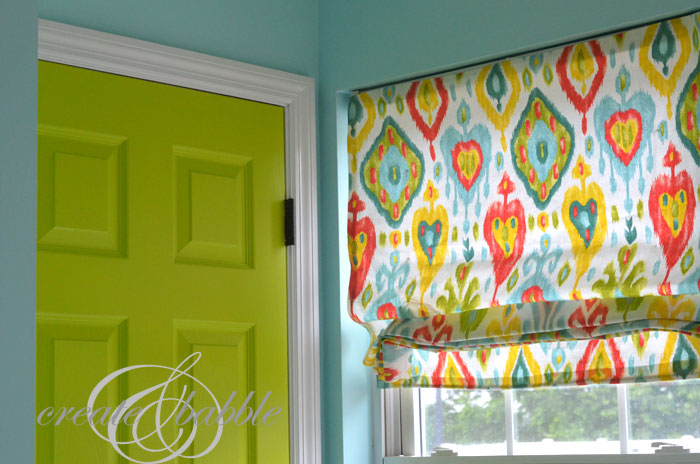
While there’s nothing really wrong with the fabric that is on the chairs, the color doesn’t coordinate well with the color scheme in my kitchen. I was on a hunt for a houndstooth print in colors that are in the fabric of the roman shades that I made. I have to honest, I didn’t look that hard. Just once at Joann Fabrics. It’s the only fabric store close to me and while I could have looked online and probably found something close to what I wanted, I didn’t want to spend a lot and I didn’t want to pay for shipping. After all, I only need about one yard of fabric.
I happened to have a few yards of white duck cloth-like fabric. I know what you’re thinking: why does she have yards of this white fabric just sitting around? I bought it months ago when I saw it on sale. I’m sure at the time that I was thinking pillows, tote bags, etc. So when I came upon said white fabric during the recent reorganizing of my craft room, the idea of stenciling the fabric came to me. It’s perfect since the background color of my roman shades are white and I could use leftover kitchen paint for the houndstooth design. Score! AND I have a some experience with creating a houndstooth stencil. Remember this table?
But instead of using ConTact paper for the stencil material I used something different. All of you Silhouette users will know what I’m talking about here. You know those clear, plastic, acetate-like sheets that come with the cutting mats? that you’re supposed to keep on the mat when it’s not in use? Yeah, I used one of those! I played around with the settings (blade depth, speed and thickness) and it worked! The last time I stenciled fabric was on my living room curtains and I used stencil blanks from Hobby Lobby to use with my Silhouette. But I was out of stencil blanks and HL is about an hour away so I had to improvise ; ) I just knew my hoarding holding-onto-things-’cause-I might-need-them-some day would pay off!
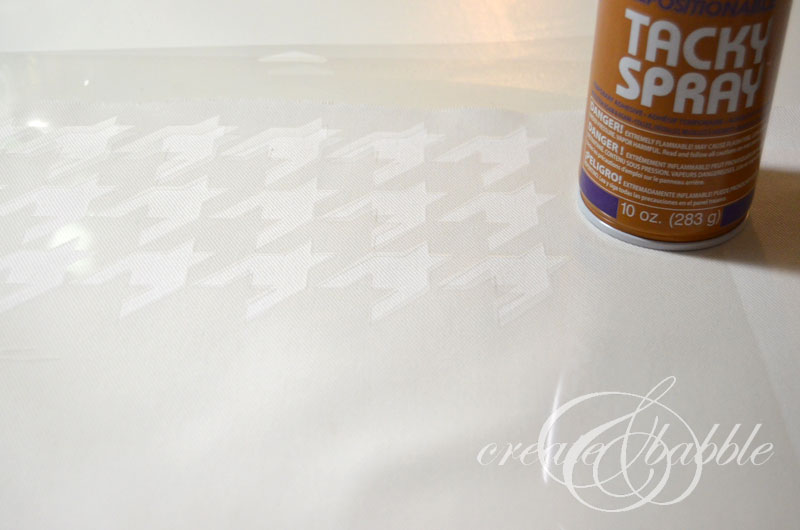
You can see in the photo above that I only cut three rows of the houndstooth shapes. The chair cushion is a relatively small area, so there wasn’t a need to cut out an entire 12 x 12 sheet of them.
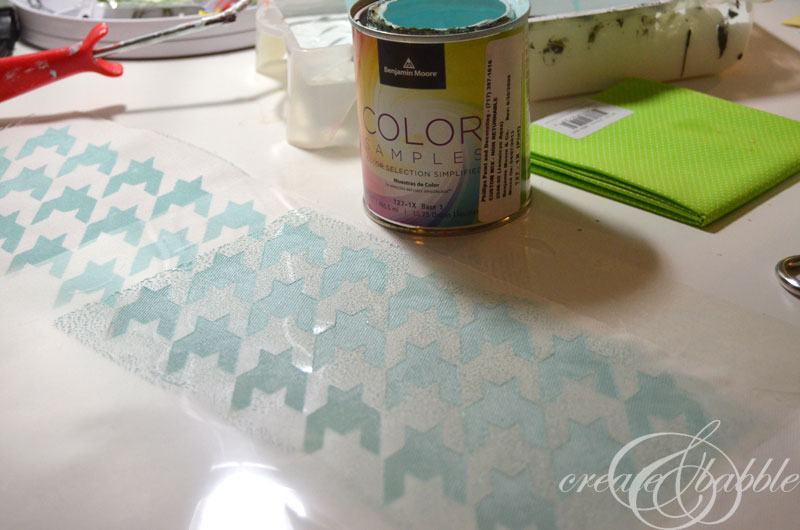
I rolled on the aqua paint with a small foam roller, trying to not to use a lot of paint. I then moved the stencil, lining it up with a previously painted row, rolled on more paint and repeated until the square of fabric was covered in beautiful, aqua houndstooth shapes! It took less than 15 minutes. After allowing the paint to dry, I went over the backside of the fabric with hot, dry iron. Since such a small amount of paint was used, the fabric isn’t even “crunchy”! I went fairly light with the paint. In fact it was such a light coat, that it didn’t even bleed through to the back of the fabric.
Part 2 – Cover the seat cushion
This part was really easy and took very little time. Probably about 10 – 15 minutes per chair.
I used:
- a staple gun
- scissors
- screw driver
- and of course, the newly stenciled fabric
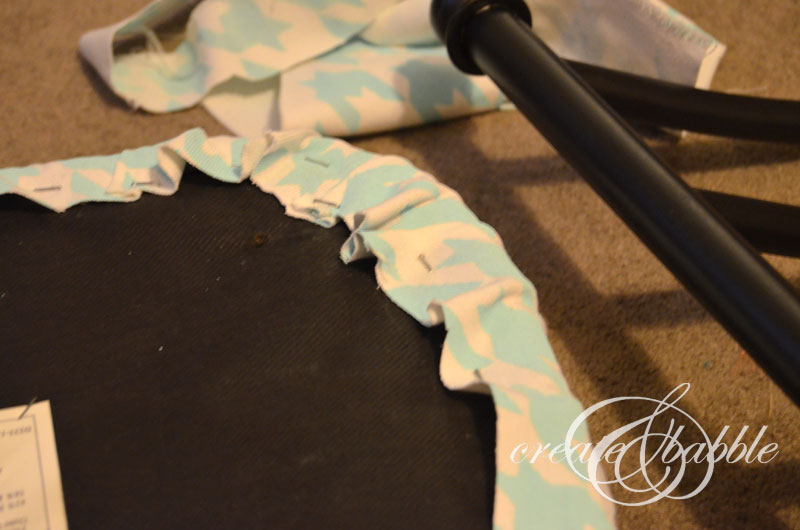
I removed the four screws that held my seat cushion in place. I laid the fabric on the floor (right side down) and placed the cushion (cushion side down and centered) on the fabric. I pulled the fabric snugly and stapled around the edges into the wood that is under the black lining fabric.
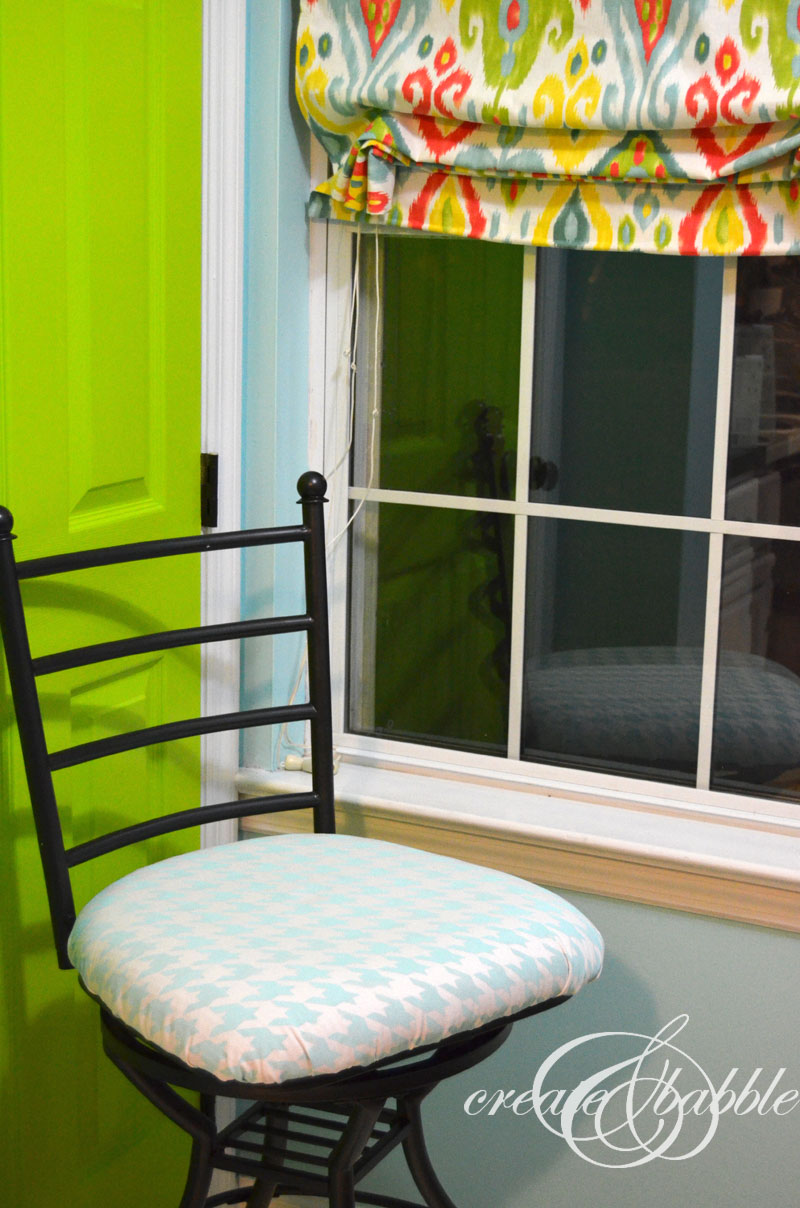
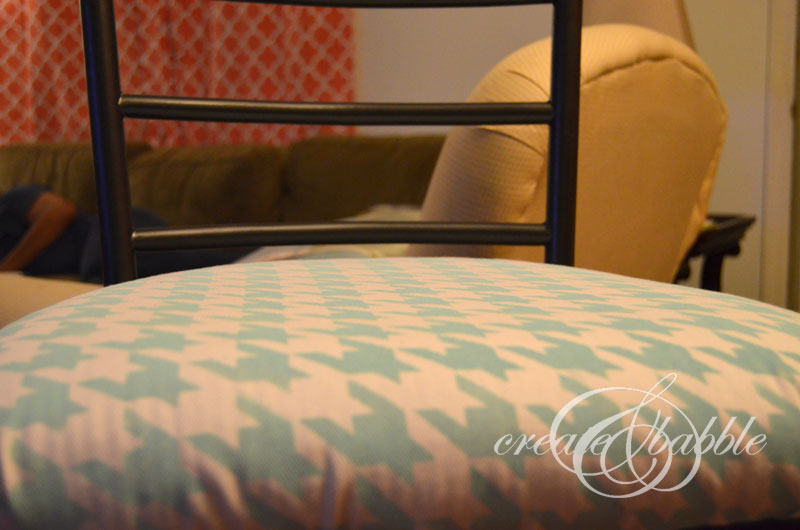
After the fabric was securely stapled all the way around the cushion, I trimmed off the excess fabric, screwed the seat back onto the chair and stood back and admired my new chairs!
So whaddya think? Do you love it? I do, too! I was doing a little research before I chose the houndstooth, but more specifically the size of the houndstooth. I was reading about how to use different patterns in home decor. One thing I read suggested having one main focal pattern and no more than two more complimentary patterns and that the complimentary patterns should be about one half of the scale of the main focal pattern. So I kept that in mind when determining the size of my houndstooth shapes.
Linking up to these great parties!




Awesome! You are super crafty!
Why thank you very much Shalana!
I love it!
Thanks Paula!
Really cool. I’ll be passing this on to my daughters and others. Thanks for sharing.
Thanks Jody! And thanks for sharing!
That is gorgeous!
Thank you Chelsey! I’m really happy with it and super happy that I won’t have to re-paint the bedroom!
I stopped by from the PINcentive Hop. I liked you on Facebook and followed you on Twitter. You are so creative. You can come decorate my house!!
Hi Betty, so nice to meet you! Thanks so much for the kind words, for stopping by and for the follow!
Buy uk Washington Redskins White throwback jerseys