


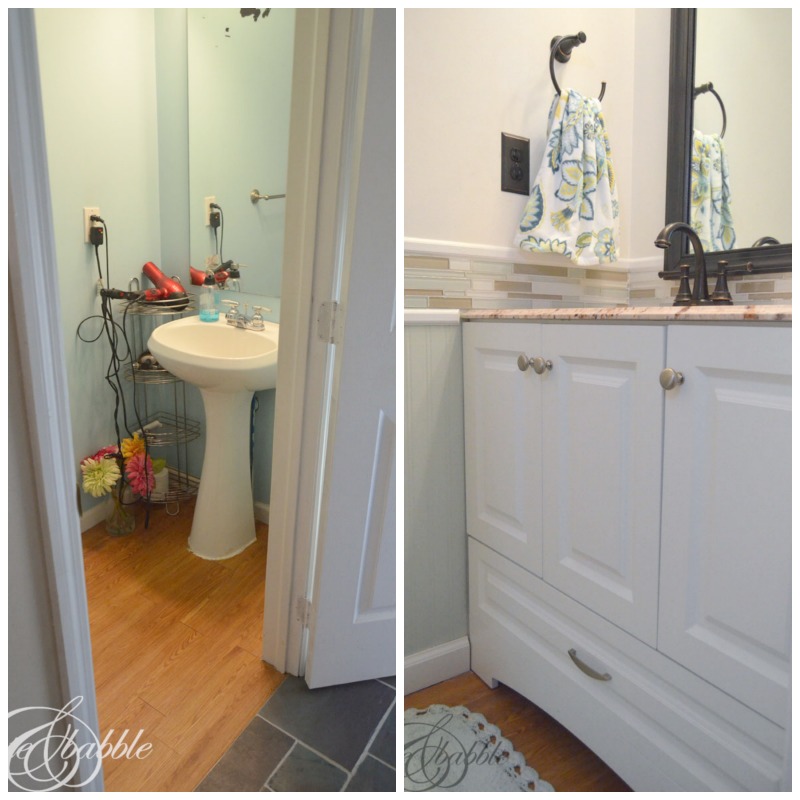
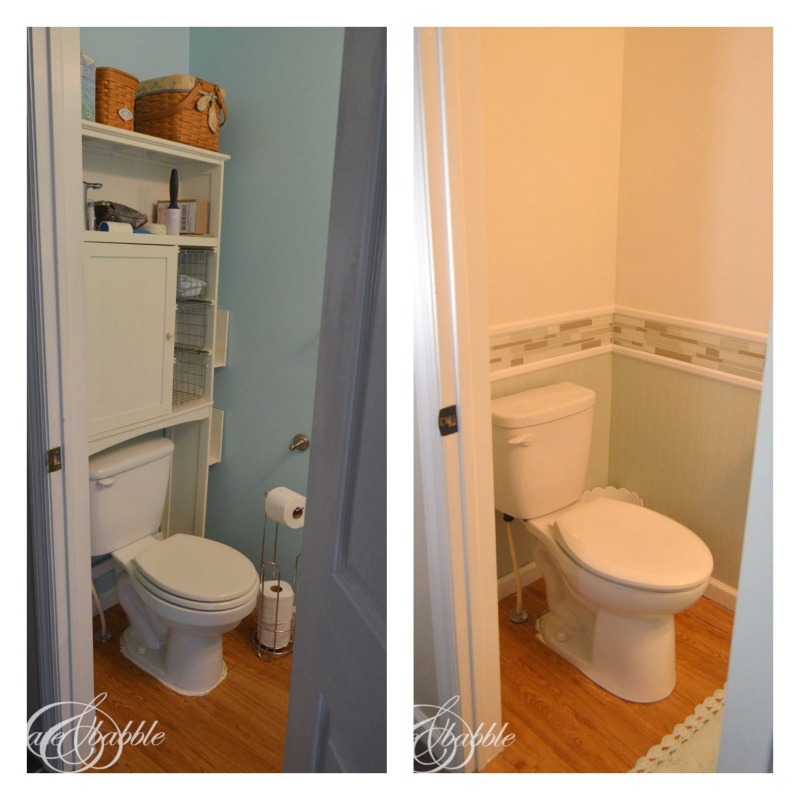
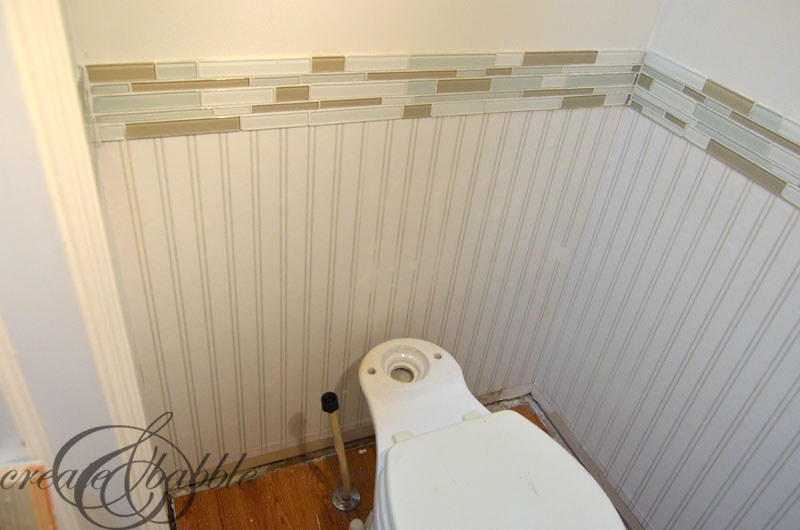
When I look at pictures of rooms that I like, it’s about the trim. The trim catches my eye very time. When I was planning this powder room makeover, I knew that I wanted to incorporate wood moulding. I love the look of crown moulding, chair rails, bead board planks, chair railing . . . all that good wood stuff. I didn’t have experience working with wood trim, but I can read and watch videos. And I have the tools. So, after reading countless articles and watching plenty of videos, my power tools and I got to work! Let me refresh your memory of my powder room with a little before and after:
First things first. I am NOT a DIY expert in any way, shape or form. I’m just a self-taught DIY blogger sharing my story about how I saved a ton of money by remodeling my powder room by myself. If I can inspire just one other woman to get outside of her comfort zone, pick up a power tool, learn how to use it safely, and tackle a project herself, then I will have attained my goal.
Okay, let’s go!
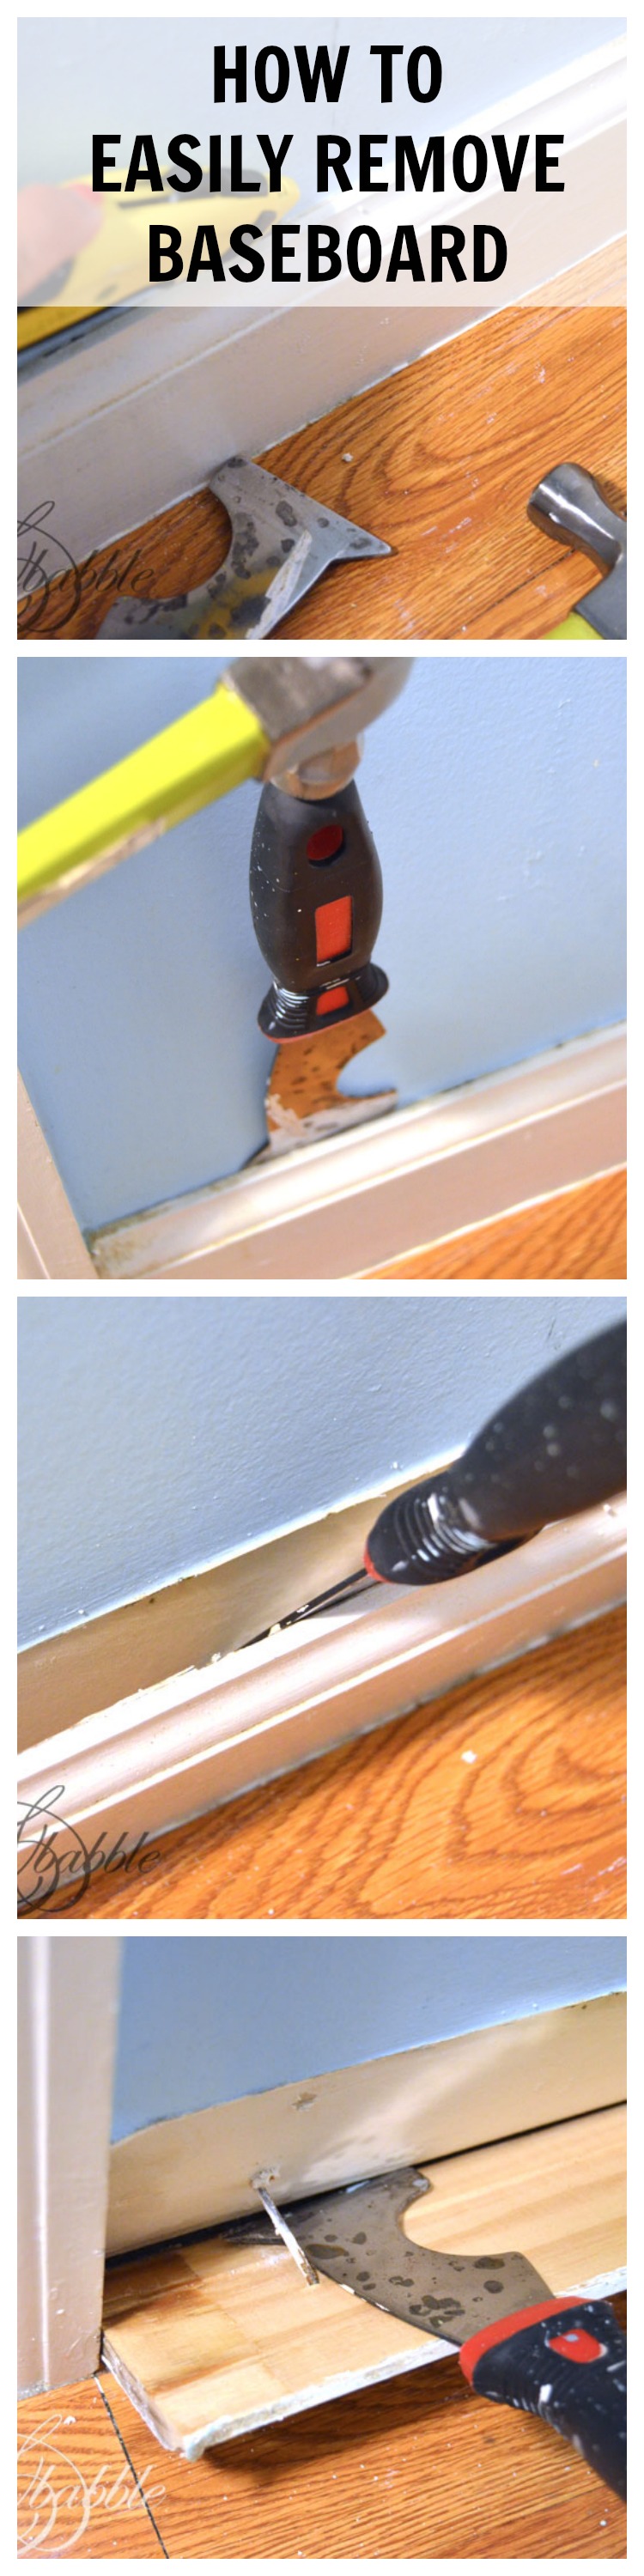
Removing baseboard trim IN ONE PIECE!
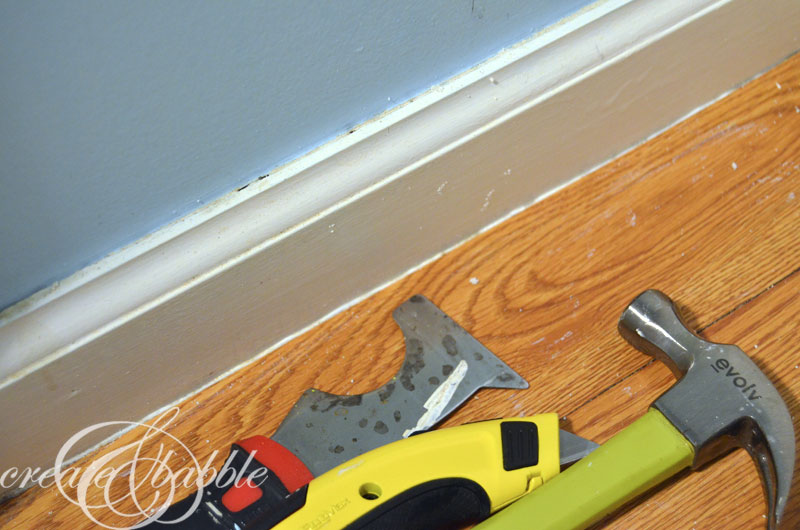 I used these three tools to remove the baseboard: a hammer, a retractable utility knife, and a 5-in-1 painter’s tool. If you don’t own a painter’s tool, run, don’t walk, to Home Depot or any hardware store and get one. Now they make 14-in-1’s, 6-in-1’s, etc. – looks like I need to upgrade! I’ve had this one for years and use it all. the. time.
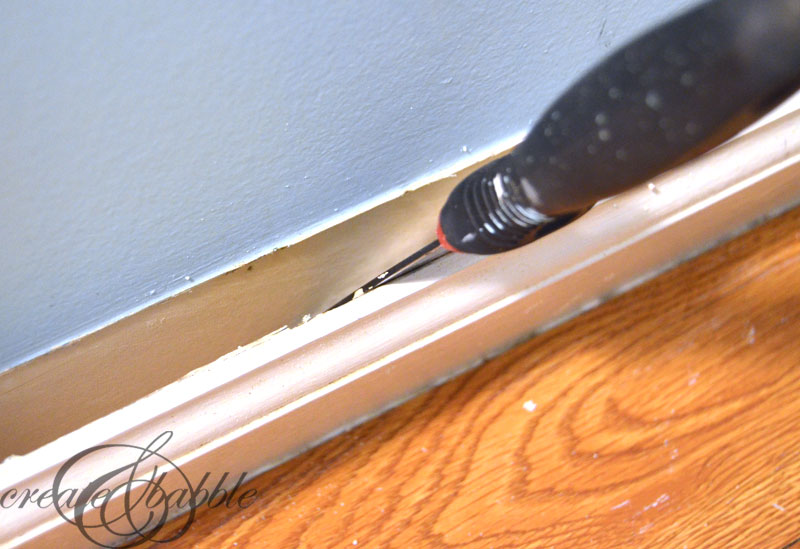
 First, I ran the blade of the knife along the seams above and below the baseboard to break the seals of the old paint and caulking.
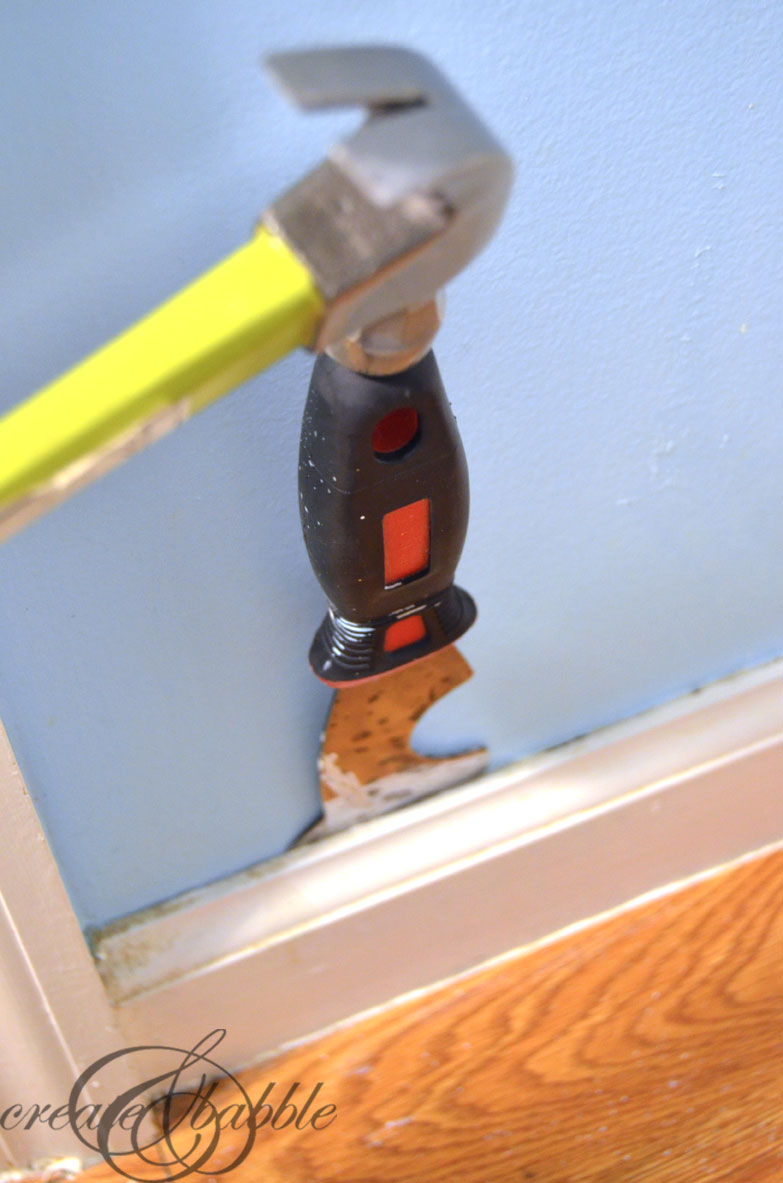 Next, I positioned the edge of the painter’s tool into the crack between the wall and the baseboard and give the top of the painter’s tool a few taps with the hammer. Then I wiggled the painter’s tool from side to side which really helped loosen it from the wall.
 I continued that tap-tap, wiggle-wiggle action every few inches until the entire length of baseboard was loosened.
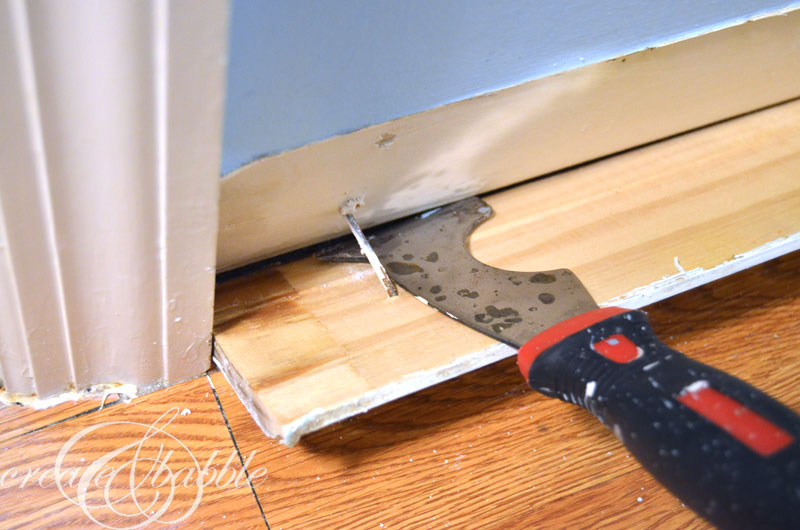 Once the baseboard was well-loosened from the wall, I repositioned the painter’s tool near each nail and then pried it downward.
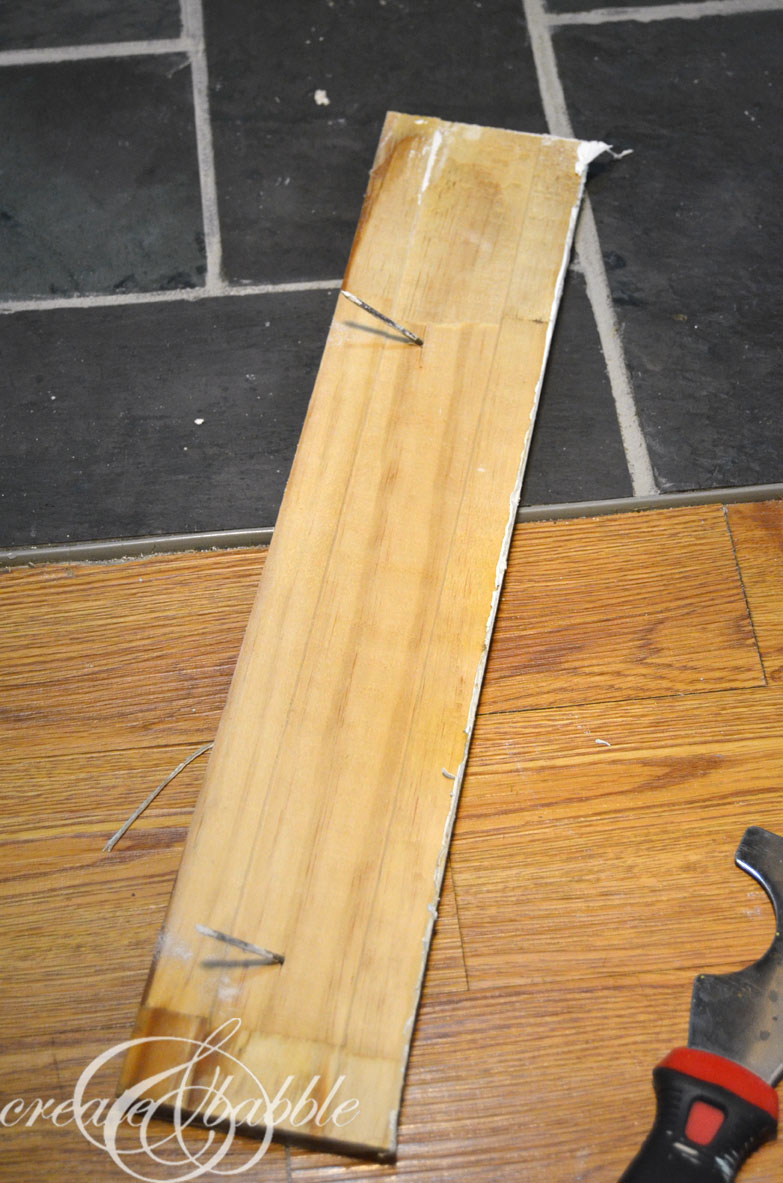 Success! One removed piece of baseboard.
You may be asking why I didn’t use a crow bar. Well, the answer is: I was afraid that the one crow bar that I own was too big for this job and would have caused damage to the drywall and/or damaged the baseboard. Maybe a smaller crowbar would do the job, but I used what I had.
Another question you may have: why did you remove the baseboard? Good question! Two reasons: 1. the vanity would not fit if the baseboard was still attached. You’ll see that shortly. 2. because I was adding bead board paintable wall paper and I wanted the wall paper to look seamless against the baseboard. I’ve installed wall paper years ago and I KNOW that I’m terrible, I mean really bad at trimming against a baseboard.
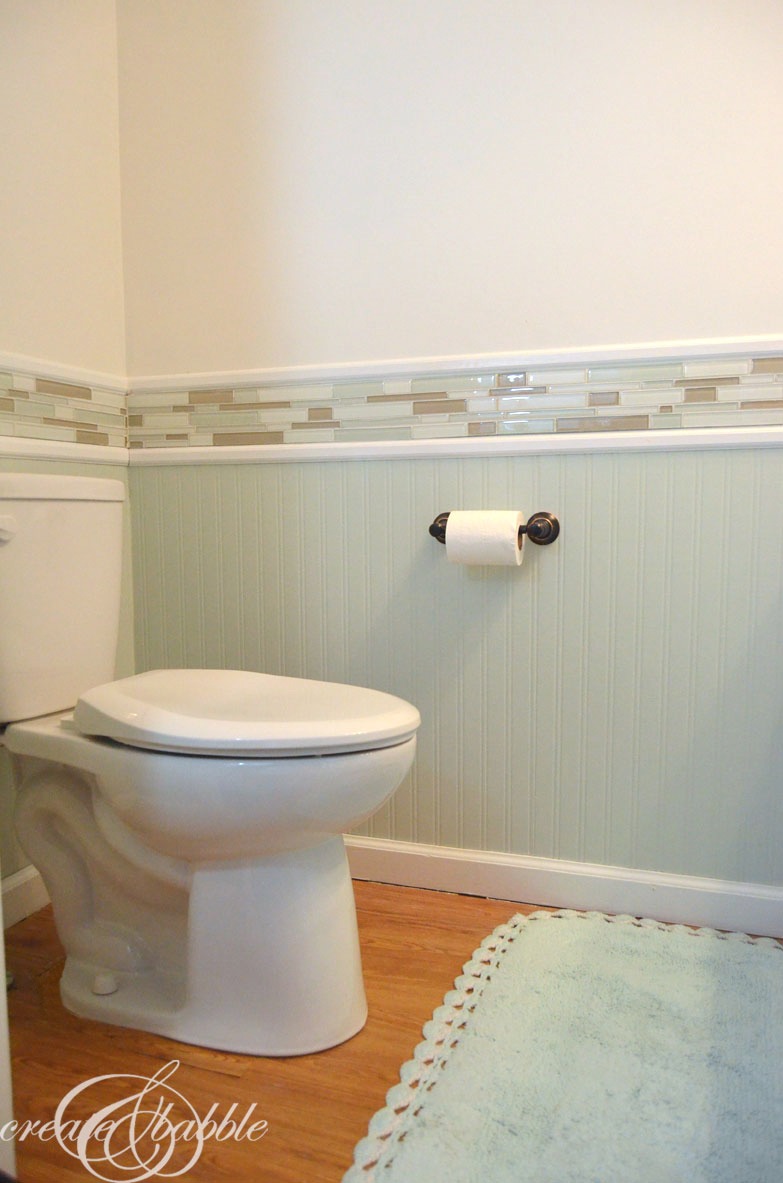
Here’s what I mean: no jagged edges of wallpaper above the baseboard. By the way, that’s the same baseboard that I removed, sanded, and repainted before I reinstalled it. Looks like new!
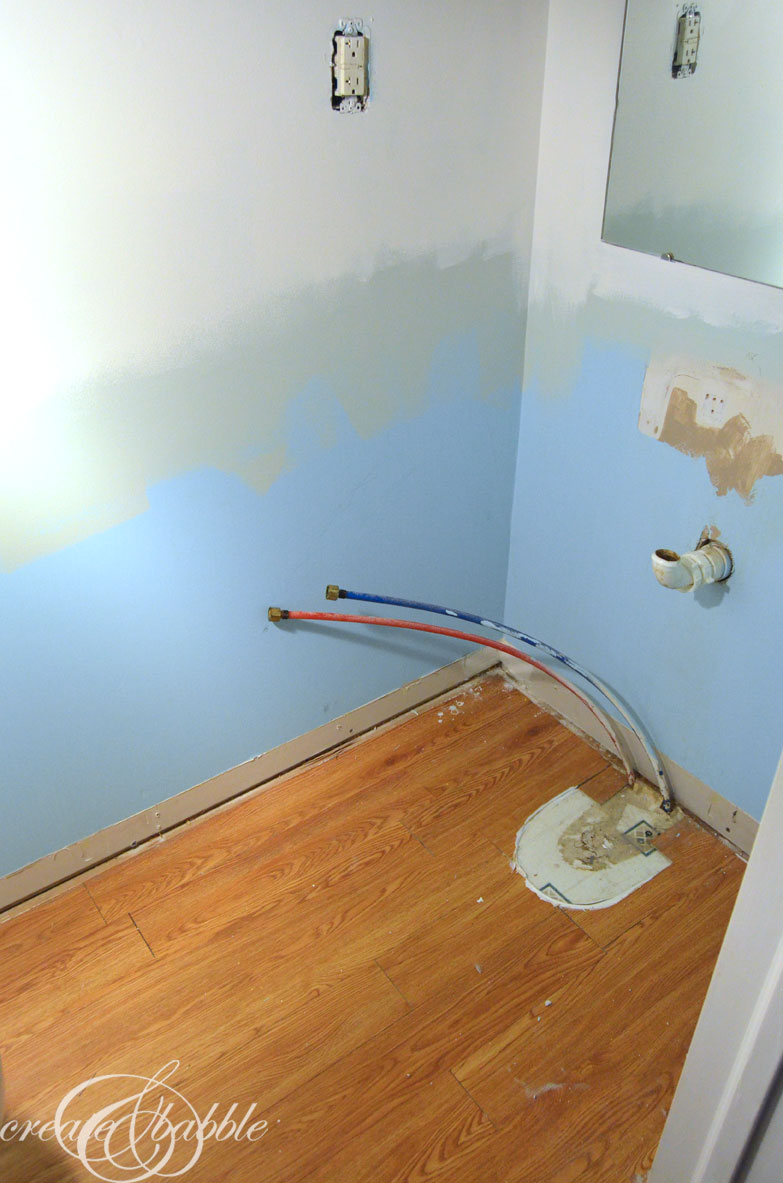
Now for the vanity side of the room.
I measured that space many, many times,
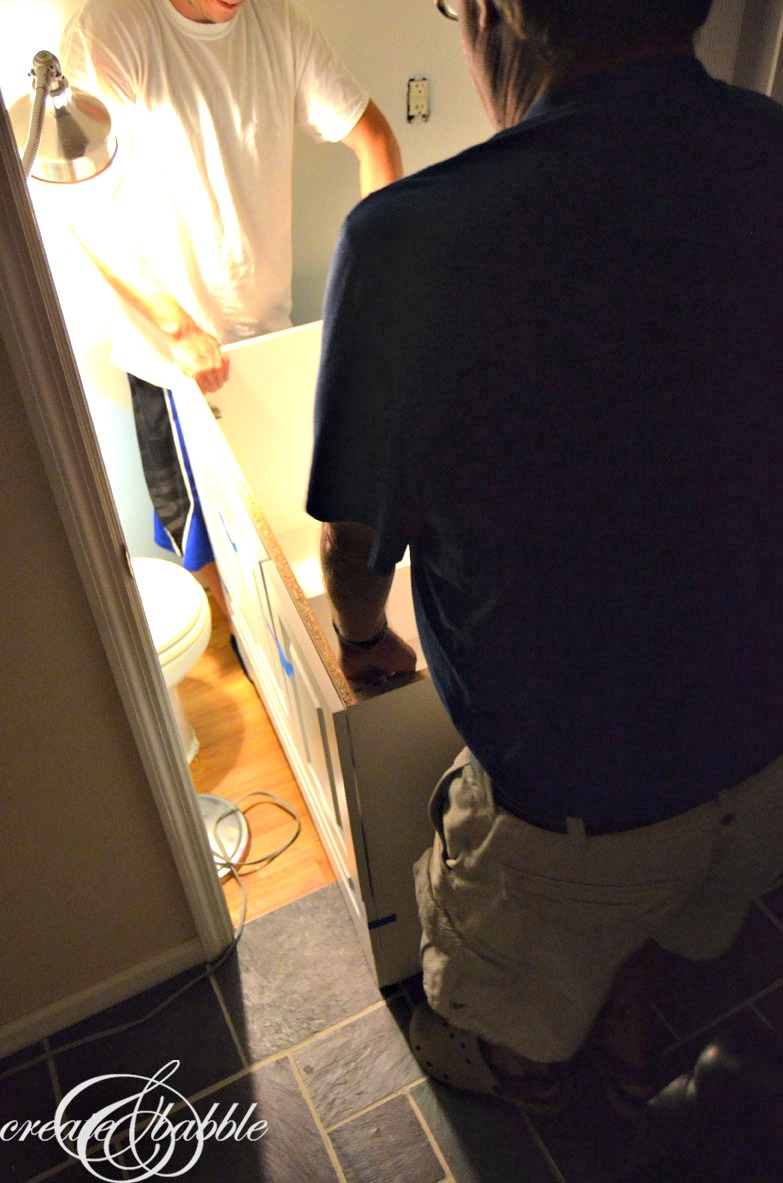
 and I measured the vanity many, many times . . .
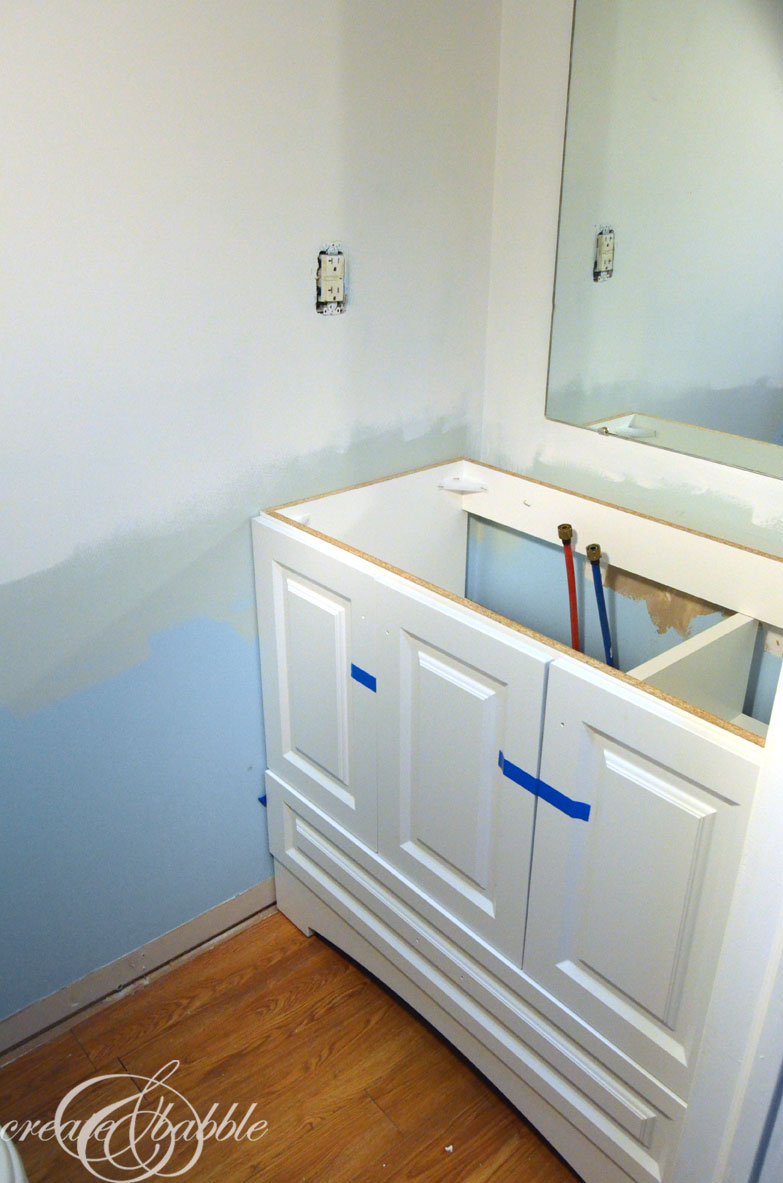
. . . and IT FIT! JUST FIT! It was tight, but it fit.
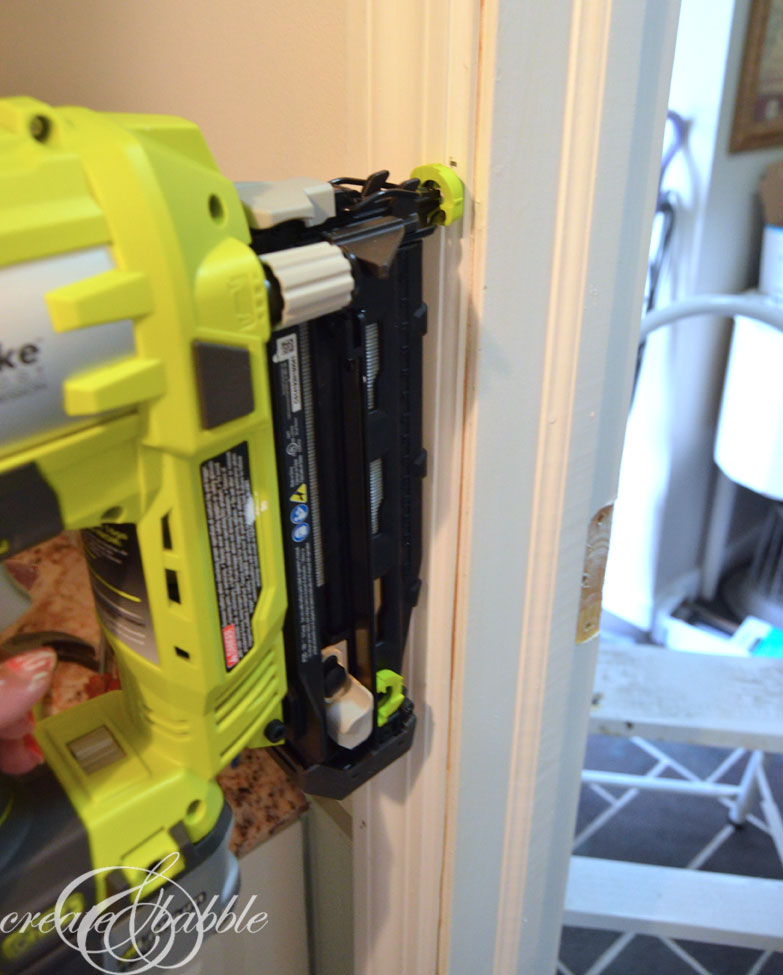
But only by removing the wood trim from the door frame. Luckily I now had experience removing wood trim so it was easy to remove. And even easier to put back in thanks to the wonderful folks at Ryobi and my brand new Ryobi Air Strike Cordless Finish Nailer.
It was at that point that I realized that there was no way that I would be able to use bead board planks on the wall. The doors on the vanity would not be able to open. So that’s why I used the paintable bead board wallpaper.
Before I move on to the rest of wood trim in this room, I just want to say something about Ryobi tools. And I don’t want to sound like a commercial because it is not. Yes, they did give me the finish nailer BUT they did not pay me to write this. I have so much respect and admiration for this company (Ryobi). I had the pleasure of meeting some of their representatives at the Haven Conference in July. They were so sincerely nice and helpful. I got the sense from talking with them that it’s not just about selling power tools. It’s about education. Education and empowerment. And that women can hang curtain rod hardware, install towel bars and toilet paper holders, build workbenches, paint storage shelves, and farmhouse tables, and remodel their own powder rooms if they want to and have the right, easy-to-use tools to do it. Why is Helen Reddy’s I am Woman Hear Me Roar playing in my head right now? Is it in your head too? You’re welcome ; )
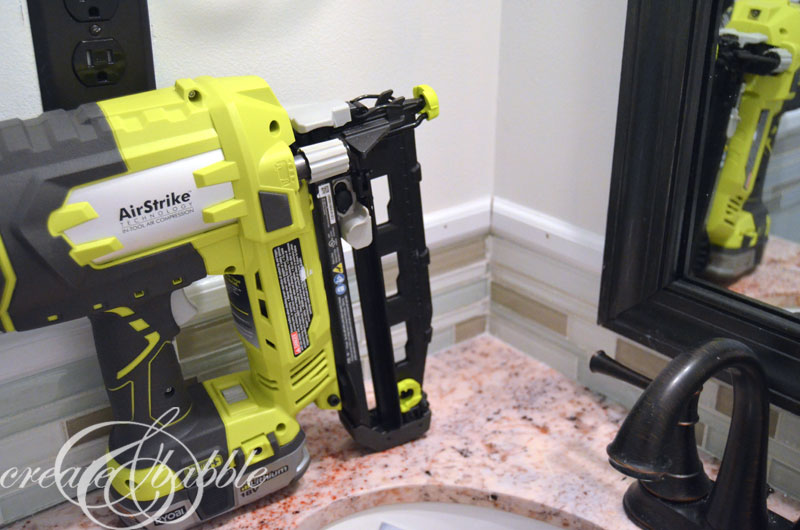
What I like most about this nailer is that it’s cordless and there’s no loud air compressor to deal with. Somehow, Ryobi uses some fancy, schmancy technology which eliminates the need for noisy compressors, bulky hoses or expensive gas cartridges. Another thing I like about Ryobi tools is that their tools don’t come with another battery. You can use one the 18V ONE+ batteries that you already have.
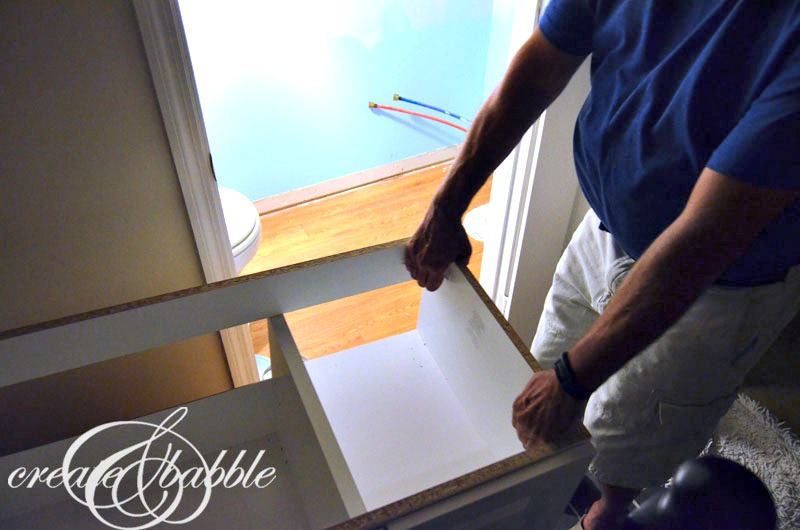
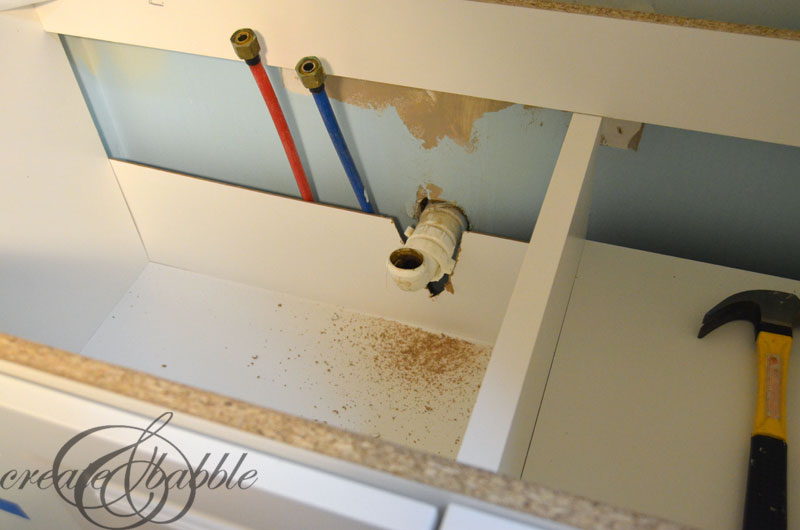 Back to the vanity. I had to perform a little surgery on the back panel of the vanity to accommodate the drain pipe. And yes, I used a Ryobi tool. This time I used the Reciprocating Saw. That little “v” cut isn’t pretty, I know! But no one can see it (except you right now) and it does the job.
 For the trim above and below the glass tile border, I used this cabinet trim moulding from Home Depot. I cut the ends at a 45 degree angle using my Ryobi miter saw to get a mitered corner in each corner of the room. I painted the wood with two coats of primer first, then two coats of my favorite white paint. It’s the same paint I used on the staircase makeover and kitchen cabinets.
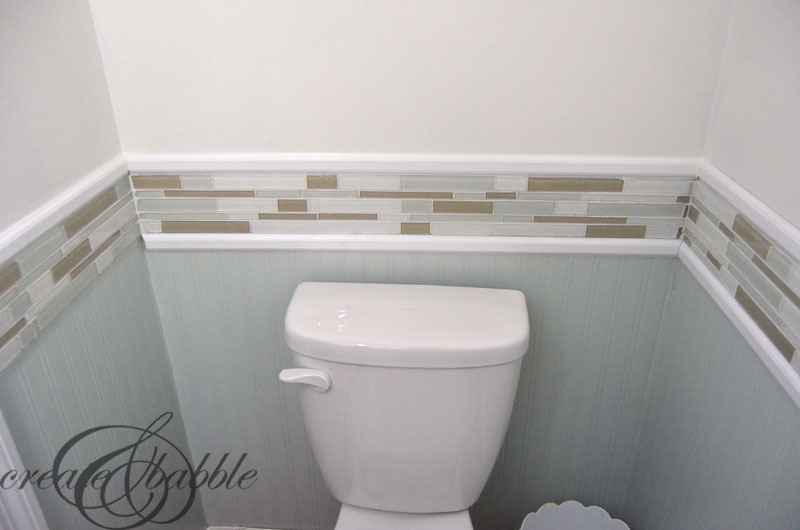 After installing the trim, I filled the nails holes with some nail hole filler, then sanded and touched up with a little paint.
One more piece to add!
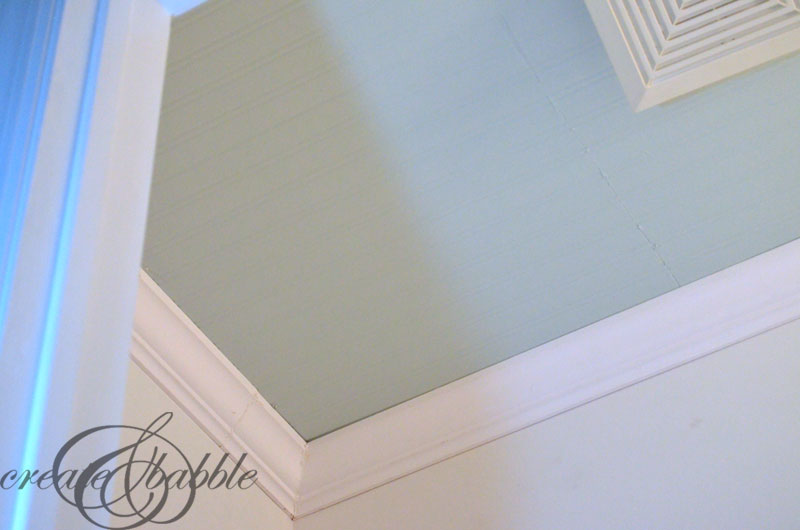
So there you have it. How I installed the trim in my new powder room. But there’s more to come. Next week we’ll talk about CROWN MOULDING! Oy! Here’s a peek:
And no, I won’t be offering a tutorial on how to install crown moulding. I’ll leave that to the experts. But I will provide some great resources to get you started.
DISCLOSURE: This post contains affiliate links which means if you click on a link and make a purchase, I may receive a small commission that helps defray the costs of keeping this blog running. Also, as mentioned, Ryobi provided the finish nailer that I used. The rest of the Ryobi power tools mentioned in this post were provided by Santa, aka Dan. As always, I only recommend products and services that I use and love and I love my Ryobi power tools! All opinions expressed are entirely my own.


I absolutely love this! So light and beautiful.
Really beautiful job! I love the colors you chose for the tile and the paint! GREAT makeover!
Your powder room looks amazing! Job well done.
Coming from you, one of my DIY heros, that’s a huge compliment – thank you so much!!!
Good job!
Your job is great but one thing it cannot be done through remote jobs! Thats the future.
I’m quite impressed with how you renovated the bathroom. It gives it a new, clean, and fresh look.